


finnks13
-
Posts
545 -
Joined
-
Last visited
Content Type
Profiles
Forums
Downloads
News
Everything posted by finnks13
-

The DWmegawad Club plays: Interception II
finnks13 replied to dobu gabu maru's topic in WAD Discussion
MAP 7 - The Everlaster by Joe-Ilya: I really enjoyed myself here. What we have is a combat focused map to break up the more exploratory maps besides it. The gimmick of the mancubus in the throne of the middle of the map (the "Everlaster" himself, I presume) being resurrected after each wave and then it's death triggering the next wave was very creative and not something I've seen before - I actually wonder how this was done, presumably some control sectors lowering at the same time as the archvile teleporting to resurrect the mancubus, it's really cool in any case. The visuals in this map are a bit odd, and certainly more abstract than the other maps so far, but I liked them. The best part of the map was definitely the ending two waves of monsters. The first of those was rather intense initially with the amount of hitscanners and revenants, hell knights and barons making for an excellent brawl (and finding the BFG was a nice surprise too here). The final wave with the arachnotrons in the lava is an excellent work out for the BFG and rocket launcher - while you have tons of space to work with, the concentrated fire of the arachnotrons prove fairly hard to dodge. I'm sure the invulnerability would have helped to make this wave easier but I didn't care to find it, as I didn't want to break up the pace of the map. I expect that maps like this aren't the norm for the set, and this was also the shortest map in the set by quite a lot for me, so the unexpectedness of a largely combat oriented map may have worked in this maps favour (though I guess the Map7 slot should have tipped me off to that). Having played a few of Joe-Ilya's maps in the past in various community projects, this is definitely my favourite of his that I have played - and this is definitely the map in Interception 2 I've enjoyed playing the most so far. -
The DWmegawad Club plays: Interception II
finnks13 replied to dobu gabu maru's topic in WAD Discussion
Well, after reading this I thought I'd just check to see that I was actually right and it seems that the lift is actually based on a timer and not on the lights on the ground (as long as I'm understanding the voodoo doll scrollers in the map right). Those lights only shut the door leading out of the puzzle. I think the lift lowered a few times when I happened to be walking over the lights and that made me assume that they were linked. Sorry for misleading you about that! -
The DWmegawad Club plays: Interception II
finnks13 replied to dobu gabu maru's topic in WAD Discussion
MAP 6 - What Could Go Wrong? by Big Ol Billy: Fantastic map. I think that this is both the most engaging map so far both combat-wise and in terms of the environment and visuals presented here. When going through this map I started to think about what this bizarre demonic compound was used for and what could have caused it's fall. Interesting boom compatible set pieces too were on full display here, which I have come to expect from Big Ol Billy's boom maps (thinking about his contribution to Nova3 specifically here - a Map31 that employs similar boom tricks). The starting room had an interesting opening fight, where I was initially worried about having to face off the pain elementals and arachnotrons with just the shotgun and chaingun, but thankfully a rocket launcher and 50 rockets were quickly provided. Getting an infight going between the pain elementals and arachnotrons was inevitable here in spite of my efforts to break it up with some rockets, and the revenants patrolling the side halls taking potshots at me through the bars kept me on my toes. Both the different paths for the blue and yellow keys were cool, the blue with it's fighting along the fast moving conveyors and the yellow path with the large horde of monsters that spawned in when picking it up - that was probably my favourite fight in the entire wad so far, having to balance thinning the horde of pinkies, revenants and imps while avoiding the fire from the chaingunners in the tower in the middle of the area made it very fun. I thought that warping through rapidly changing red and green lights was a bit harsh on the eyes, though I only had to do it a few times. The red key puzzle was interesting and took me a bit to figure out, but it wasn't too difficult that it became frustrating. The choice between the angelic and demonic sigils after this puzzle, which led you to the alternate realms was a cool idea though I wasn't a massive fan of the fight in the demonic area - the turret monsters around the outside were a bit annoying to kill with the auto-aim. Thankfully, I explored the angelic sigil area first as it seems the cyberdemon warps to the area you explore first so I didn't have to deal with him here (though that does explain why there's loads of cell packs in this area). I really liked the alternate version of the main hub that was accessed through the angelic sigil, and I was happy when it turned out to be a lot more elaborate than I was expecting since I thought it was just going to be a quick look at the stark contrast between this and the area we came from before jumping straight back to hell, so the cyberdemon fight was a nice surprise. The dimension hopping to find secrets after finding this area was also very fun, I really liked finding the tome secret and just exploring the alternate version of the map - maybe "What Could Go Wrong?" refers to an event which turned this area to the one we see in the hellish part of the map. This is easily my favourite map so far (and this remains the case as of Map13 which is the map I have currently played ahead to), it's absolutely excellent. EDIT: After checking the map, it seems the lowering archvile is actually just based on a timer, whoops! Have removed that part so I don't accidentally confuse anyone. -
The DWmegawad Club plays: Interception II
finnks13 replied to dobu gabu maru's topic in WAD Discussion
I realised I didn't mention this in my first post, so I think it's important to say that all of these write ups are from a completely blind playthrough, after one run-through of the map and I write them immediately after finishing the map (though I do slightly edit them when pasting in here if I'm wrong about some stuff). MAP 5 - Astral Castle by Moustachio: Another very cool, fun map. I really liked the mess of castles of the green voidscape, I thought it looked very interesting from the outside, if a little messy. While the map is pretty freeform with its progression, I didn't find this map difficult to navigate around - some of the teleporters surprised me with where they sent me but this wasn't an issue - I expect this is because of the different texturing schemes and colours the different areas of the map use. This was the first map that I felt was a decent challenge, with the hectic opening after coming out of the initial fortress. I liked the horde of imps and revenants that spawn in after grabbing the SSG, it really forced me to move and try to find some slightly safer ground and this first part was definitely my favourite part of the map. I didn't appreciate the arachnotron teleporting in behind me when I teleported up to the platform with the soulsphere secret, but it only got me once so it's not too much of a big deal! I preferred the blue key path to the red one, I thought the pain elemental ambushes were nicely placed and caught me off guard each time. The double archvile attack in this area really gave me some trouble as I didn't have many shells and rockets going into the fight - I eventually decided to go back and find some more shells and this was another enjoyable fight. I thought the map dragged a bit in the red brick castle as it was mostly killing fodder monsters in halls, but the red key puzzle itself was interesting and took me a bit to figure out - it might not have intended to be a puzzle, I might just be extremely unobservant! I wasn't able to find any secrets in this map, which was the first time this happened in my playthrough, but I felt pretty well stocked with weapons and health in spite of that. I had a good time with this map, I think the increased focus on verticality in the fights and progression made it stand out from the other maps so far. -
The DWmegawad Club plays: Interception II
finnks13 replied to dobu gabu maru's topic in WAD Discussion
MAP 4 - That Which Shall Not be Named by DMPhobos: Great map. I played this immediately after the first three maps so it was nice to actually have an excess of ammo for once! The layout was very nice, looped back around in places I was not expecting. I liked the first inside area, leading around to the yellow key fight with the plasma gun ambush which is probably my favourite fight in the map. It was the first fight in the wad so far to make me sweat a bit. I love the two ammo cache secrets which were hidden in accessible parts of the scenery, I always really love secrets like that as it makes the map feel more alive. The map directed me pretty well, though I did get a bit lost looking for the yellow key door, but I think that was because I was focussing on finding the rocket launcher so it's not a big deal. The fight around the rocket launcher was also pretty enjoyable and I liked the blue armour secret in this area too. I'm enjoying the theme of 'castle set around a green void' that these first few maps have, it's quite refreshing to have these castles not set in a black, endless void for a change. I thought the red screen tint effect when walking through the bloodfalls in the first area was a really cool detail, which I wouldn't have thought of doing myself, I'm not entirely sure how this is done though it must be a bit of a pain as I would expect it to crop up more if it was easy - the only other wad I remember seeing this effect in is Community Chest 2. I thought the cyberdemon fight was interesting, with some cool ideas such as the barrels lining the walls which would blow up from the splash damage as well as the pinkies to block you, though it wasn't much of a threat - again it's Map4, I'm not expecting slaughter. It was very appreciated that the cyberdemon could be telefragged, I expected to have to plasma and SSG it to death as I had plenty of ammo to spare at the end of the map. I'm pleasantly surprised by how much I'm enjoying this so far, I'm normally not a massive fan of large, more exploration heavy maps - but the combat in most of these maps so far has made it much more engaging for me than they normally would be. -
The DWmegawad Club plays: Interception II
finnks13 replied to dobu gabu maru's topic in WAD Discussion
MAP 3 - Desecration by Misty and DMPhobos: Was not a big fan of this map unfortunately, I found it to be rather frustrating due to how little ammo I was able to find, and that really soured my opinion of the map. The visuals were really nice, the cave area especially looked excellent. I always find it very impressive when people are able to create natural looking areas and landscapes, and I think this is one of the best ones I have seen in a while - I still hate that nukage texture though! I thought the initial fight in the cave area after opening the blue door was entertaining as it was the only time the lack of ammo made the map more engaging for me as I had to run to gain some ground on the monsters with advantageous positions while finding some more weapons and ammo. I enjoyed the yellow key fight quite a lot too with the caco-cloud and arachnotrons, thought that was a good ambush as I had to push past the caco cloud to not get destroyed by the plasma fire. I also enjoyed the MIDI in this map, though I might stop mentioning this as I've liked every song so far! I thought the opening area and the red key fights had far too much space for the monsters there (though I did like the teleporting red key, fun use of boom features), I know it's not meant to be too challenging being Map3, but a slightly smaller arena would have definitely helped to make those fights more engaging while not making them too much more challenging. The main issue I had with this level is (as I have said) the lack of ammo I was able to find, from reading the rest of your comments it seems I overlooked a secret with a berserk pack and a large ammo cache which makes the trouble I had even more infuriating as I think I would have overall had a pretty positive impression of the map if I was able to find that! I ran out of ammo multiple times during the level, sometimes it was exciting as I had to scramble to find some but it became annoying quickly and I completely ran out by the end and had to non-berserk punch 4 revenants at the exit in order to get 100% kills (which was unnecessary I admit). I don't think I play particularly recklessly with ammo so this stood out to me. Sorry to be so negative, though it does seem like I'm in the minority with this map so far. -
Ooh, well I'll definitely watch that playthrough for a start! I may add a bit more ammo to map9 as while there's definitely enough it is probably a bit too stingy, fair enough point with the hell knight on map6 - I never left it alive in my testing so I didn't think to block off the teleporter. If you would like a strategy for the church fight in Map7, generally what I do is to run and grab the BFG and then jump off the platform and run down the left side of the room (facing the entrance) with the archvile and shoot one BFG shot on the archvile and then exit the room into the corridor. The fight will probably clean itself up after that, except for the cyberdemon - I normally enter the fight with no rockets and around 80 cells left if that helps (I'm definitely going to add more ammo to this area too as that seems to be an issue for people too). I think I will end up changing the church fight for the next version as everyone who's played it seems to have a lot of trouble with it and it wasn't meant to be anywhere near as difficult as it turned out to be, I meant to change it but I haven't had enough time to do that before this first release.
-
The DWmegawad Club plays: Interception II
finnks13 replied to dobu gabu maru's topic in WAD Discussion
Hi everyone, I've been meaning to get more involved with the community and playing through megawads with the DWmegawad Club seems like a fun place to start! I've had my eye on Interception 2 for a bit, and this gives me a good excuse to give it a go. I enjoyed what I played of the first Interception, but I never finished it (not for any particular reason, I just sort of... stopped). I will be playing with DSDA-Doom v0.21.0, complevel 9, pistol starts, UV. Going for 100% kills, but if I miss a few monsters in secrets, I'm not going to worry too much. MAP 1 - Euphoria by NeedHealth, DFF, Moustachio and Quantum.Dranger: I liked this opener, had a bit more heft to it than most openers I have played, taking me around 14 minutes to complete. The upgraded fists were really fun to use with berserk and I enjoyed the fight in the large green corridor a lot. I also liked the fight in the techbase area after you exited the tomb, it's probably the most challenging fight in the map with the lack of space to move and mid-tier monsters (though I hadn't realised that I had an upgraded pistol at this point so that probably would have helped). Was not a fan of the nukage texture used in the techbase area here, I thought it was really ugly - I get that nukage probably isn't meant to be beautiful, but I really didn't like the combination of yellow, grey and green. I liked the visuals in the outside area, with the metal inside the canyon. I will admit that I looked up how to get the secret fight after looking for it for ages and not wanting to leave with ~75% kills, but I enjoyed the little ambush taking place in that with the faces looking on from the void. I agree with MtPain27, it would have been a pretty cool final fight, but I've always liked secret fights so I liked it anyway. Didn't find the map very difficult (as is to be expected with opening maps), though I did take a death to a face rocket which will hopefully not be a running theme in this playthrough. MAP 2 - Beyond the Living by DJV, Moustachio and DFF: Really enjoyable map. I liked the focus of barrels, with the opener and library fights being particularly hilarious. I found the map quite light on ammo, though that's probably because I refused the offer of the chainsaw after finding out that picking it up didn't spawn anything in. I enjoyed most of the fights in the level, with the fight in the courtyard housing arachnotrons, hell knights and pinkies as well as the whole blue key area with the surprise archvile traps being the highlights. I expected a bit more of a fight when picking up the yellow key itself, but taken as a whole the area was still good. I didn't think the map was very challenging, but I did find the secret megasphere, soulsphere and invulnerability so that probably has something to do with that (though I did completely waste the invulnerability). I think the map looked really nice, the outside areas with marble castle in a green void look fantastic and I thought the inside of the castle was very nicely detailed without going too nuts to the point where it was hard to read the map. I also really enjoyed the MIDI in this map. I do worry slightly that introducing all of the monster roster bar the Doom1 bosses as well as all the weapons up to the rocket launcher already at the end of Map2 might make the later maps start to feel a bit stale, but I suppose we will have to see about that. I'm looking forward to playing the rest of this as I've liked both levels so far so the wad is definitely off to a good start. -
I believe that support for MBF21 was added in v4.7.0 of GZDoom (as a beta), so as long as you have that version or newer, it should work correctly.
-
Thank you all for the kind comments, I really do appreciate it. Will reply to all of them at once here: Thanks! Glad the screenshots didn't scare you off as I completely forgot to put some in the post until after I had written it so they might not be the best places for them! I'll definitely watch any playthrough videos you make if you link me to them. Glad to be your first MBF21 wad, it's a very cool standard and I'm glad it's actually getting adopted through multiple source ports! Thank you for the detailed feedback, it's really useful for me and I'm happy that you're enjoying it so far. - For difficulty settings, I think what I will end up going with is making HMP have very similar monster settings but with more supplies (mostly health but I know I tend to be a bit stingy with ammo), and HNTR having this same buffed ammo but with some removed or replaced monsters. Hopefully I should be able to get them done fairly soon! - I'm interested to see what you continue to think about the custom enemies and weapons in the other maps, but I think you're right about most of them here. I did struggle a bit to use the nightmare demons initially in Map3 - maybe I should have given out an SSG before introducing them, but I could definitely have a look at buffing the shotgun slightly - I honestly quite like the fact that it's not a guarantee to one-shot the suicide bombers with the shotgun, though I can see how it might get a bit annoying. If there's a listing somewhere of the exact spread values and information so I can buff the damage of it a little bit, I'll probably end up doing something like that. - I reckon I could probably give out another green armour in map 4 so the double archvile surprise is less harsh in cases like yours as it's definitely a bit too mean now (probably for the best I swapped the nightmare demons out for suicide bombers in that fight though!) - From what you say with the red key fight in Map5, I think I might change it so there's just one mancubus on each side teleporting in as that should make it a bit more consistent and also cut down on the projectile hell of it (I may also swap the nightmare demons in that area to regular demons). I'll also probably sprinkle round a few more rockets near the start of that map. - Thanks for the bug reports, not sure how I missed some of these - I thought I had found all the instances where the player and land monster blocking lines stopped working after I accidentally saved the map as a Boom map, but apparently not! - I'm surprised you mentioned Geothermal Plant! I thought basically no-one actually played that map! I'm very glad you liked it.
-
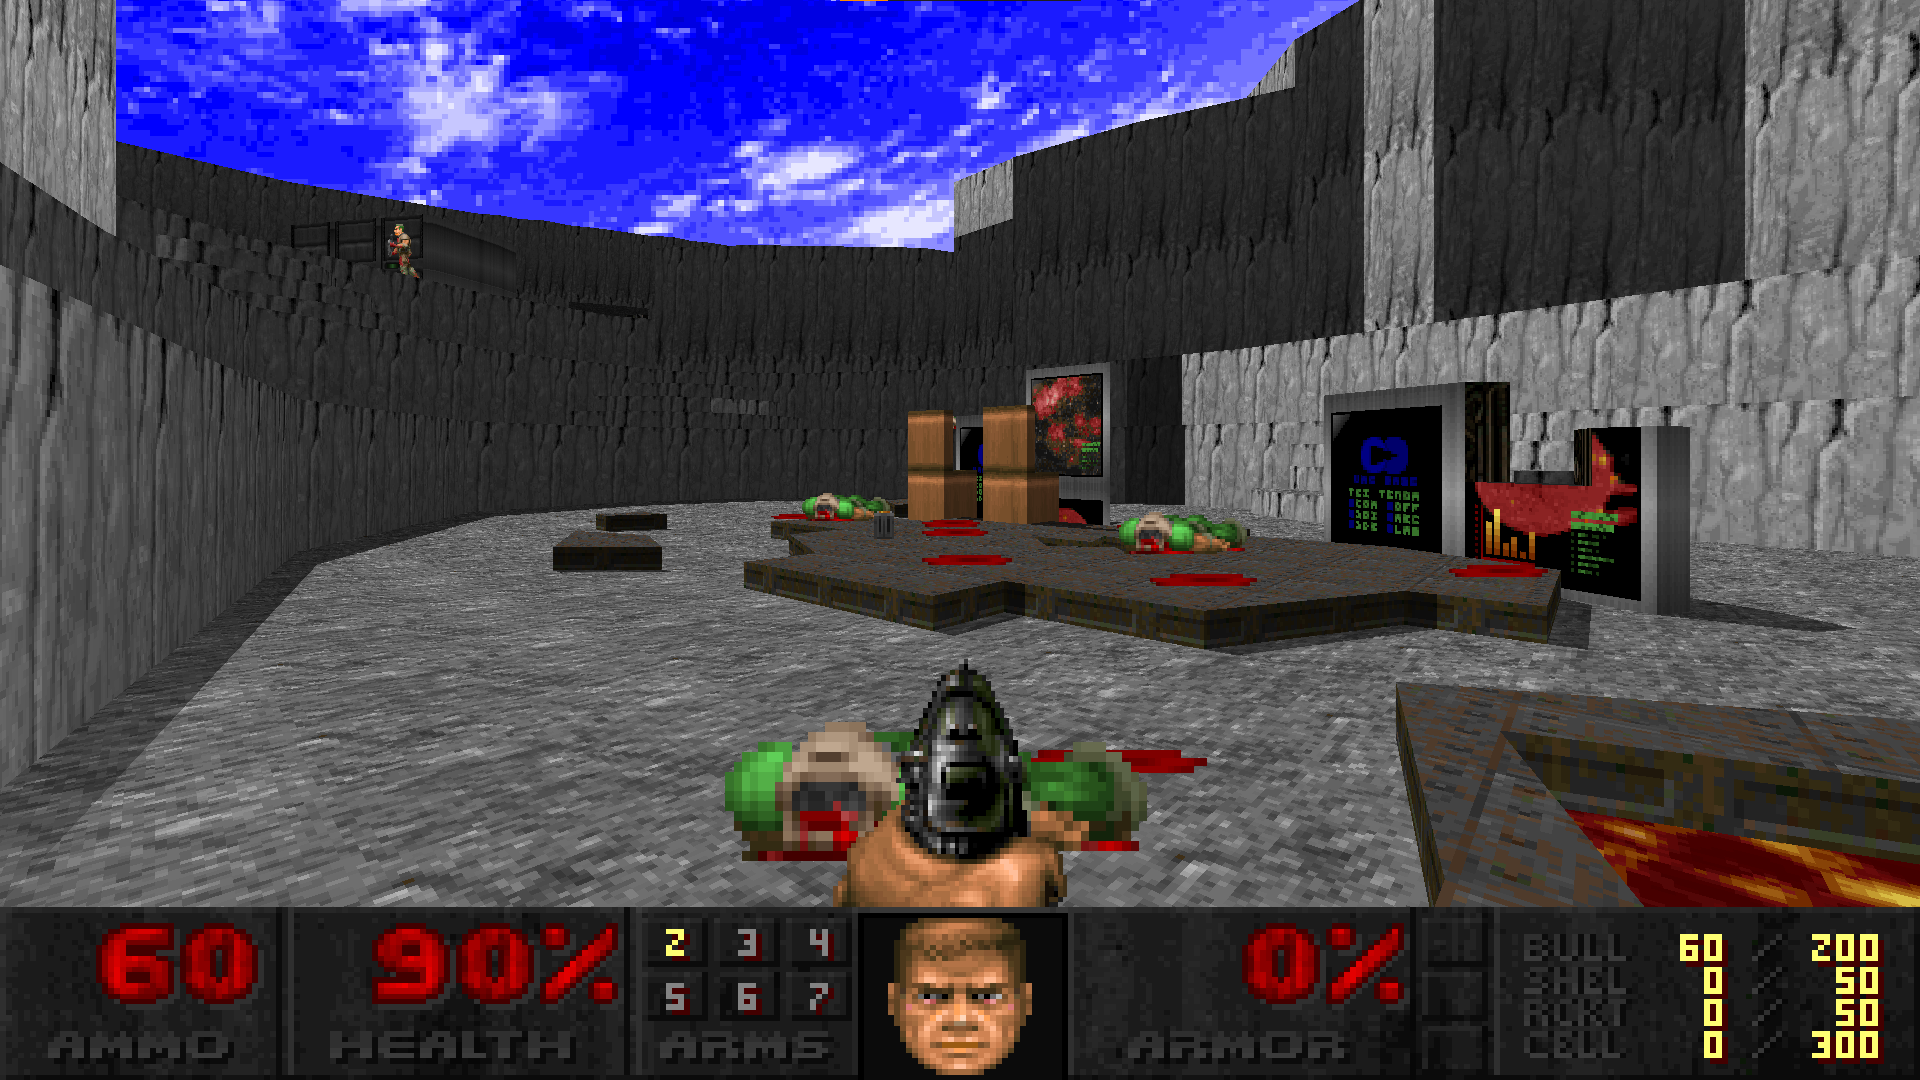
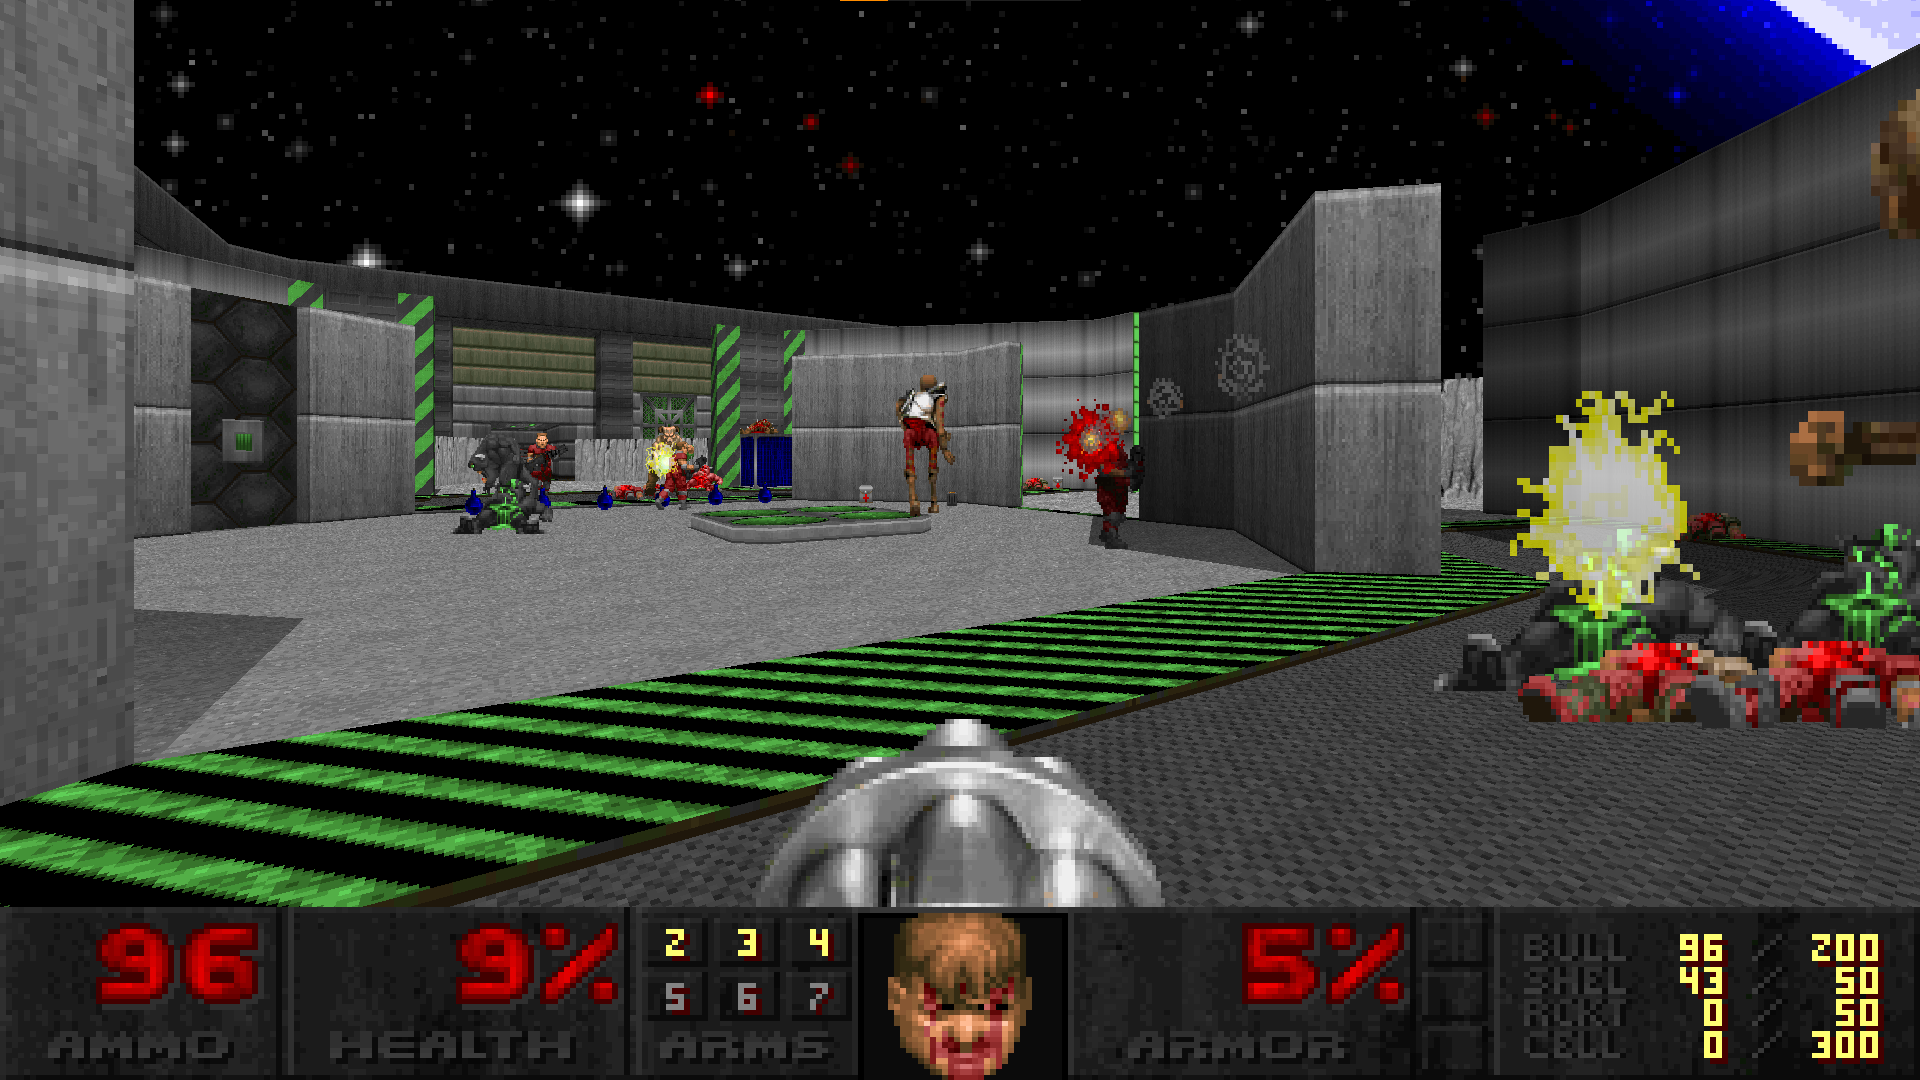
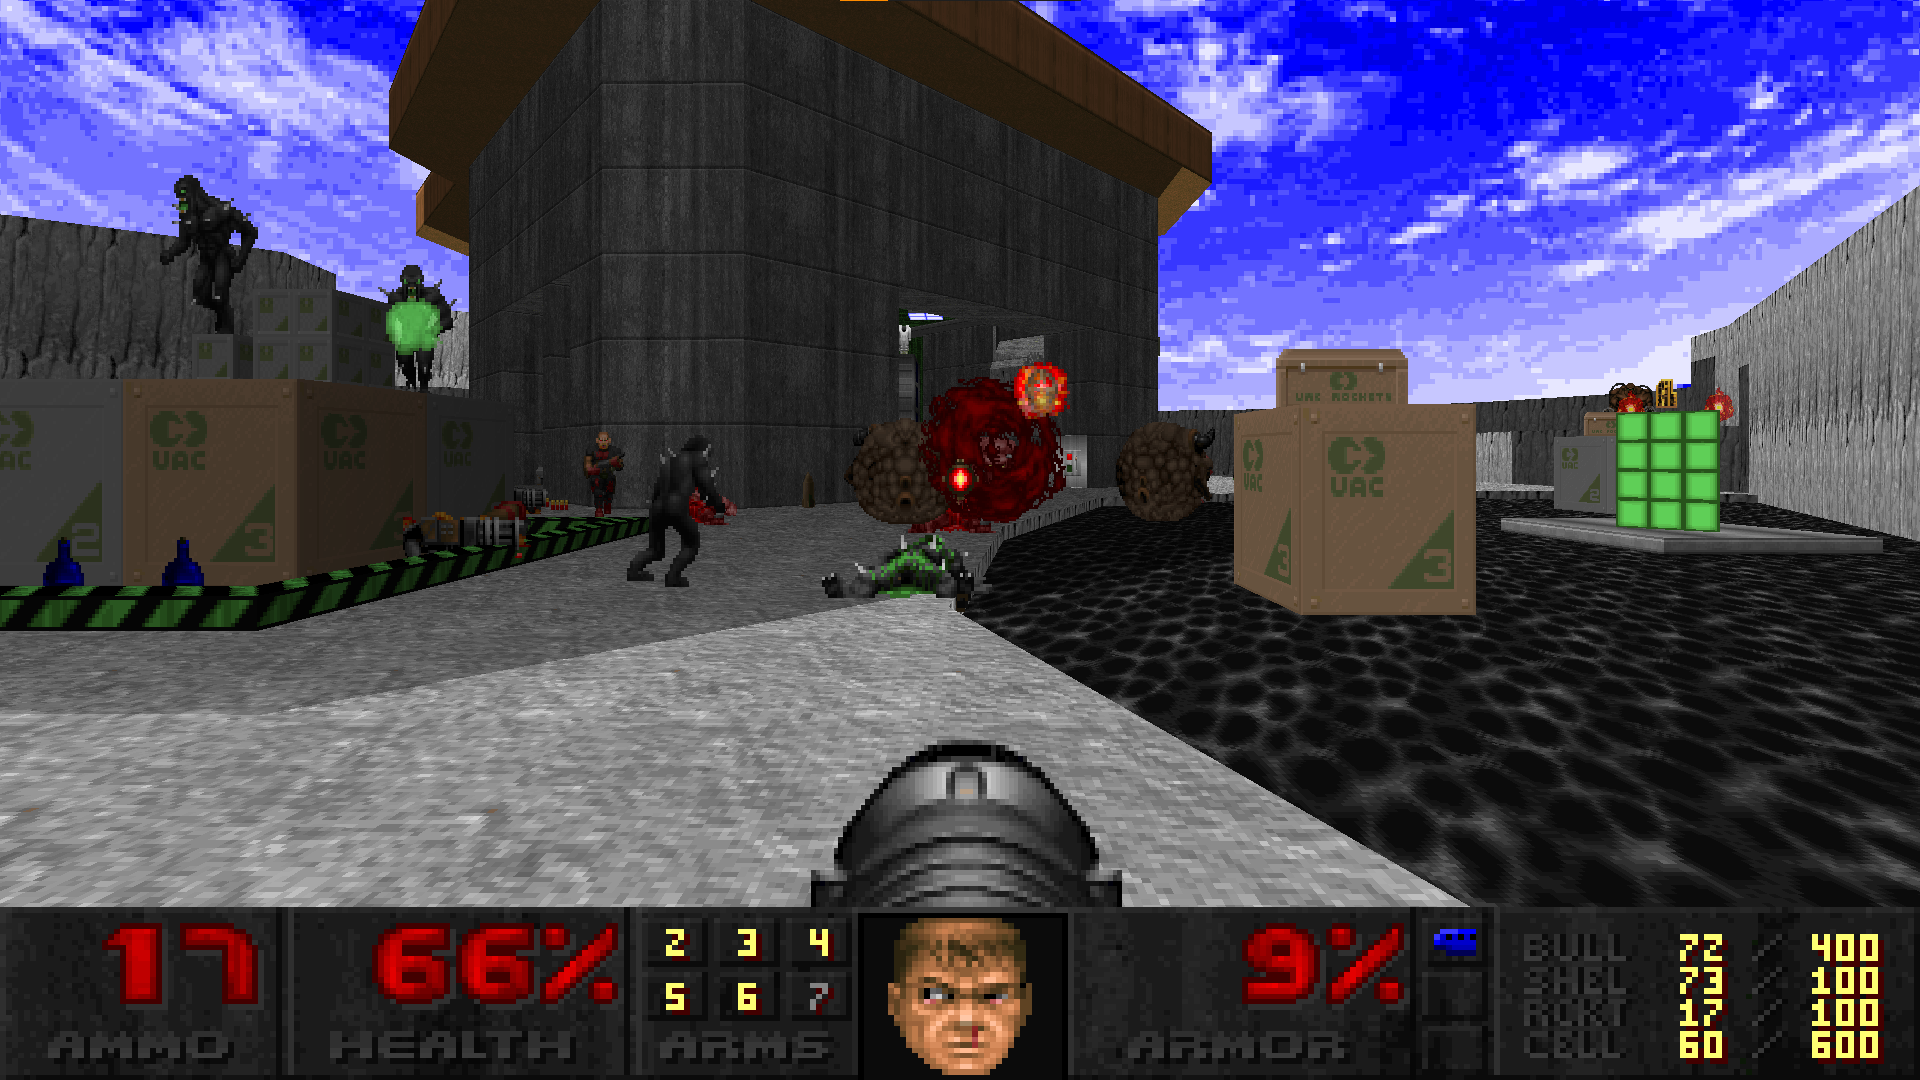
Hello everyone! I've come out of lurking once again this year to post the project I have been working on for this year's NaNoWADMo. This time, I have made a moon themed episode for MBF21 compatible ports as I have always really enjoyed lunar maps such as those found in Lunatic or Nova 3 (among other WADs). There are 9 maps in total, with Map1-8 forming the main progression and Map9 being a secret level accessed from Map5 (thanks UMAPINFO!), most of which are tech-bases or set outside on the surface of the moon, though there are a couple of differently themed maps there too. Difficulty should be around that of Speed of Doom E2, Ancient Aliens E3, Valiant E5 and Nova 3 E3 (with the exception of the secret map which is much harder). There are some parts of the later maps which do get a bit slaughtery but they should all be pretty doable even if you're not a fan of slaughtermaps. Difficulty settings are fully implemented - hopefully, they should provide a similar feel to the experience on UV, but with slightly less intensity across the board. The episode features some weapon changes to the pistol and the chaingun, inspired by a thread I saw a while ago talking about them. I wanted to see if I could buff them, in a way which kept them in their normal role in the arsenal. The base damage for both the pistol and the chaingun has been buffed to 8, from 5 (meaning they deal ~60% more damage than normal) and the pistol is much more accurate. Let me know how these weapons feel as I'm interested in what you think about them. The shotgun's firerate has also been buffed slightly. There are also 5 new monsters which I will detail in this spoiler (in case you don't want to see them before playing the set): SHORT INFO: Maps: 01-09 IWAD: DOOM2.wad Format: MBF21 Tested With: dsda-doom v0.21.0, Woof! v8.1.0, GZDoom v4.7.1 Difficulty Settings: YES! Co-Op Starts: No. For texture, sprite & music credits, see the README included in the download. DOWNLOAD: LLACERATION_RC3.zip If you are using GZDoom, please play in v4.7.1 or greater - or two of the monsters break! Any feedback or playthrough videos would be greatly appreciated so I can work on making sure this set of levels is my best yet! (If you spot any bugs or things that seem like oversights, please let me know!)
-
Ancient Aliens proofs [-complevel 9]
finnks13 replied to rehelekretep's topic in Speed Demo Submissions
Episode 1 UV-Speed in 23:02 - aae1-2302.zip First exit of this after 220 attempts, I used a modified version of elmle's route as a base - most timesaves are from playing far less safely. -
Finished the set off this evening, I was only intending on playing up to map 20 but I was really enjoying myself so I kept going - the short levels definitely helped my decision! I think I prefered the first episode in terms of aesthetics - though it was nice to see the custom textures get some more prominence with the variety of marble colours. That being said, I definitely enjoyed playing through episode 3 the most, with Map26 being my favourite in the set (though Map15 was a close second). I think the harder difficulty of these later levels fits better with the mapping style and monster placement, the issue I had with cyberdemons feeling tacked on in the first 10 maps didn't apply to any of these levels - they felt much more dangerous here. I think the difficulty of the set could have been a bit harder overall on UV - I didn't die that much and I'm definitely an average-level player. The difficulty curve was very good though, the set definitely got tougher by the end - I feel you could have started with Map1 being more similar in difficulty to Map10 and progressed it from there, though there's nothing wrong with a set of maps being balanced a bit on the easier side. Some Small Things I thought I'd mention: - I think an issue with the set as a whole is that the vast majority of the maps fall into the same category of "fast-paced arenas with loads of height variation where you get weapons in order and normally have to kill a boss monster at the end with the plasma gun or BFG" and I wish that some of the maps had different weapon and monster placement to that - obviously its RC3 so I'm not saying to completely redo the levels for my sake, but if you were to ever make another wad in this style it'd be nice to see. It didn't bother me that much though, I still loved playing through this. - I'm not sure how you're meant to kill everything in Map22 (I probably would have tried to plasmagun the cyberdemon turrets down if I was playing with saves but I didn't fancy replaying the level when I died.) - I was quite confused when I first started playing Map30 - after hearing the Icon activate I started trying to find a way to kill it before realising that I just needed to hit a switch. I'm not sure how you could make it more obvious though. - I wish there were some more maps explicitly in the city style like Map20 because that map looks fantastic. - The brick texture on the bottom part of a curved staircase on Map16 (I go down it at ~30 seconds into the demo I made) looks a bit weird to me. I also felt that 'untitled' didn't really fit the map that well - seemed a bit hell-y for the natural-techbase setting of the map. Overall, I really enjoyed this set. It's honestly a bit of a shame that the singleplayer part of the set might get overlooked because of the set being made primarily as a deathmatch set (I've never played doom deathmatch so I can't comment on how they'd play) because this really scratched an itch I had - it reminded me a lot of SCYTHE in the feel of the set now that I think about it. If you want any specific feedback on any particular map (either now, or if you decide to update one of them a lot), then I can replay those levels and give more explicit comments on them. Here are the demos, again recorded in Crispy Doom: BDM_M11-30_finnks.zip (NOTE: My mum rang me about 3 minutes into my attempt of Map26, I hoped that the demo would pause and skip the 30 minutes I was on the phone for. It didn't. I've included it still, but you might want to watch it in a port which can fast forward demos!)
-
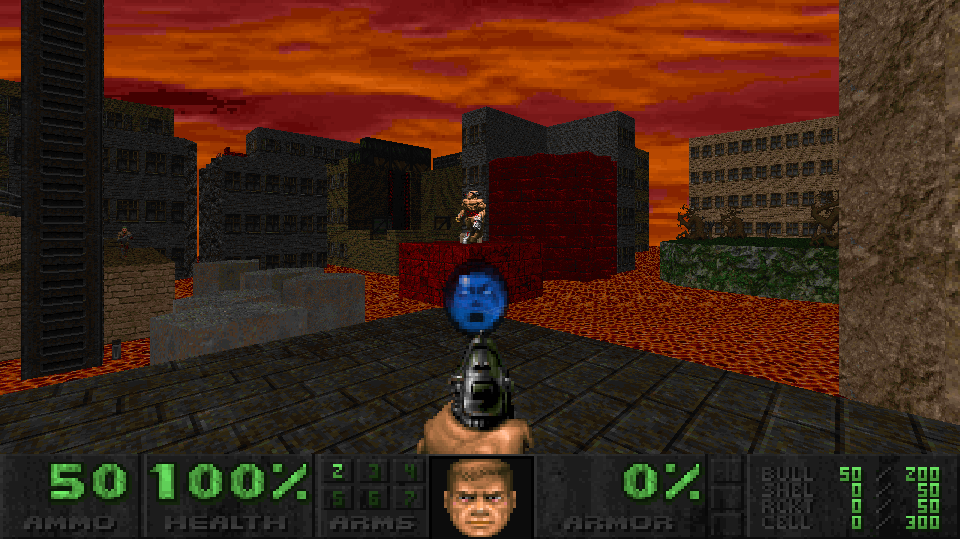
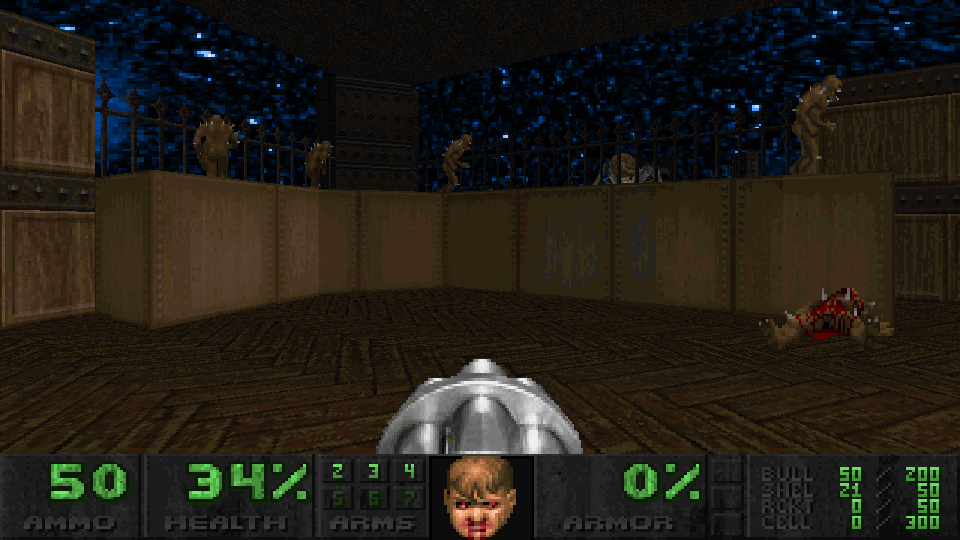
Hi, I gave the first 10 maps a go this evening - had a very good time for the most part! I really liked the length of the maps and how they were all basically one continuous fight for the entire thing - it's the sort of thing I've been wanting more of since I played Swift Death a few months ago. The layouts were really fluid and were pretty good at directing me to the objectives - I got slightly lost on Maps 3 and 8 if I remember correctly, but they're so small that it's not a massive deal. I was surprised how well they played since they were slightly converted deathmatch maps, though on reflection it makes sense that deathmatch arenas would be equally suited to fighting demons. The difficulty of the maps felt pretty good to me - maybe a bit easy though I haven't played the other levels yet - with Maps 1 and 2 causing me the most trouble by far. I felt that there was plenty of health too so the abundance of hitscanners didn't bother me at all (I really love massive packs of zombiemen, they're great) but it does force you to play fast. I liked the modifications to the weapons too, they helped tear through the hitscanners + imps - the chaingun is very fun especially! The BFG costing 80 cells to fire did throw me a bit at first (my first attempt at Map02 ended with me wondering where all my cells went) but I think it makes sense with the monster placement in mind. The maps look absolutely fantastic, I really like the style of them - they feel nicely detailed without being visually overwhelming. The new textures fit in really well with the standard Doom 2 texture set - I only really noticed them on Map08. I really love the orange sky in these maps too, not really sure why I've just really liked orange sunset-y skies since playing Doom E4 and Alien Vendetta E1. The cyberdemons felt a bit tacked on - they mostly felt like giant sacks of HP to chew through and weren't too threatening. A lot of the time I was just left shooting them from below as they auto-aimed into the ground or peek-shooting them from around a corner. I think the ones in Maps 5 and 6 were most guilty of this. That being said, I really like the cyberdemon in Map02 because of the line of sight it has into the main corridors which caught me out a couple of times! I didn't find any bugs that I can remember, so any which may be there didn't interrupt my playthroughs at all. I've attached demos for Maps 1 - 10 here, I hope they help (Maps 3 and onwards are FDAs, I played Map1 and 2 before deciding to do that): BDM_M1-10_finnks.zip They were recorded using Crispy Doom, so they should playback fine. I'll probably end up playing more tomorrow.
-
https://www.twitch.tv/finnks13 Doing a playthrough of my NaNoWadMo 2020 project, giving some thoughts about how the levels came out.
-
Thanks to @tourniquet's feedback and demos, I've updated the wad a bit. Not made any massive changes to the maps, mostly just small things like a bit of extra ammo and health where it was necessary and fixing any inescapable pits or other major bugs which I was able to find. A full changelog is in the zip file for the wad if you want to have a look. The maps which are changed the most are 19 and 24 (19 has a lot more ammo and some of the fights have been changed a bit and 24 has some fights changed as well as making the BFG less stupid to get). If you've got the old version and are mid-playthrough, I'd recommend using this version because it's a bit better. I'm going to work on a more major update at some point soon so I can change some of the fights I'm less happy with and to take on board more feedback. Download link is here and also in the OP.
-
Thanks for all of these demos and your comments, they've been really useful with helping me figure out some slight changes that need to be made to the maps. I'm glad you seemed to enjoy yourself overall here! Map specific comments: 10 - Wanted to do a mario galaxy homage map since I saw the island hopping thing from Eviternity. Fair enough about the RL fight, this was the last map to get finished and I did rush it a bit. 14 - Suprised you liked this one, cause I kind of hate it (not really sure why) 17 - Didn't realise how easy it was to cheese (always sort of had it in my head of "oh yeah its fine if someone wants to pacifist the map" but it's less fun seeing it happen) so I'll probably fix that (and similar to the other maps which are very easy do that to) 19 - I'll add a shotgun to the start because while it played out how I intended, I can completely understand that it might not have been that fun. Probably also going to change the sewer section a bit (mostly adding more ammo so you dont have to rely on a mancubus clearing out the ambushes) 20 - Was fun to see someone activate all the switches at once, didn't really try to do that when I was making the map. 21 - Very glad you liked this map, I'd like to do more maps in this style in the future because I enjoy them. I meant to make the blood damaging, I just forgot I think. 24 - Was entertaining to see someone who's better at the game than me do this map, cause you had a much easier time than I was expecting (not sure how the archviles died so quickly in the final fight though!) Think you triggered the yellow key fight by mistake when looking at it, but I'll have to fix the triggers there because that's the most fun (and difficult) fight in the level and it'd be a shame if you can skip it by mistake! I wasn't expecting to get a full playthrough so early after releasing this so thank you so much for that, it's really made my day watching all these demos and I'm working on a small update to address a lot of the problems you mention here.
-
Thanks for giving my wad a go! Glad you liked it so far. I think your comments are right, though I will say for Map5 you did miss the SSG (you even managed to counterstrafe at the last moment before you grabbed it when an archvile boosted you towards it!) so I think that might have something to do with the ammo shortage - though I'll add some more anyway (probably in the form of a backup SSG). You're also right in that Map3 can't be max'd (max kills is 9/21, I think I said in the text file) but it's more ammo deficient than I intended. Hope you enjoy the rest of the maps, watching the demos has been really entertaining so far! Thanks! I am very happy with how that map came out!
-
NaNoWADMo 2020 - The month-long mapping challenge!
finnks13 replied to scwiba's topic in WAD Releases & Development
I managed to get 25 maps done for this, figured I'd post the thread here too. All of these are speedmaps made in around 2-8 hours, with various themes. The maps are in boom format, -cl9. Didn't have time to make difficulty settings, though I'm going to add them in a later update most likely. Thanks for running this @Ryath , I really enjoyed myself. -
Hi, This is the project that I've been working on for this year's NaNoWadMo. I've made 25 maps over the course of October (didn't quite manage to get 32 done but ah well), ranging from short techbases to large hellish slaughtermaps! They were made in between around 2 and 8 hours. The main idea behind this was to do my first attempt at using OTEX and also my first attempt at properly speedmapping, which sounds like a horrible idea in hindsight, but I think it's come together pretty well. These are speedmaps so bugs will almost certainly present however they shouldn't break the level (Let me know if you find any though!) Hope you enjoy! SCREENIES: INFO: Maps: Map01-Map25 (+Map31) IWAD: DOOM2.wad Format: Boom (-cl9) Tested With: prboom+ 2.5.1.5, GZDoom 4.1.0 (might have some issues on Map23 and 24 due to the large amount of monsters) Difficulty Settings: There aren't any currently. Sorry. Co-Op Starts: No (Decided not to risk it) CREDITS: DOWNLOAD: >>HERE<< Any feedback would be much appreciated because I will absolutely change around some fights a bit if they're awful (and I'd like to make a credits map too before uploading to /idgames)
-
I've run into something similar when using VirtualMidiSynth before. I was able to fix it by going into the volume mixer (right click on the speaker in the taskbar) and turning down the VirtualMidiSynth slider there. (I think this happens because VirtualMidiSynth intercepts all MIDI playback, so volume options in any program do nothing)
-
NaNoWADMo 2020 - The month-long mapping challenge!
finnks13 replied to scwiba's topic in WAD Releases & Development
I know this is a bit late, but I'd like to sign up and give this a go.