-
Posts
120 -
Joined
-
Last visited
About FistMarine
-
Rank
Junior Member

Recent Profile Visitors
-

The DWmegawad Club plays: Operation: BIOWAR & Equinox
FistMarine replied to dobu gabu maru's topic in WAD Discussion
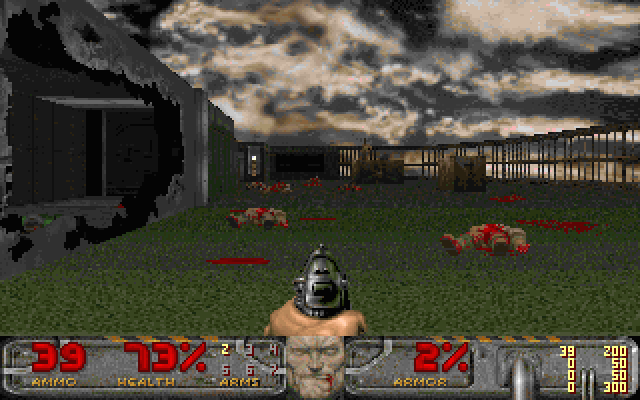
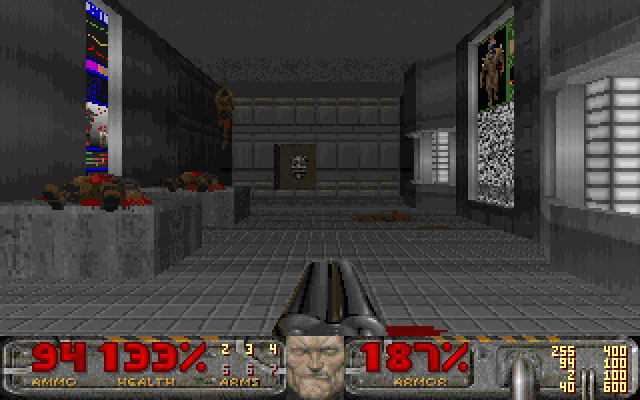
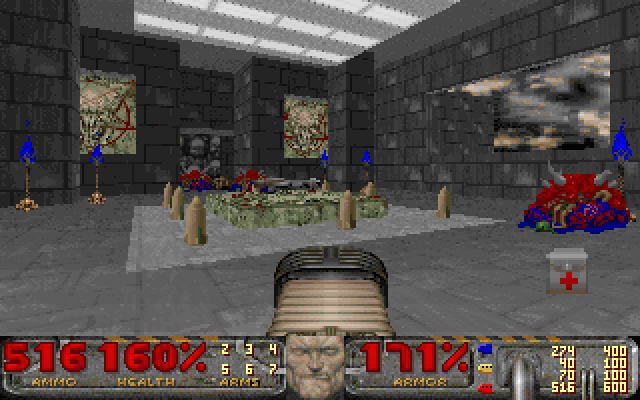
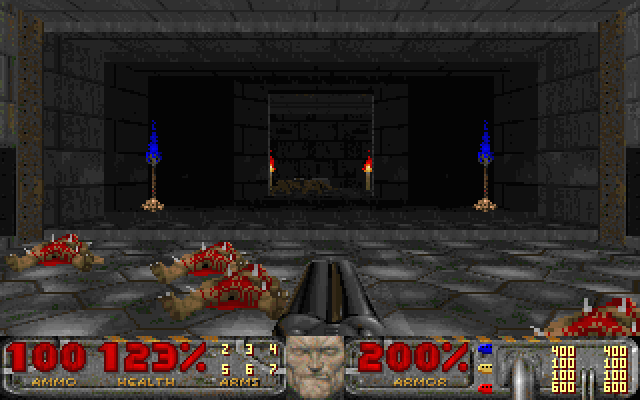
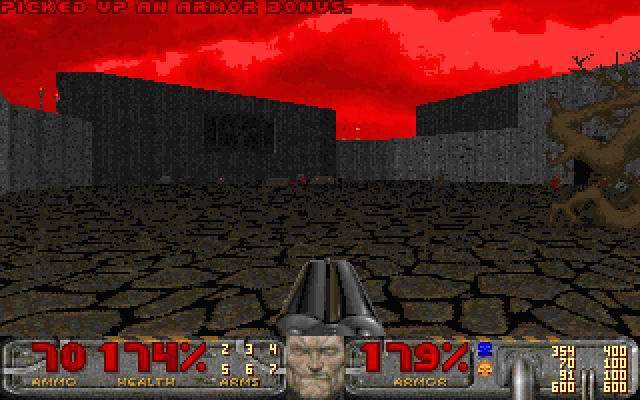
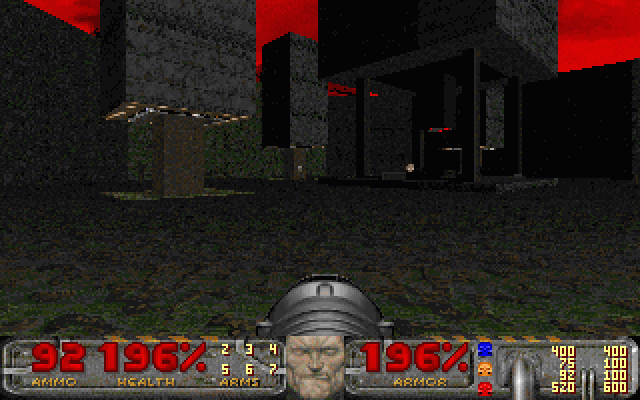
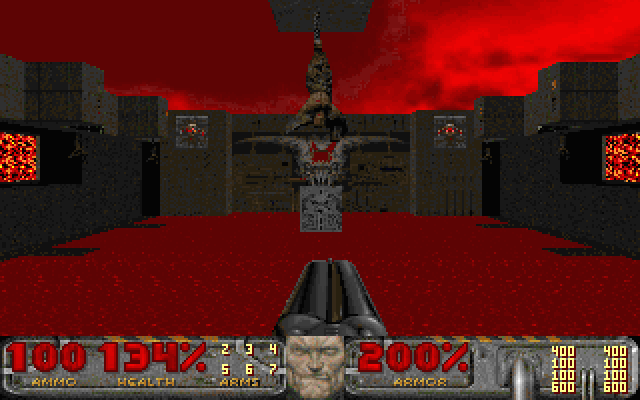
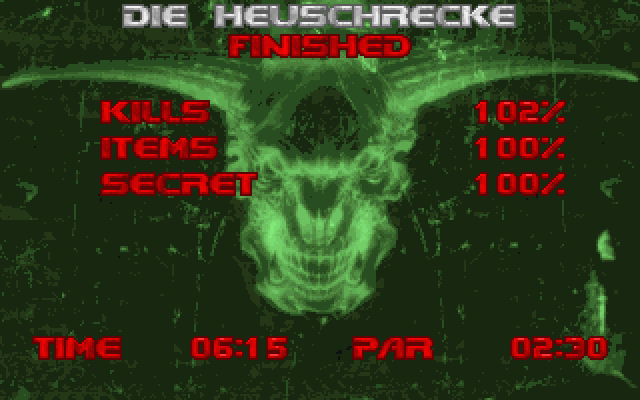
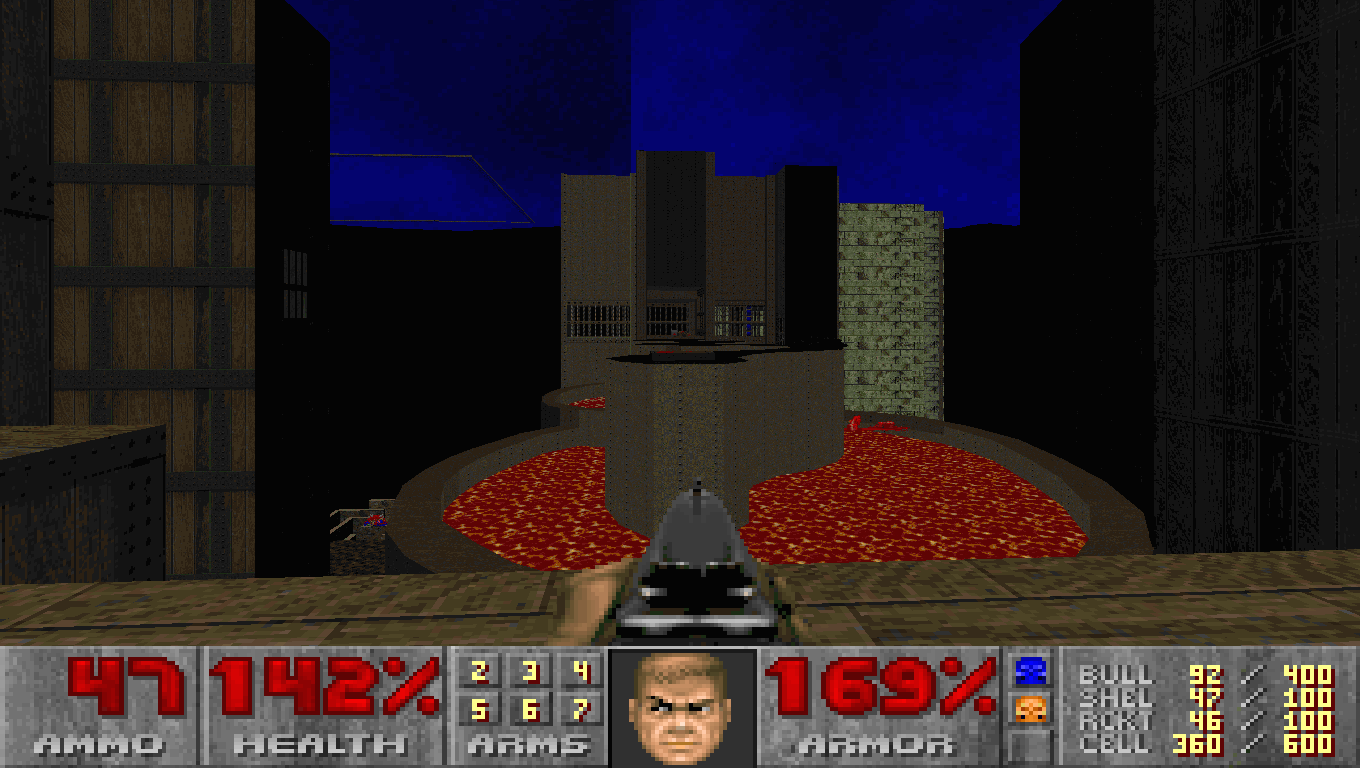
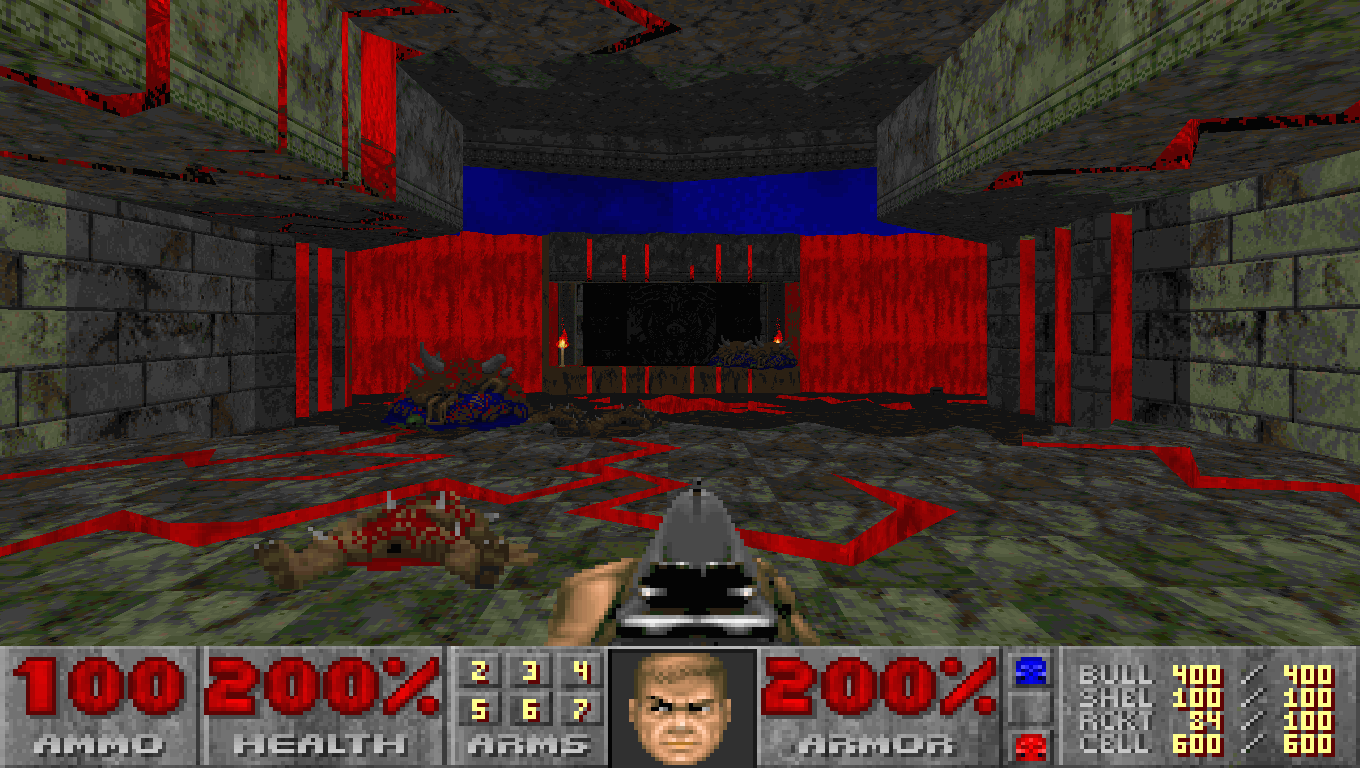
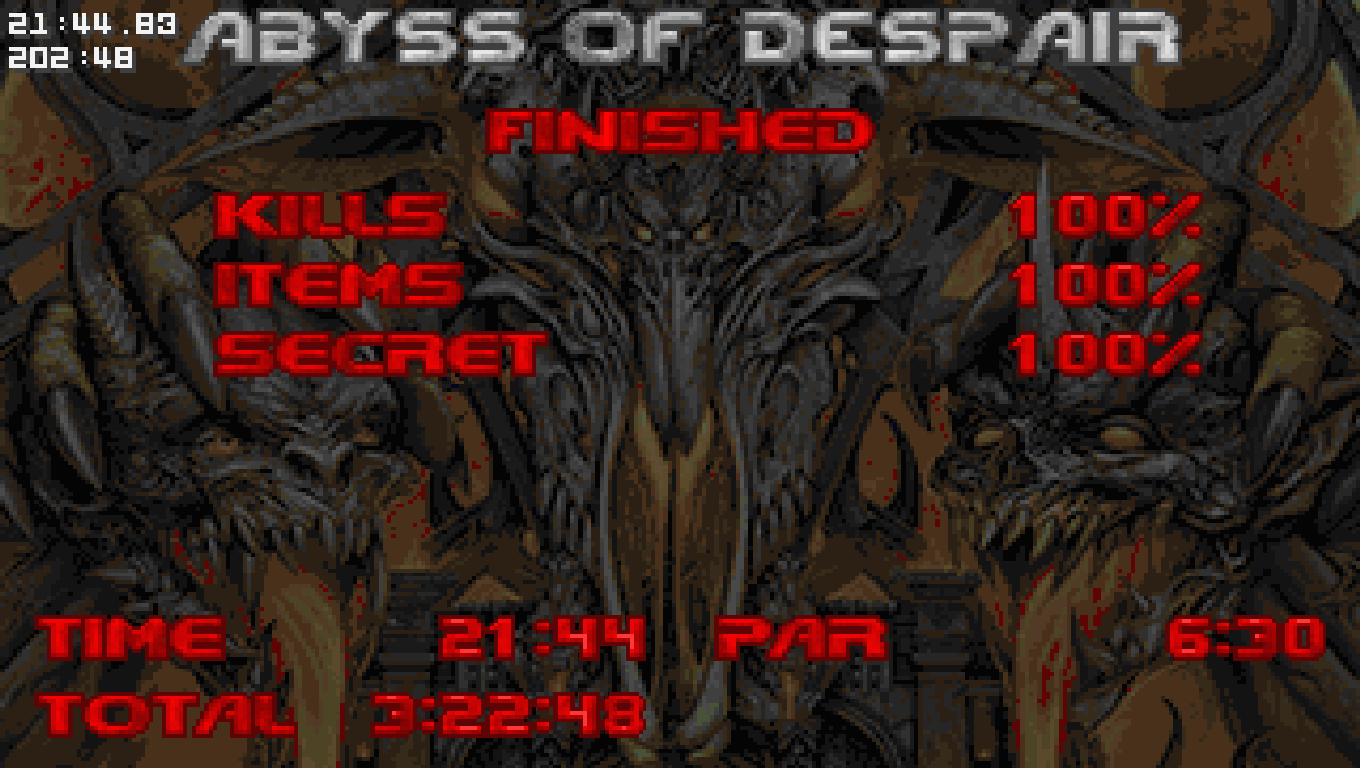
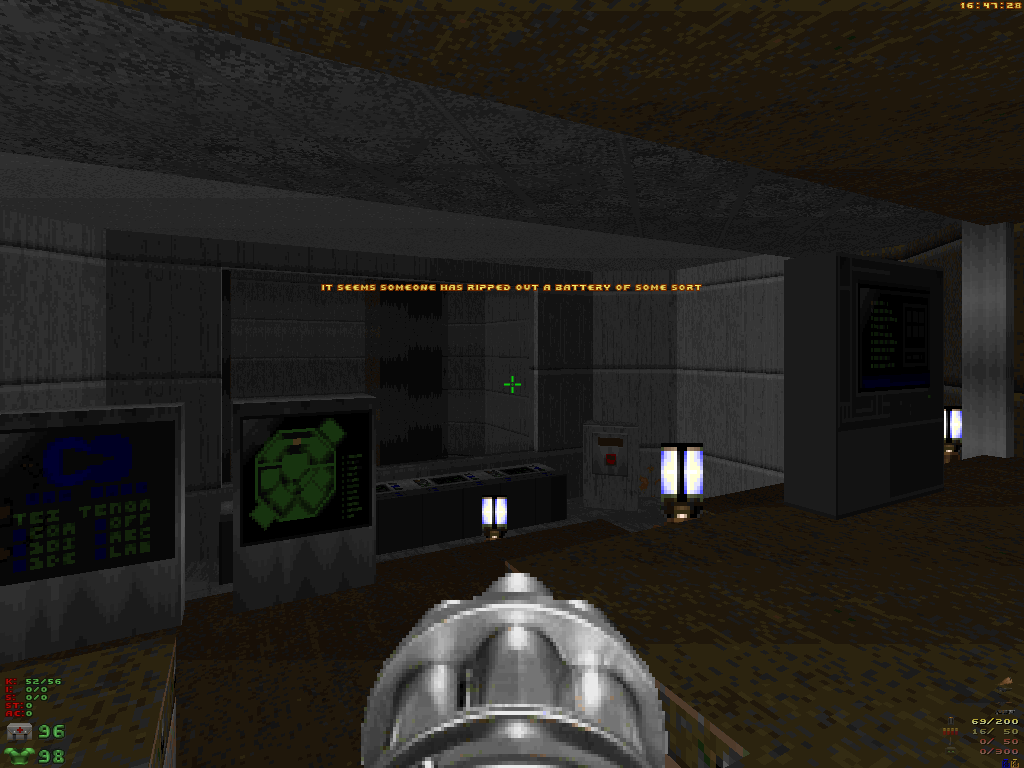
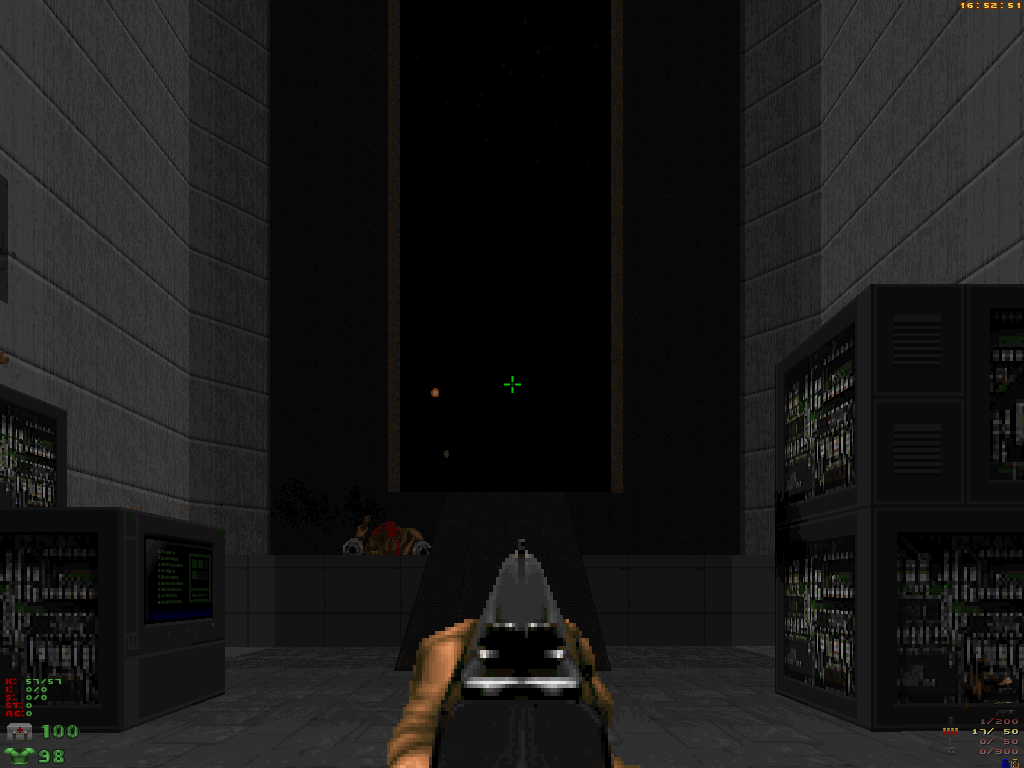
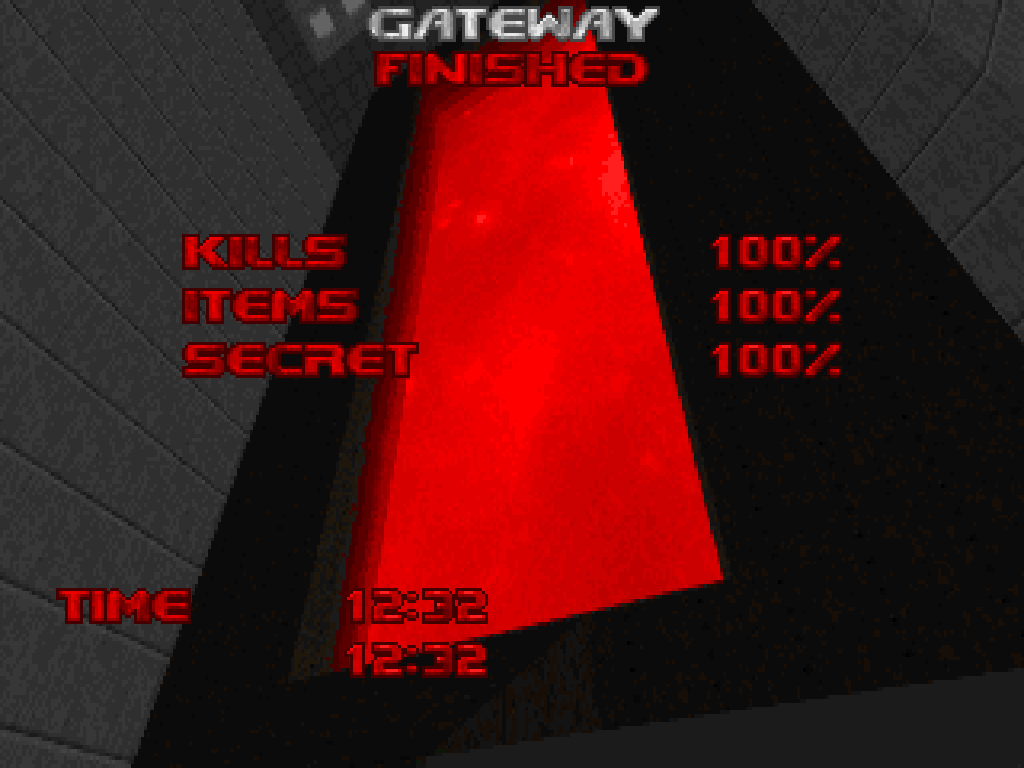
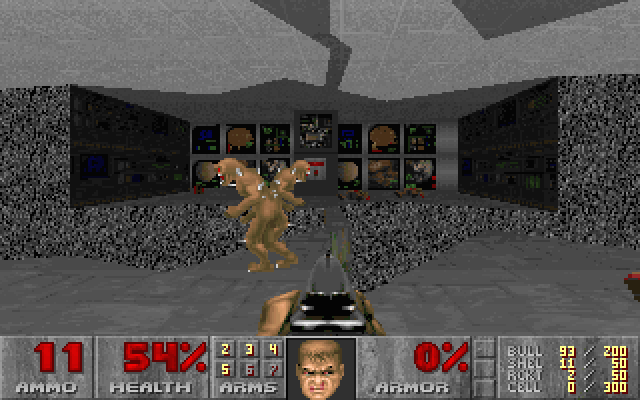
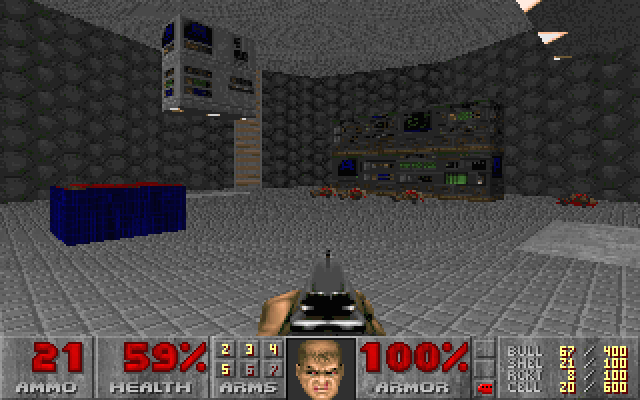
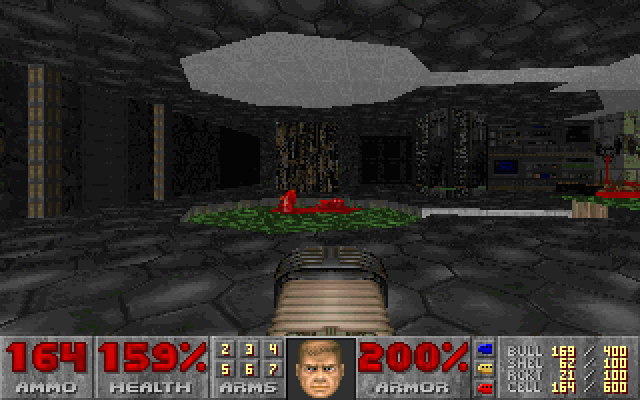
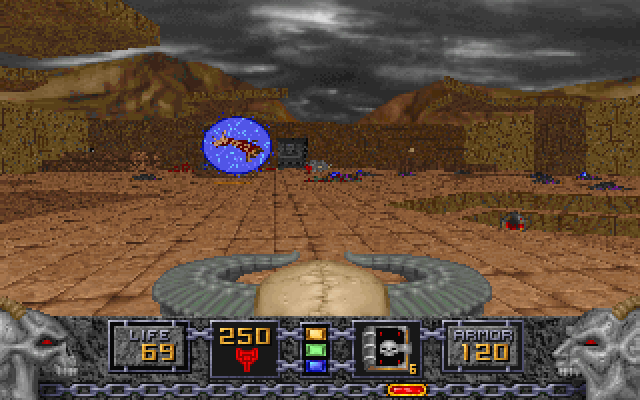
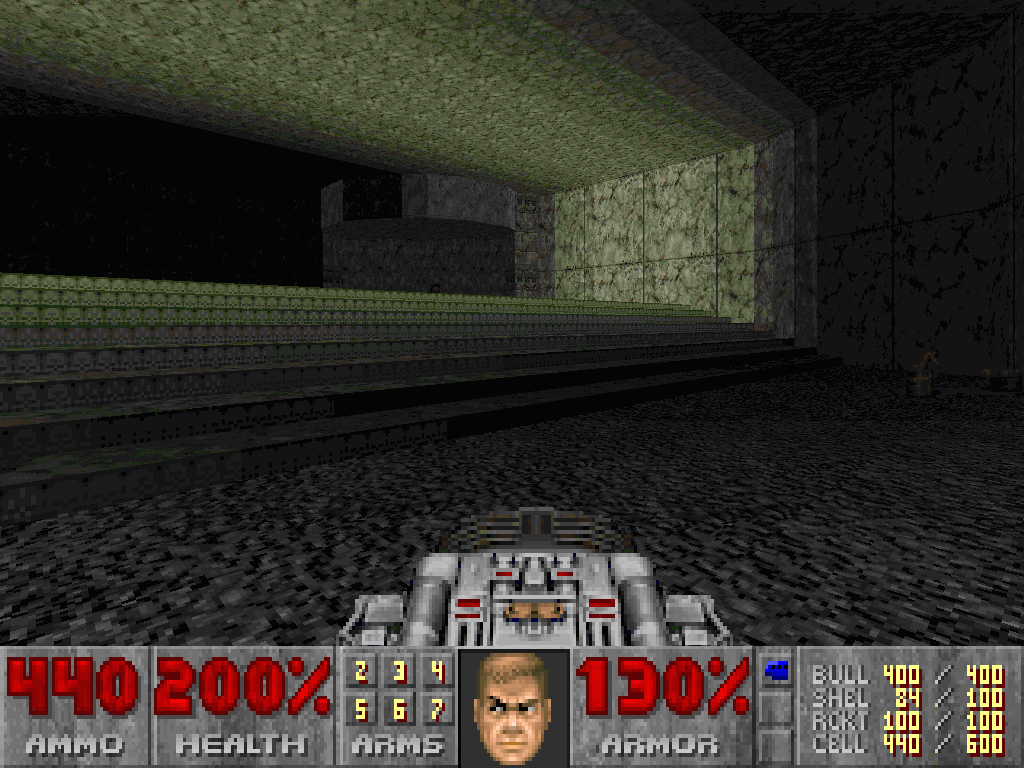
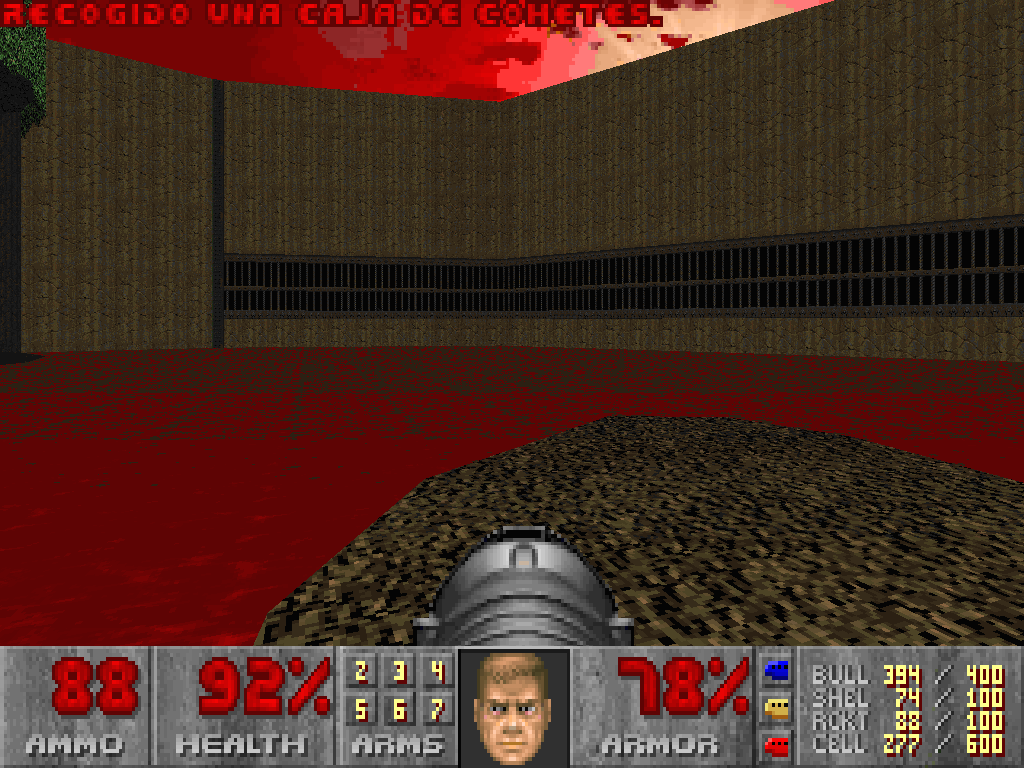
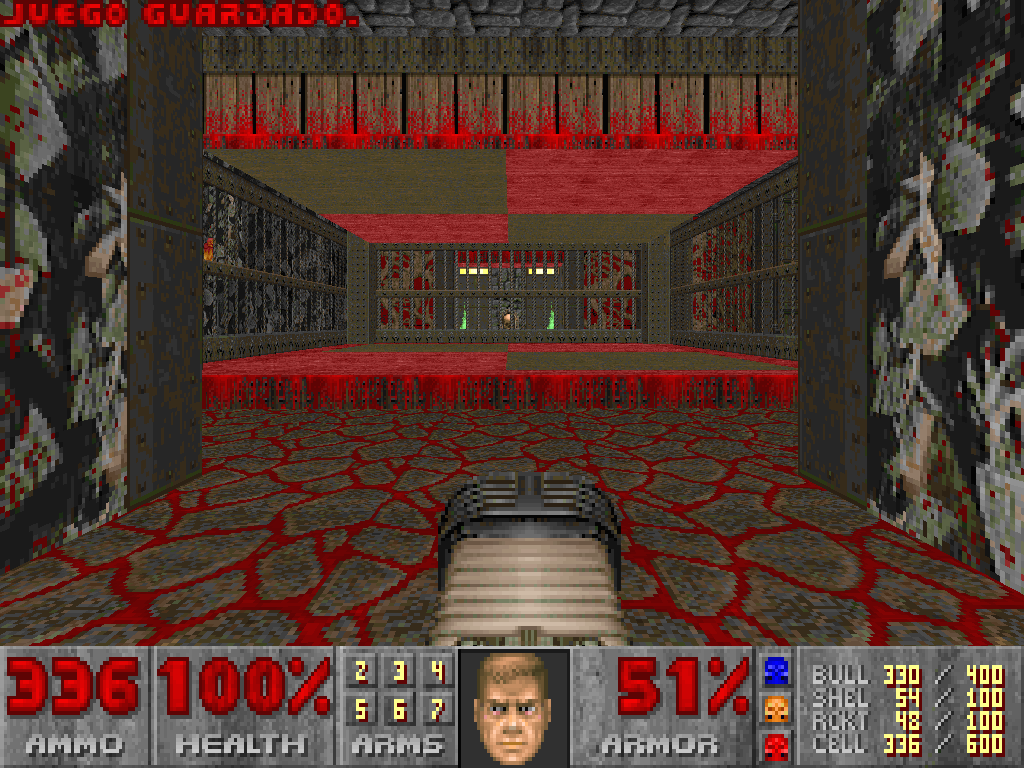
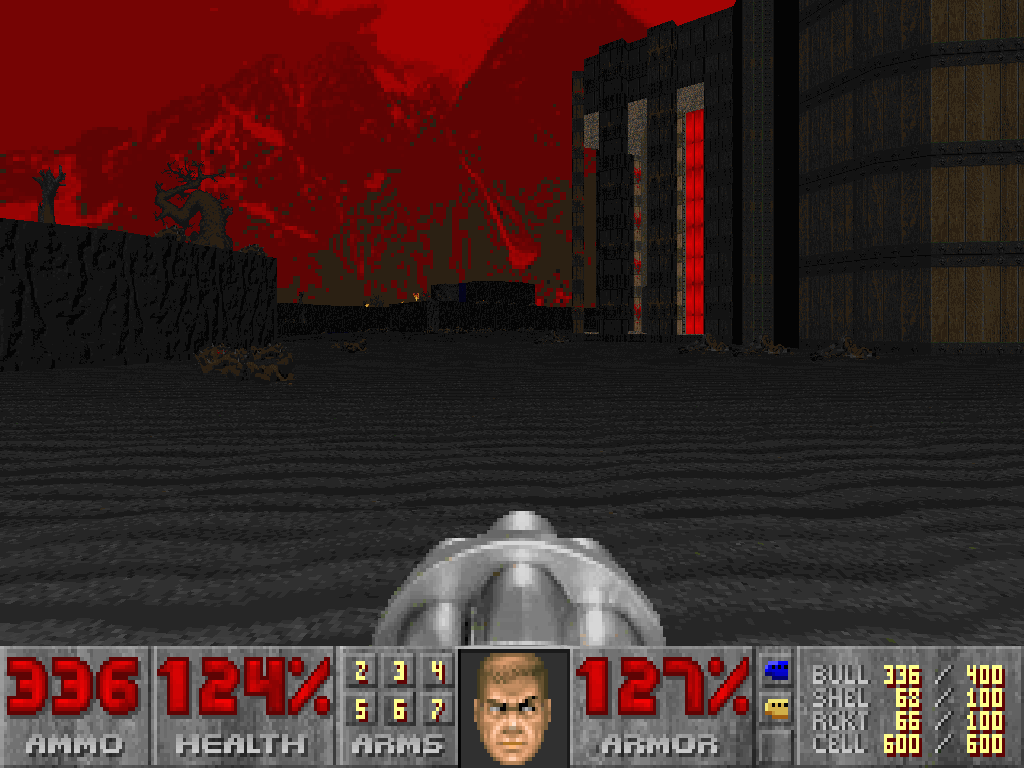
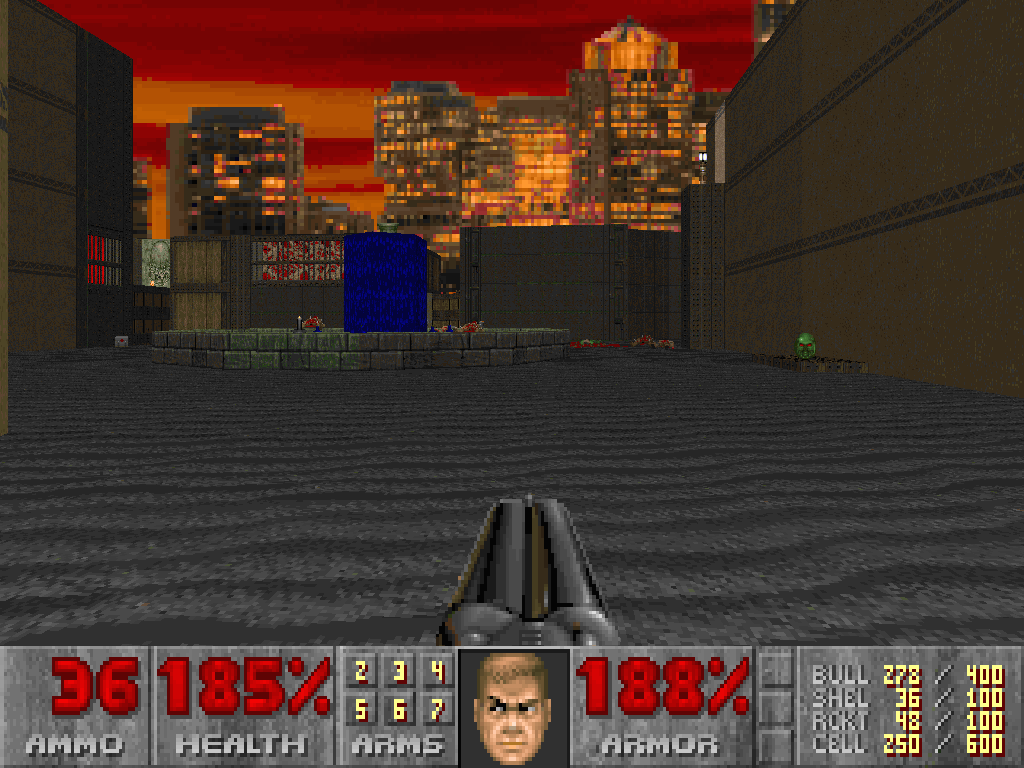
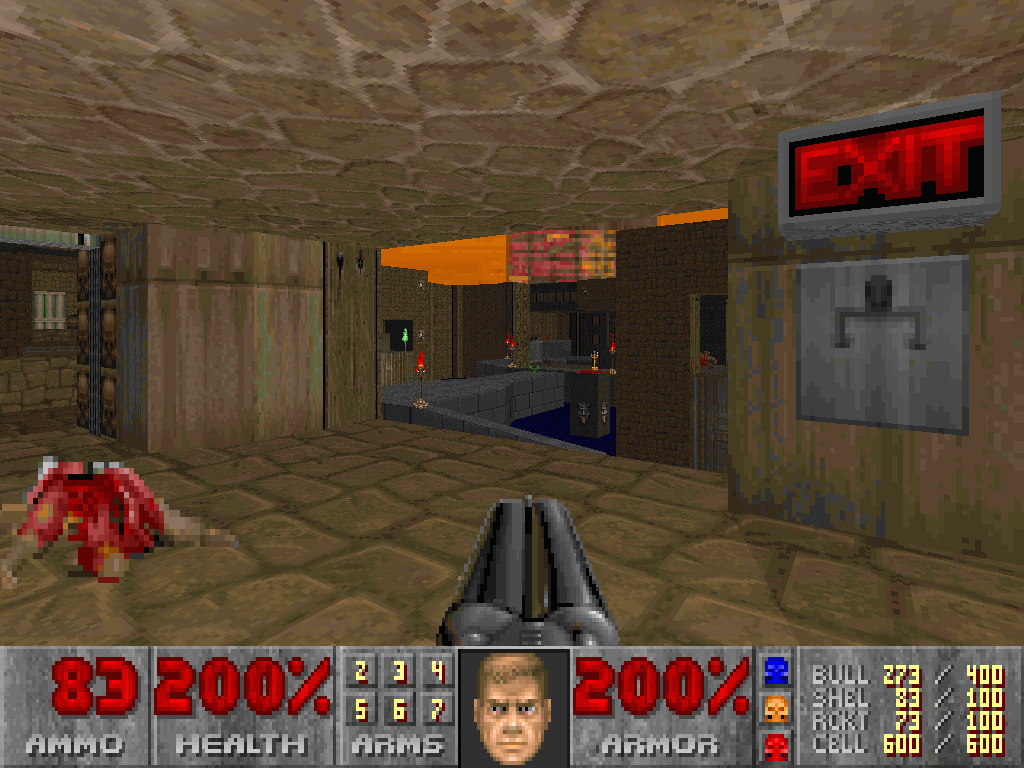
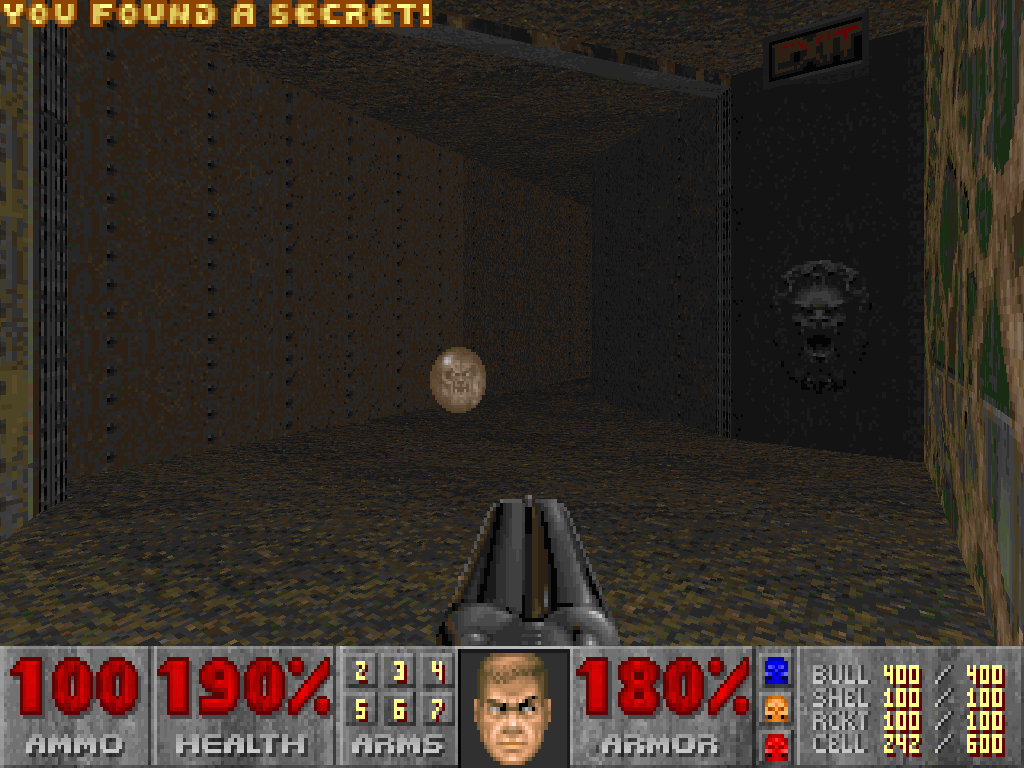
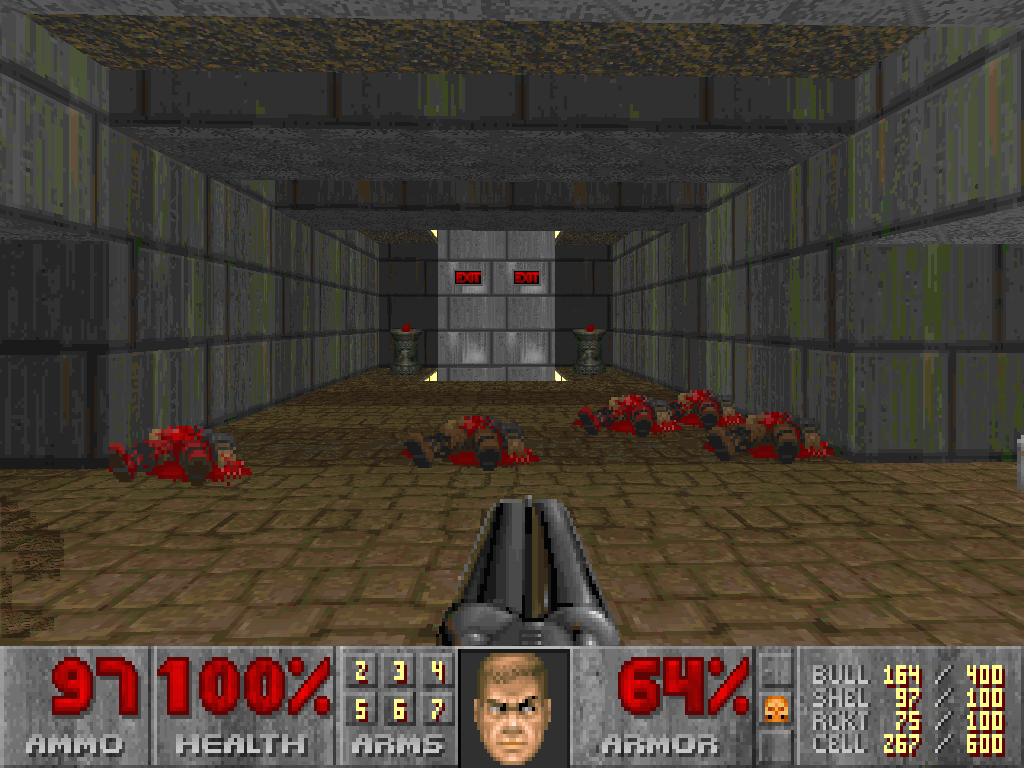
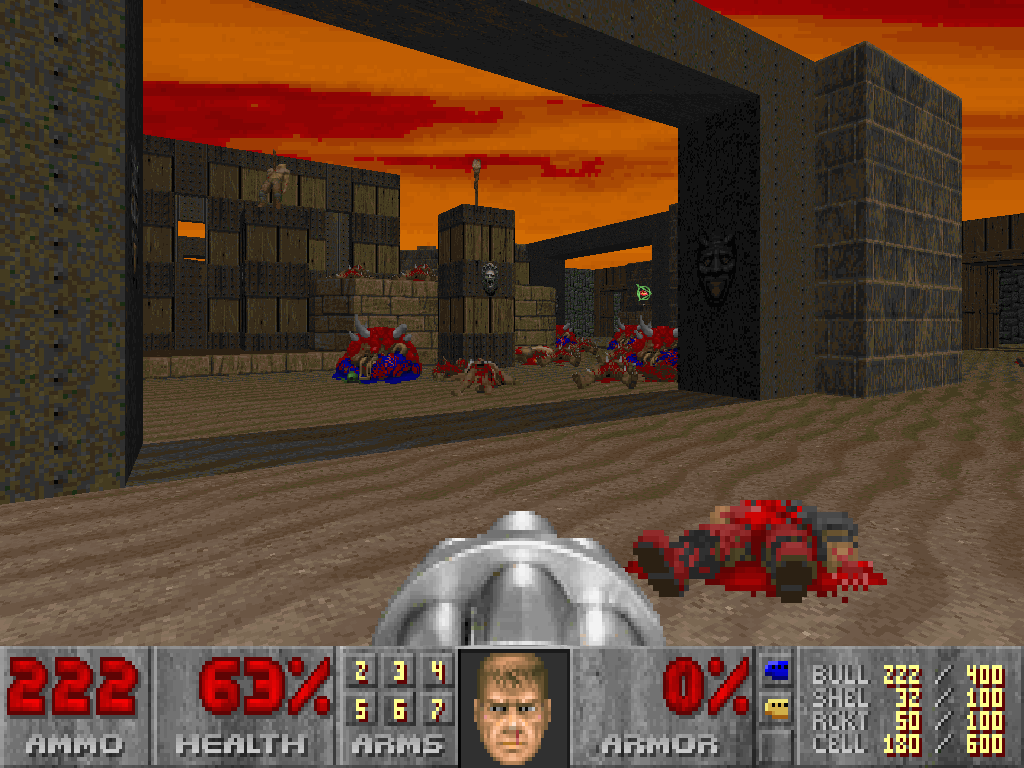
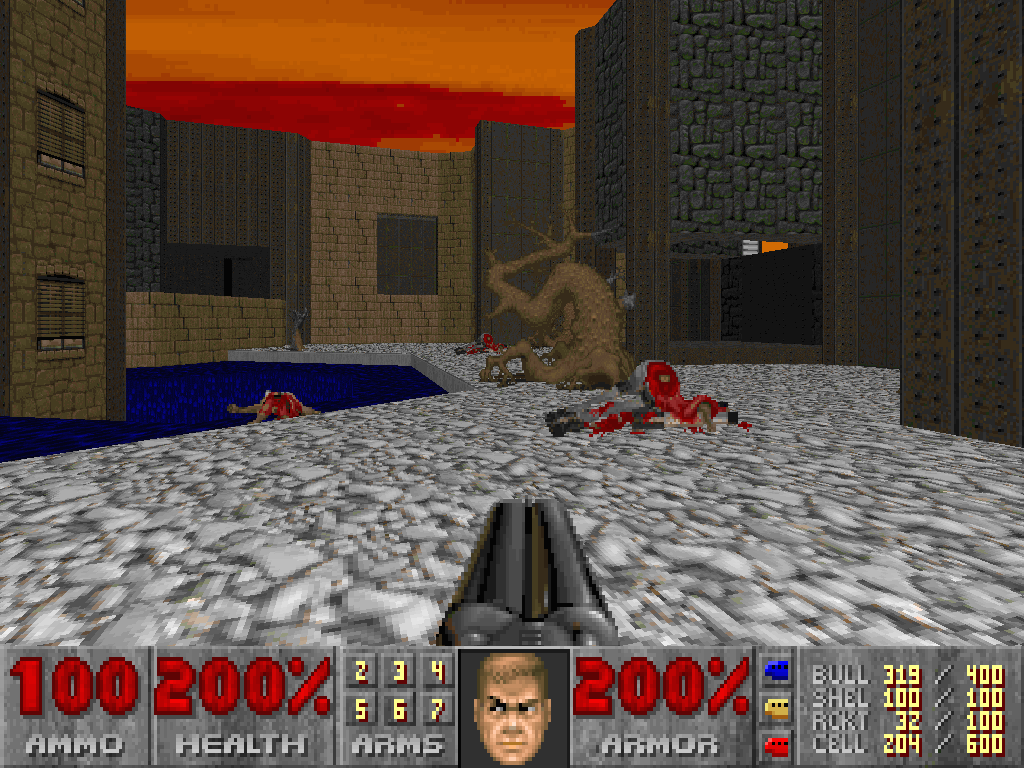
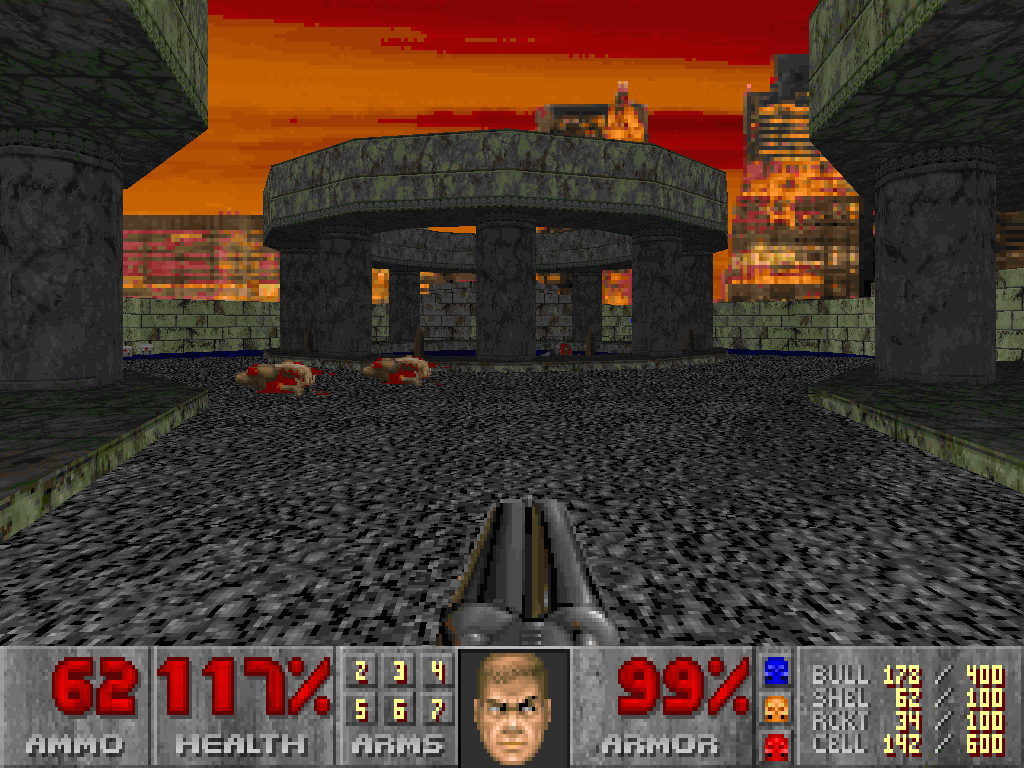
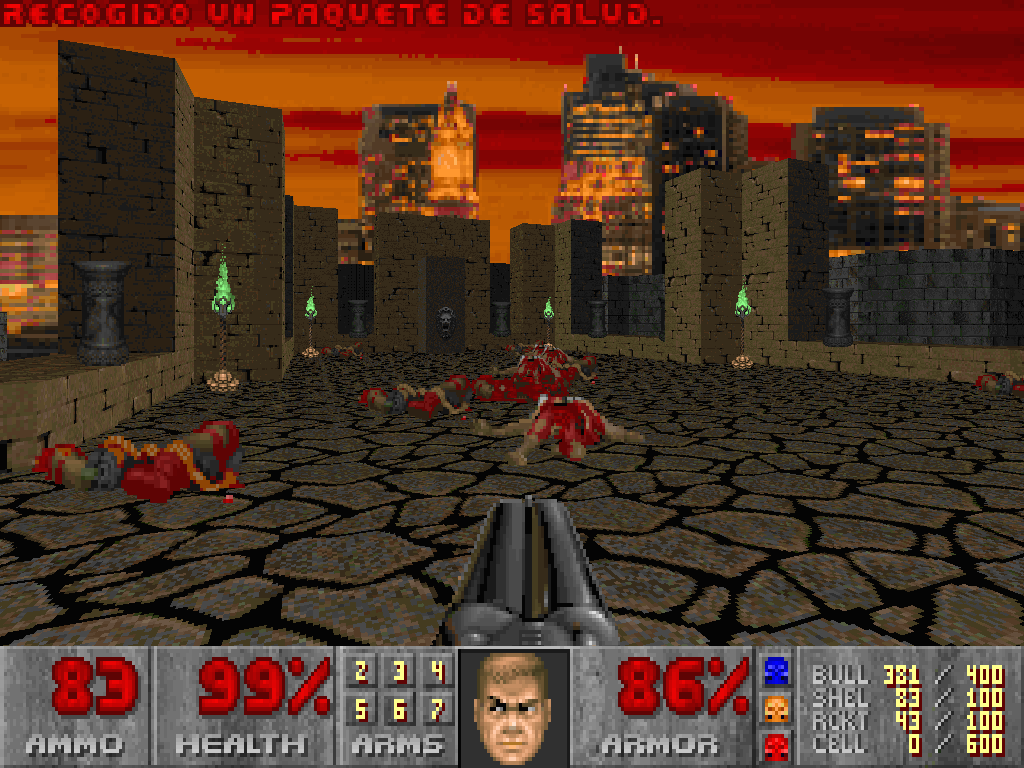
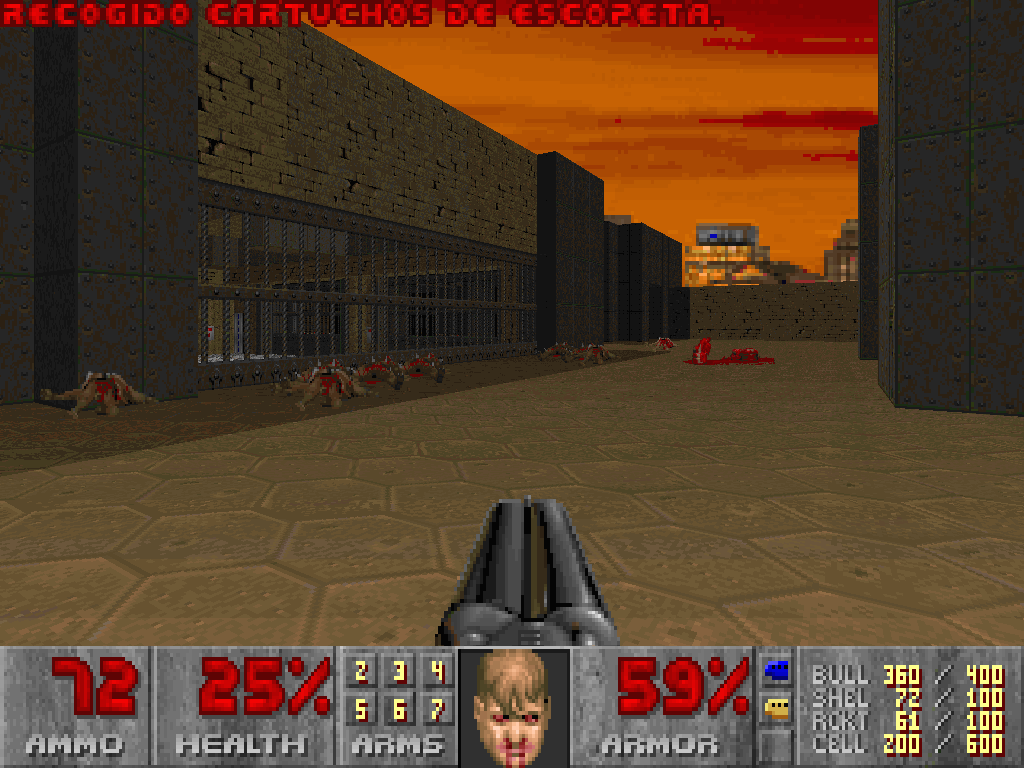
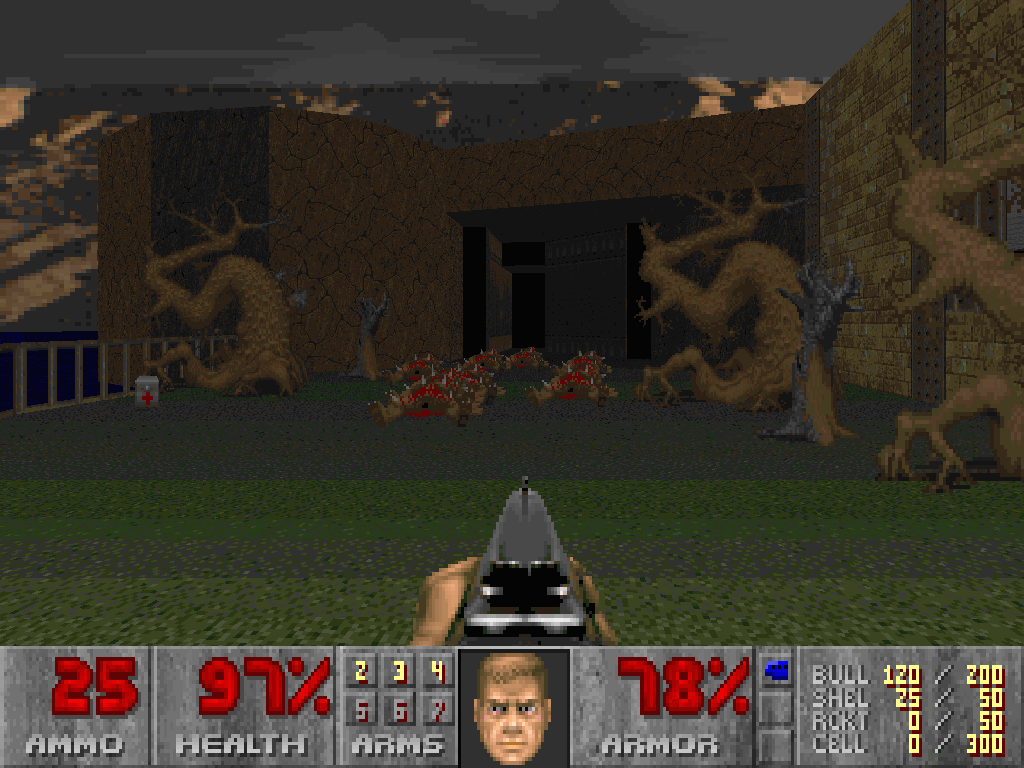
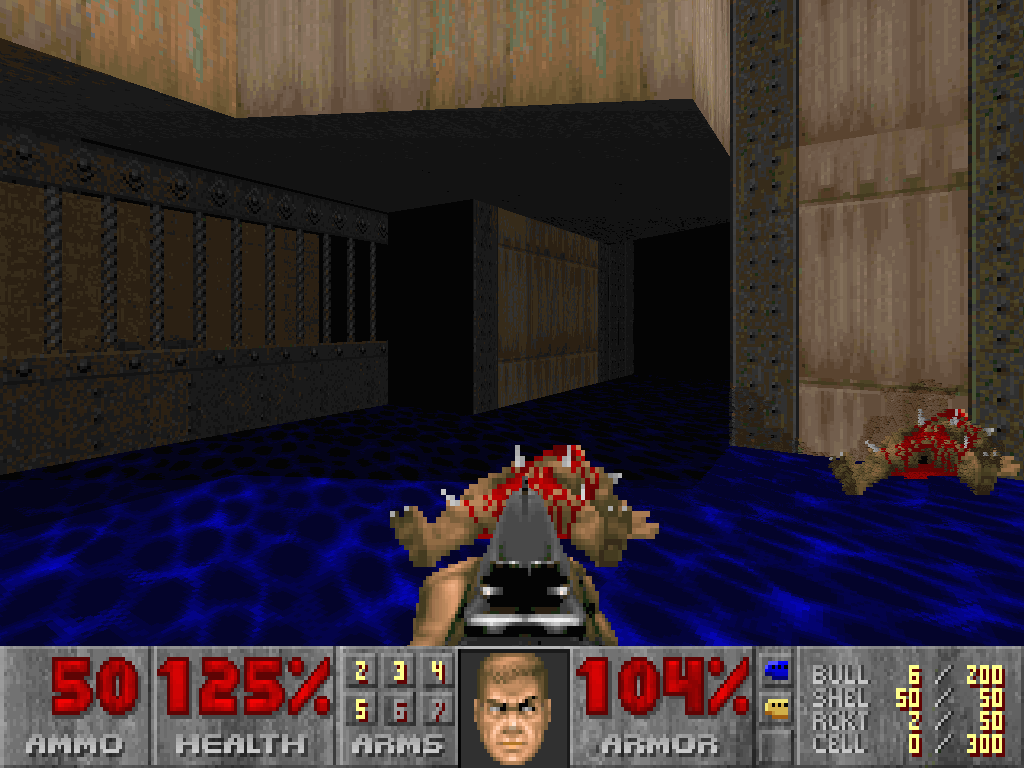
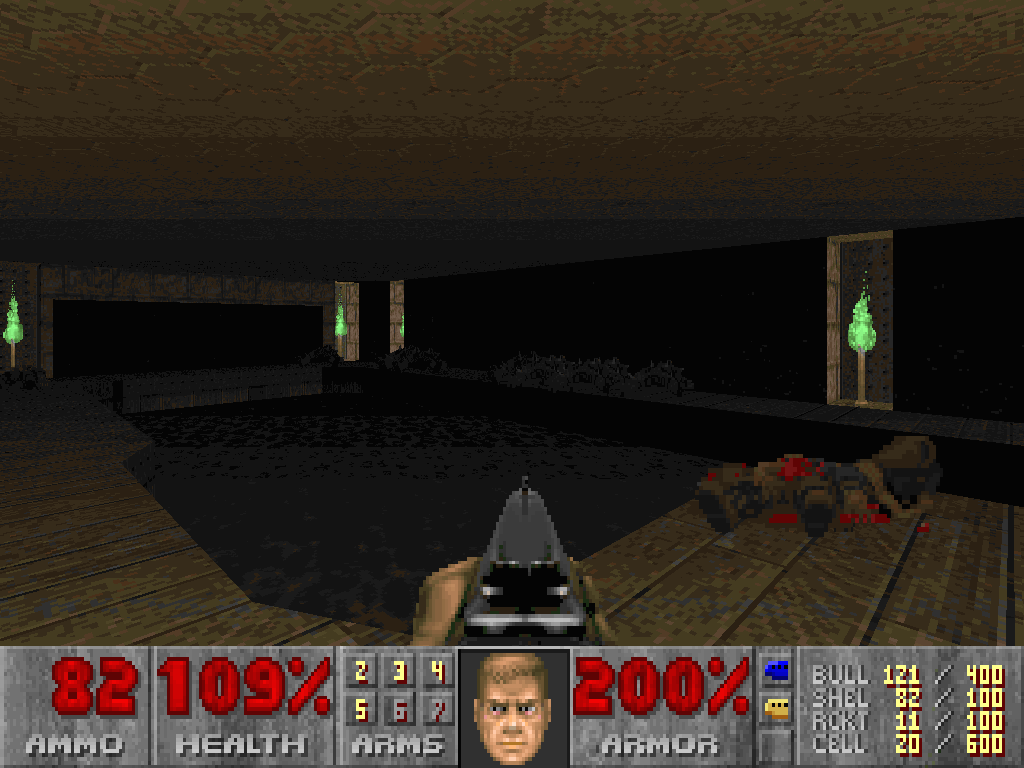
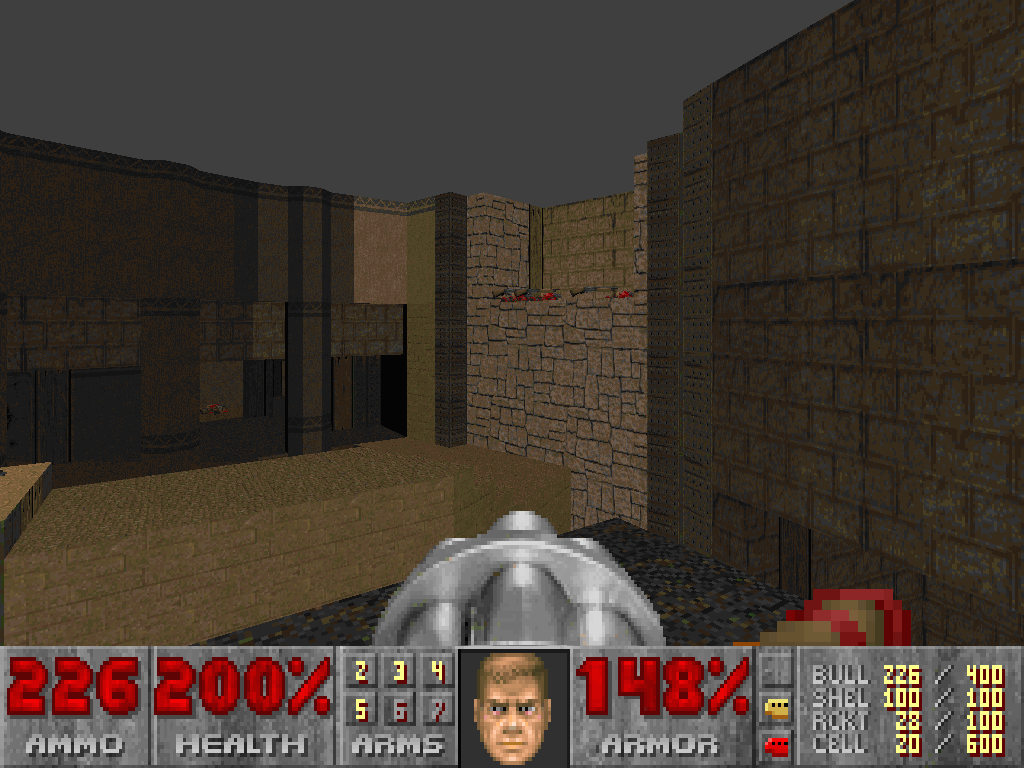
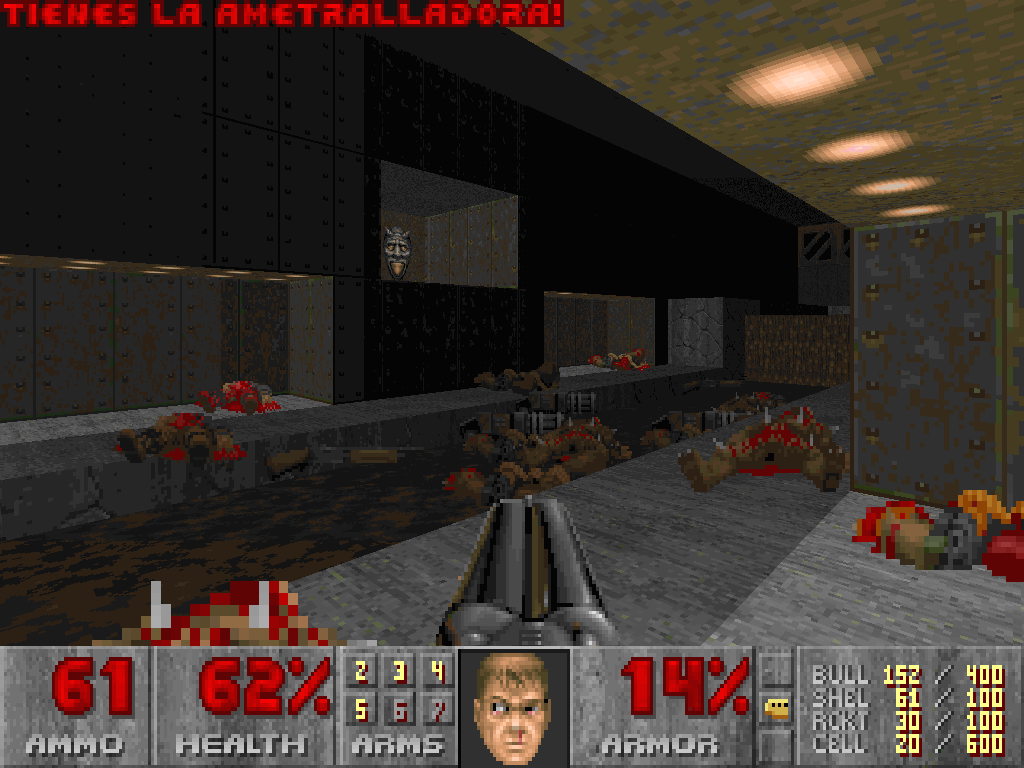
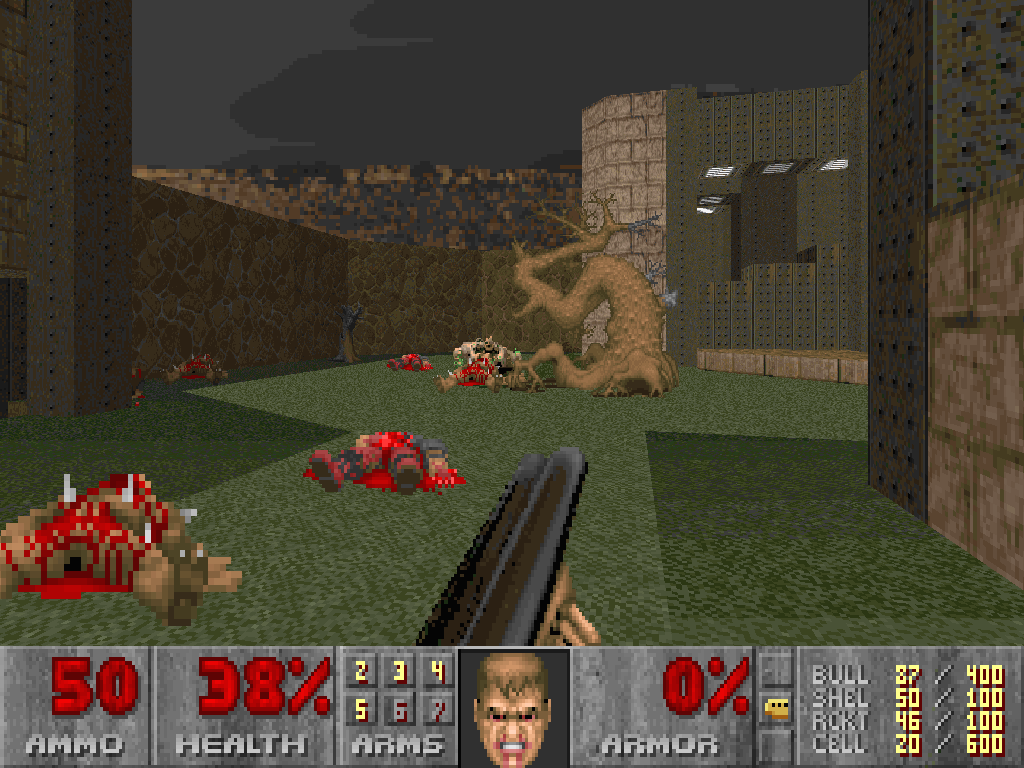
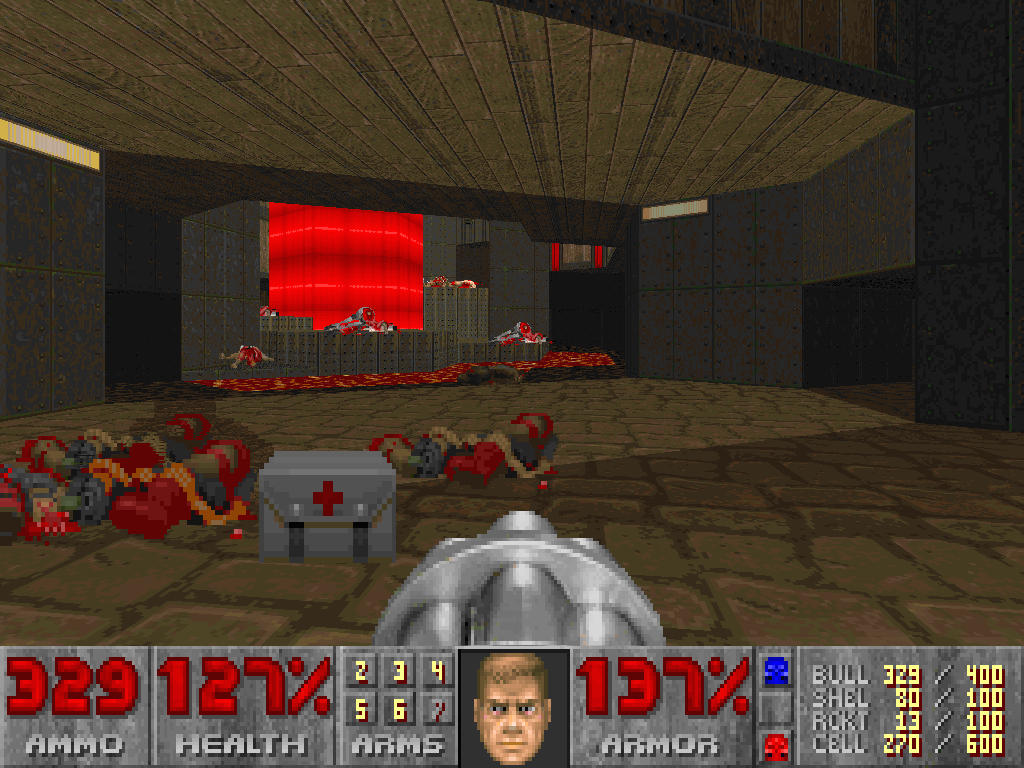
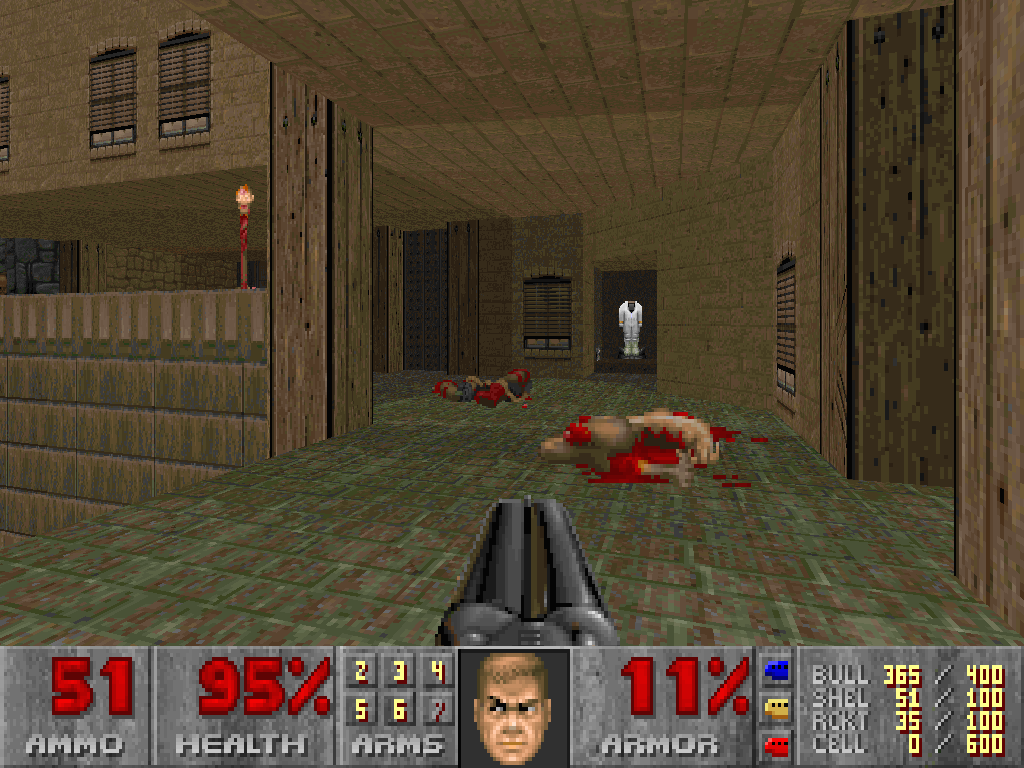
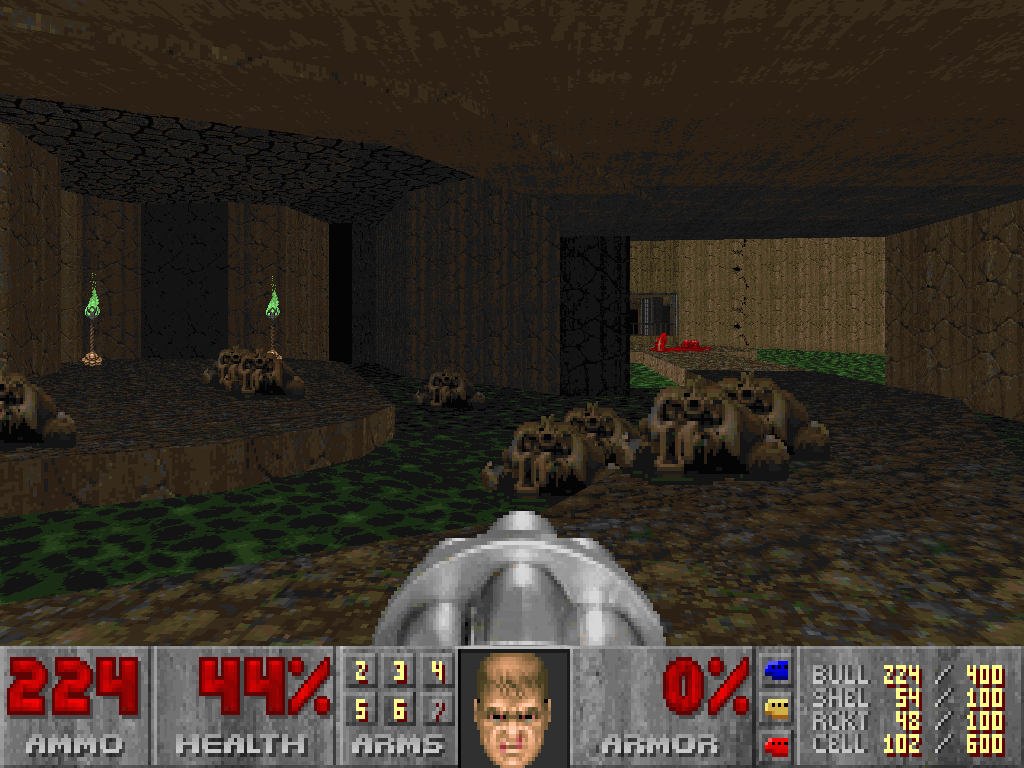
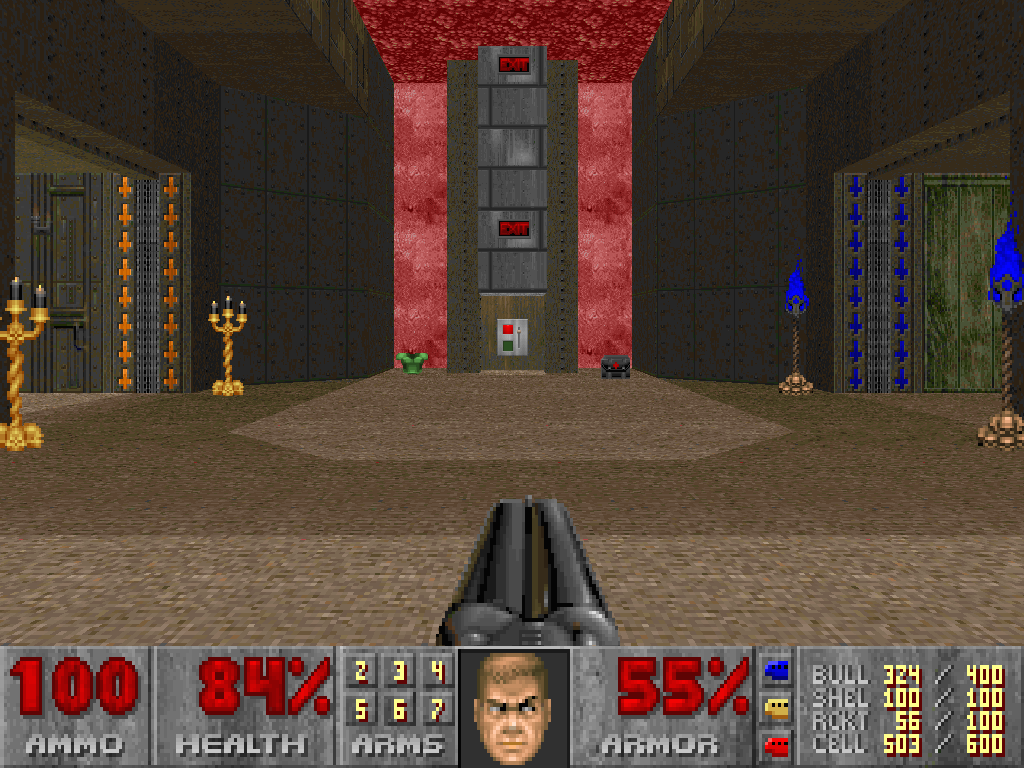
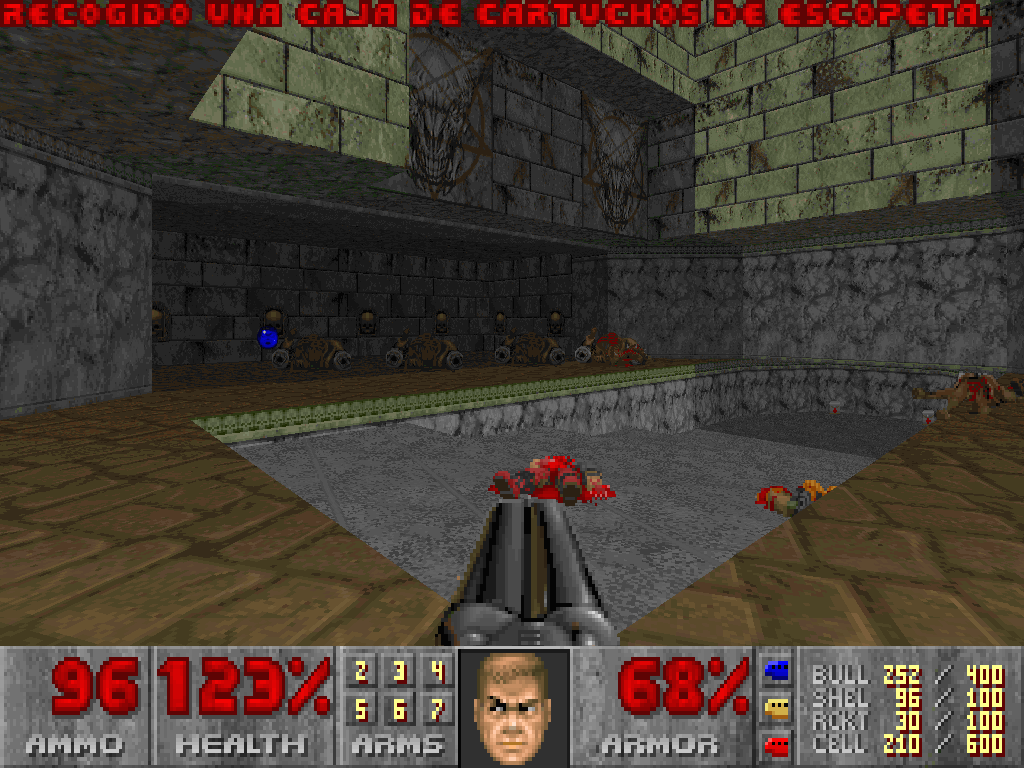
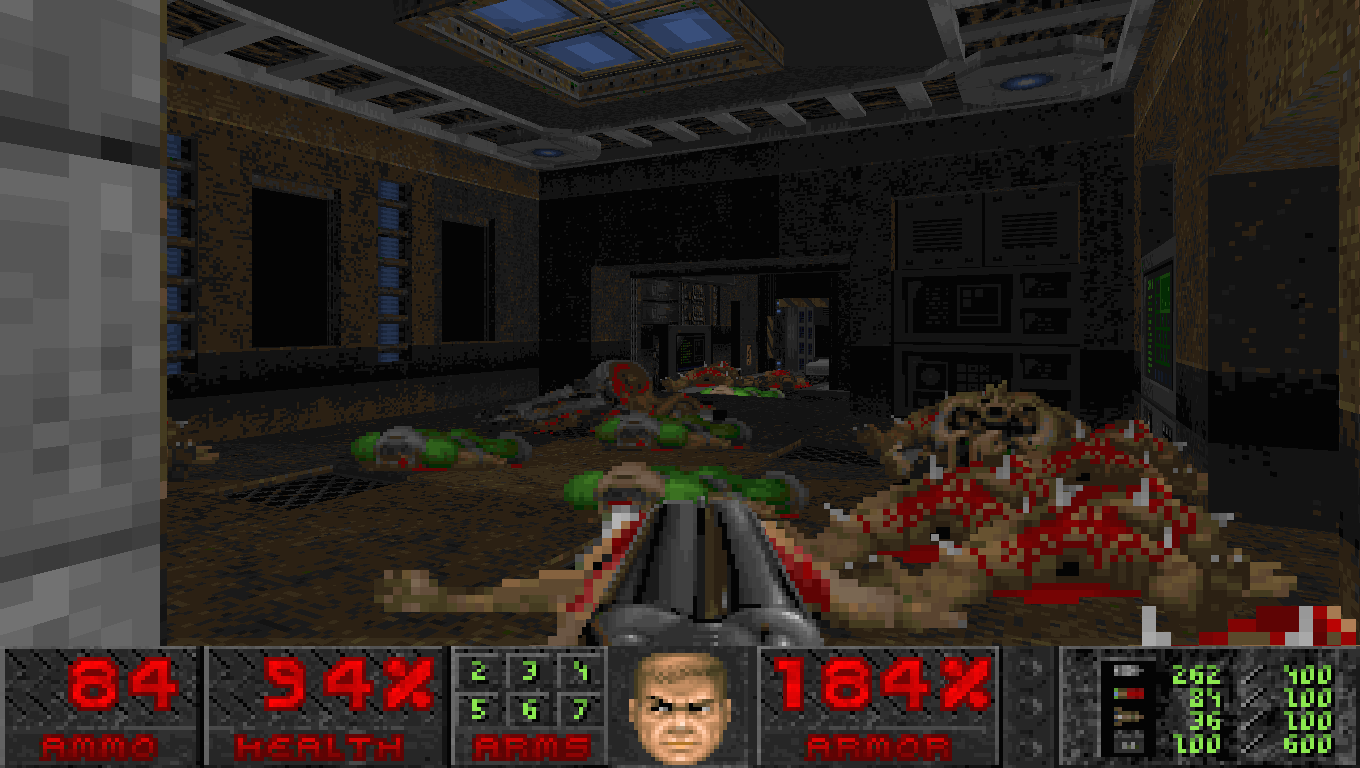
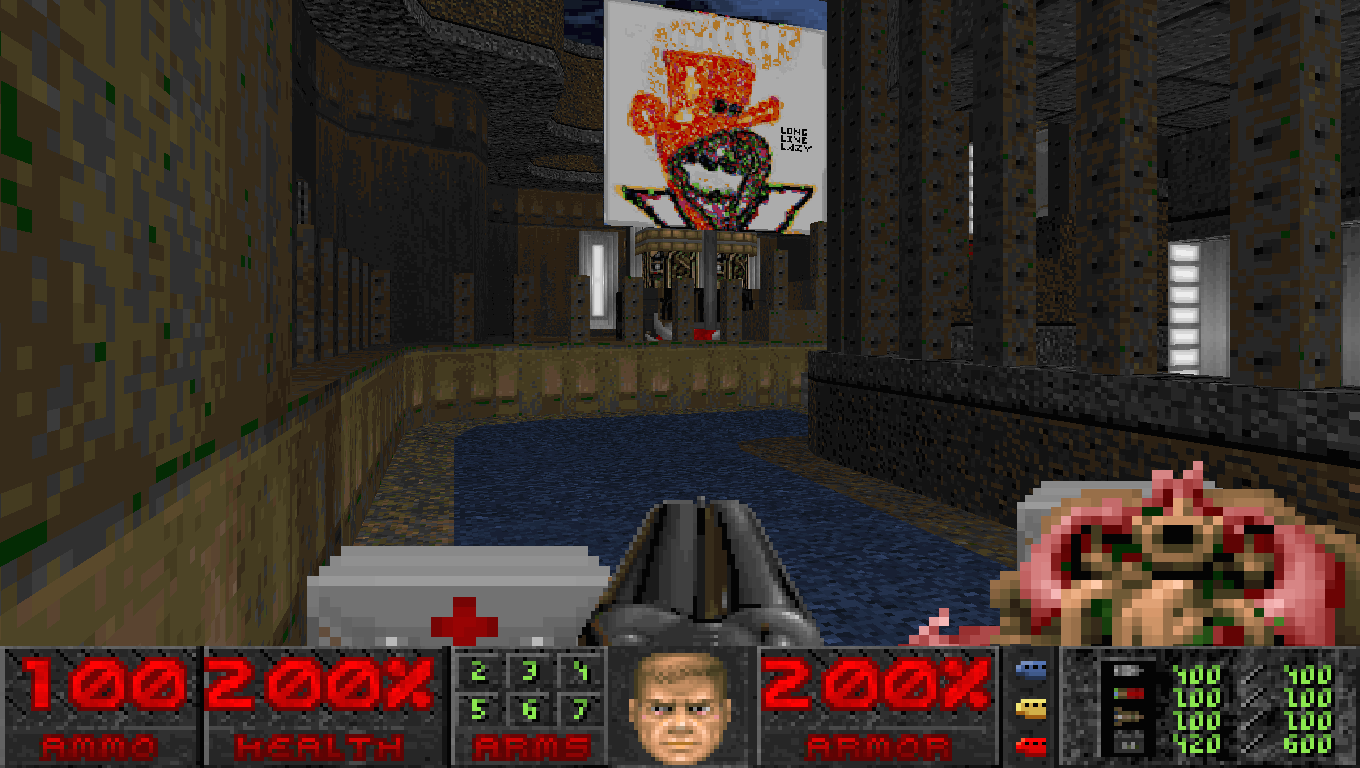
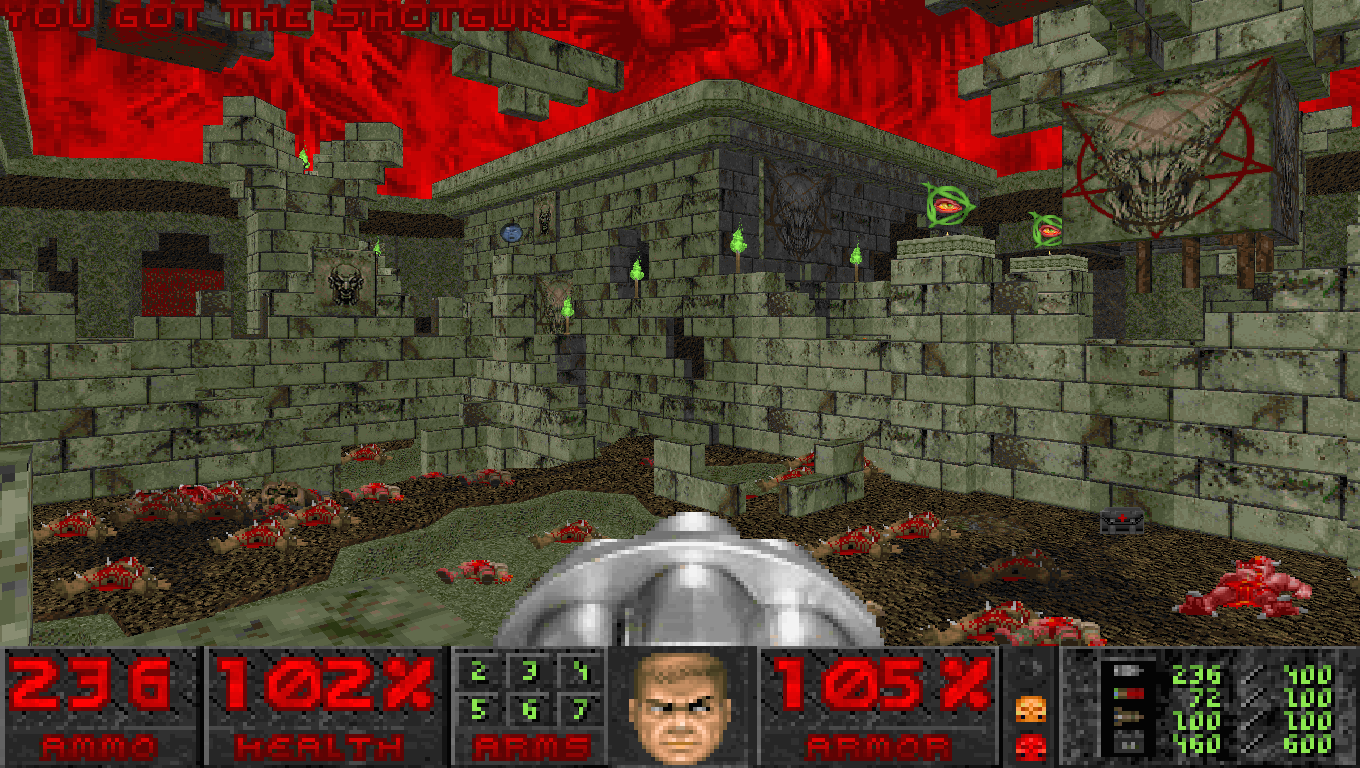
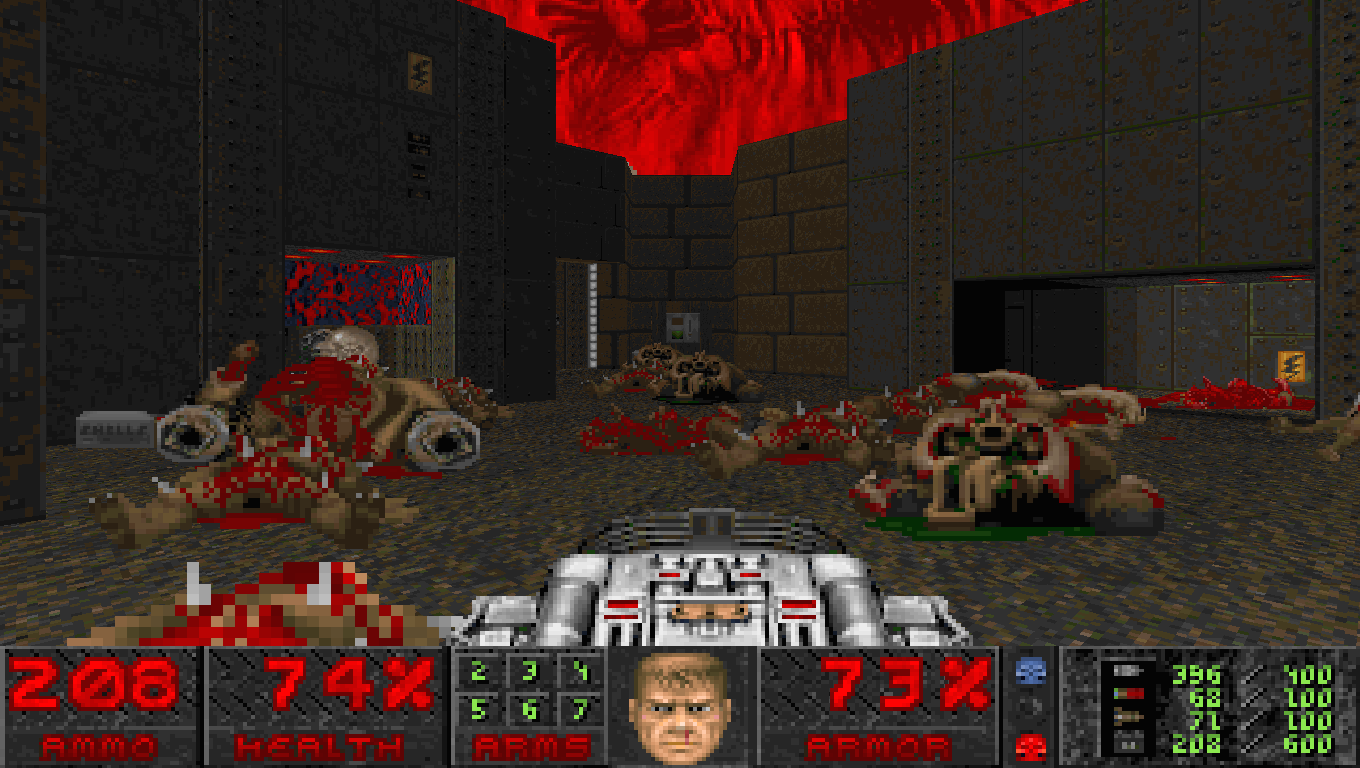
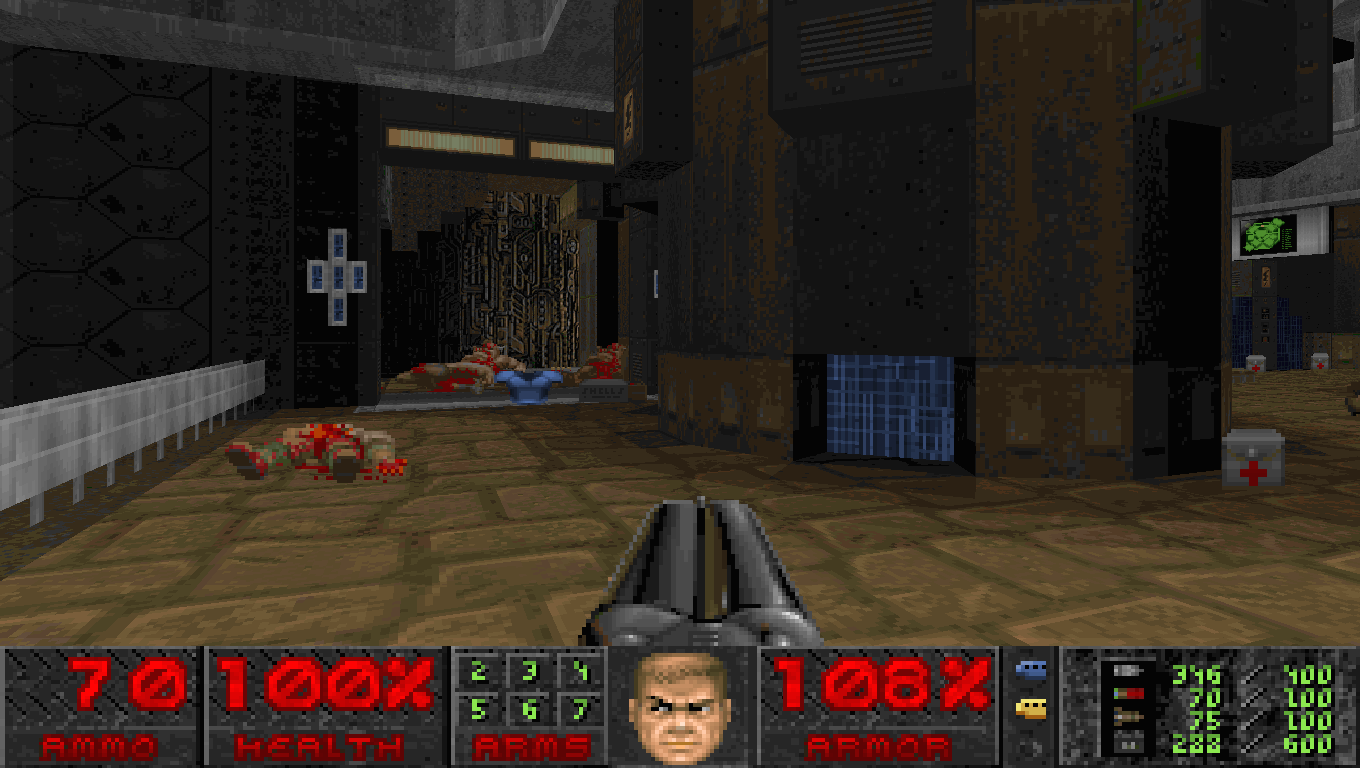
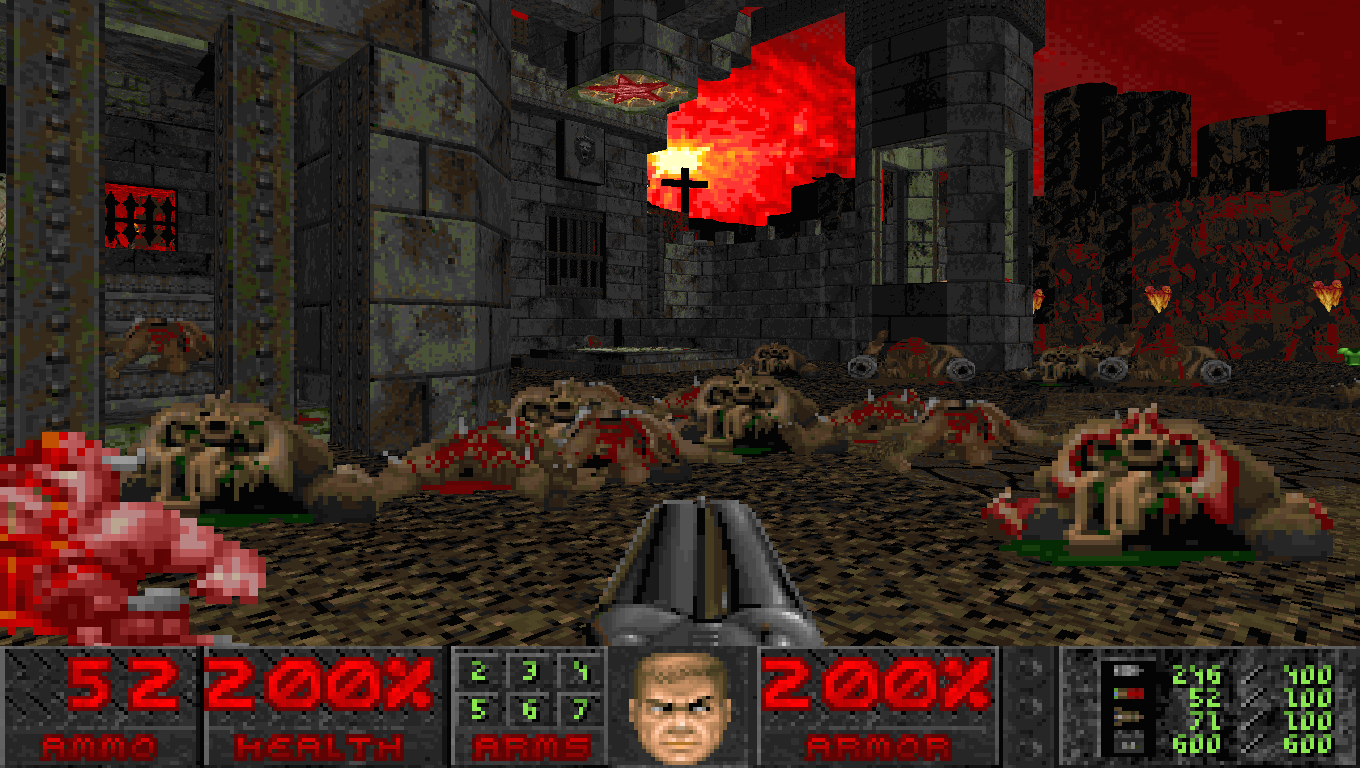
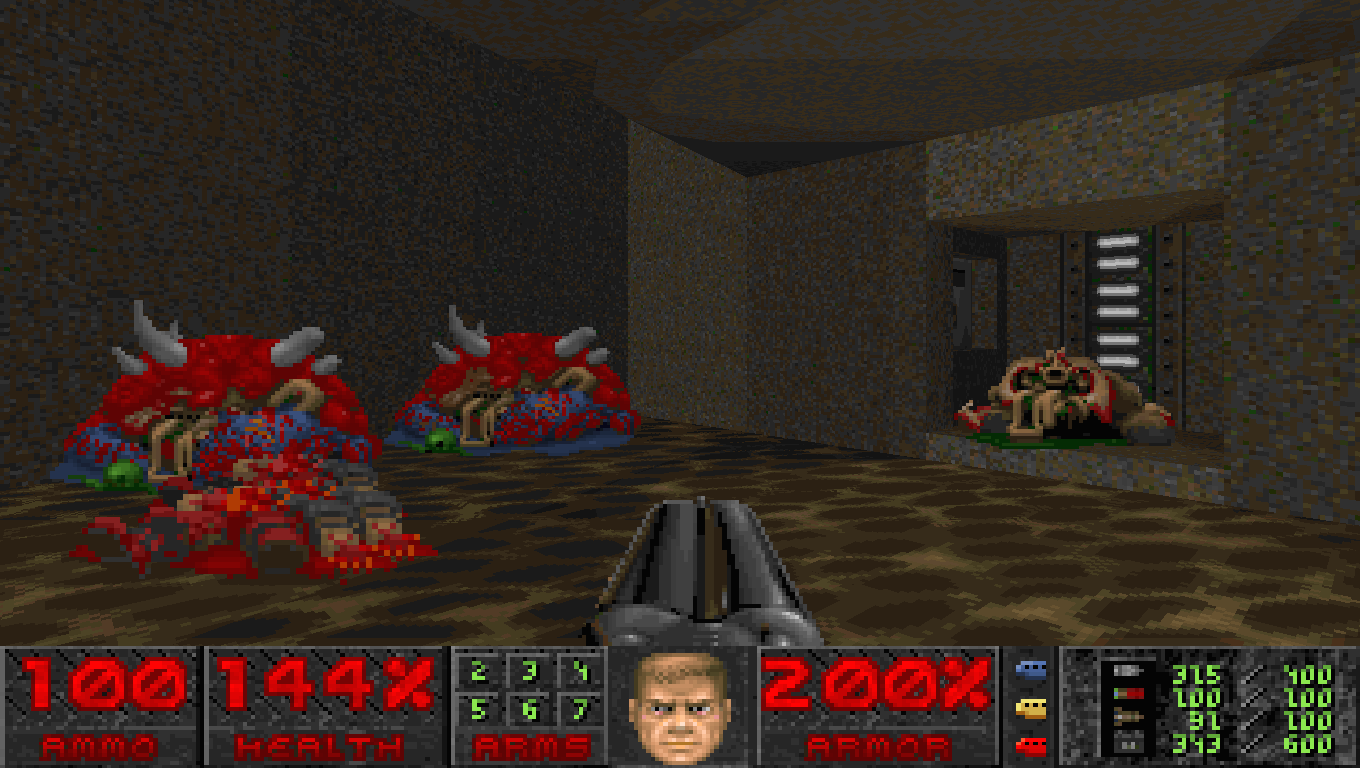
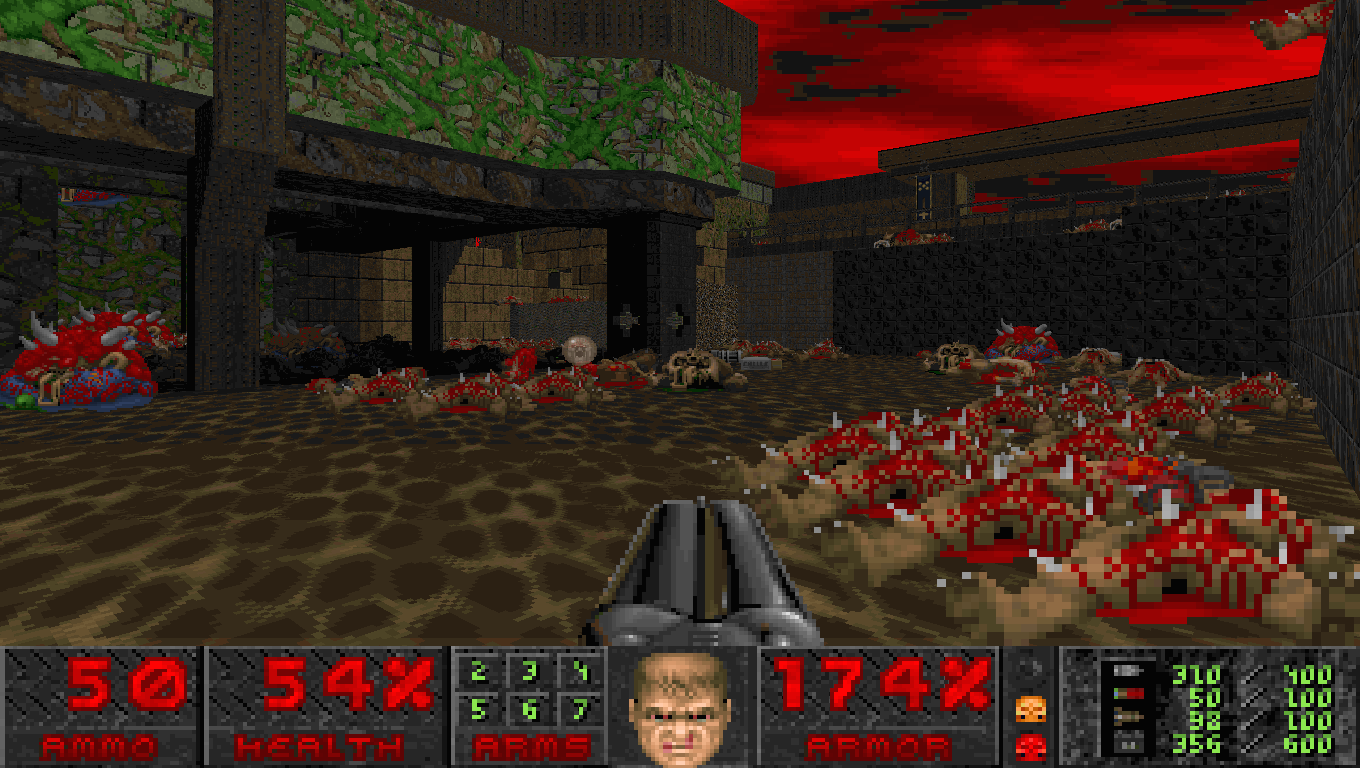
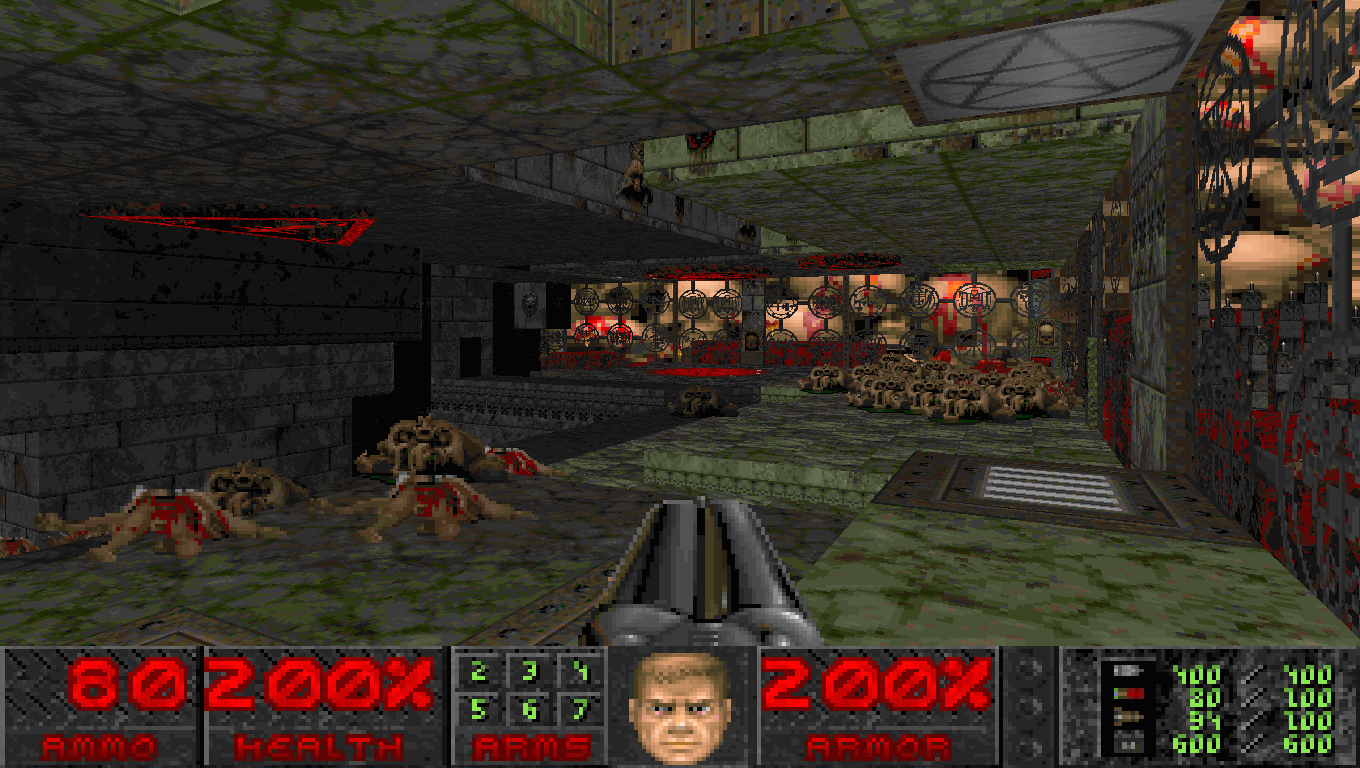
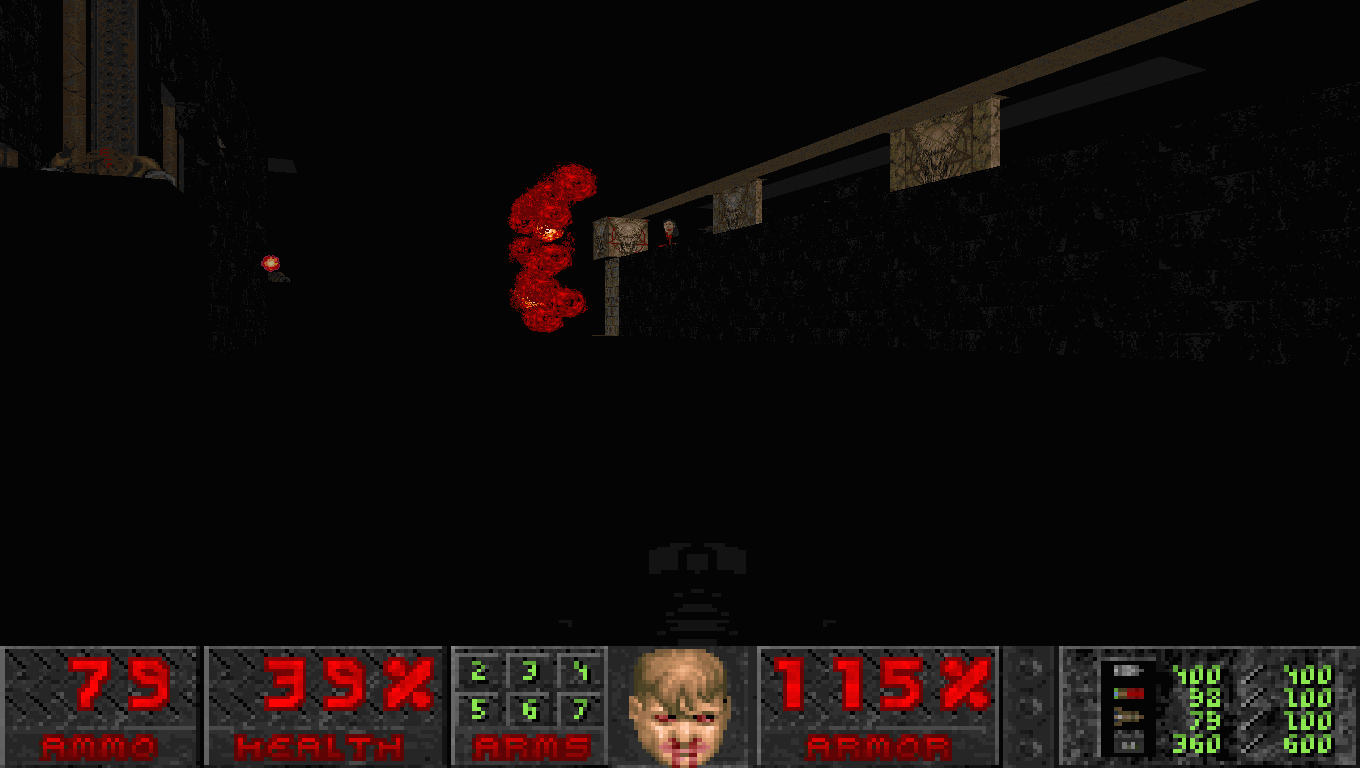
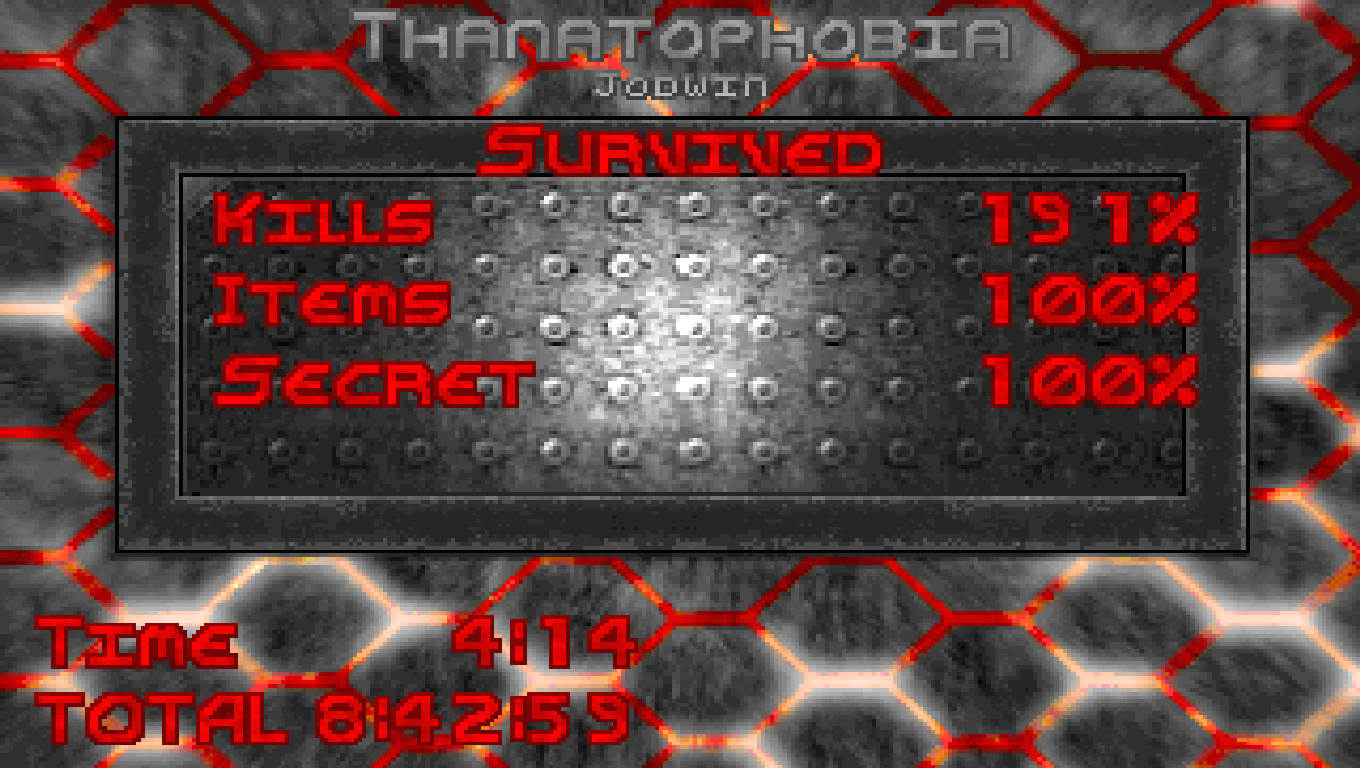
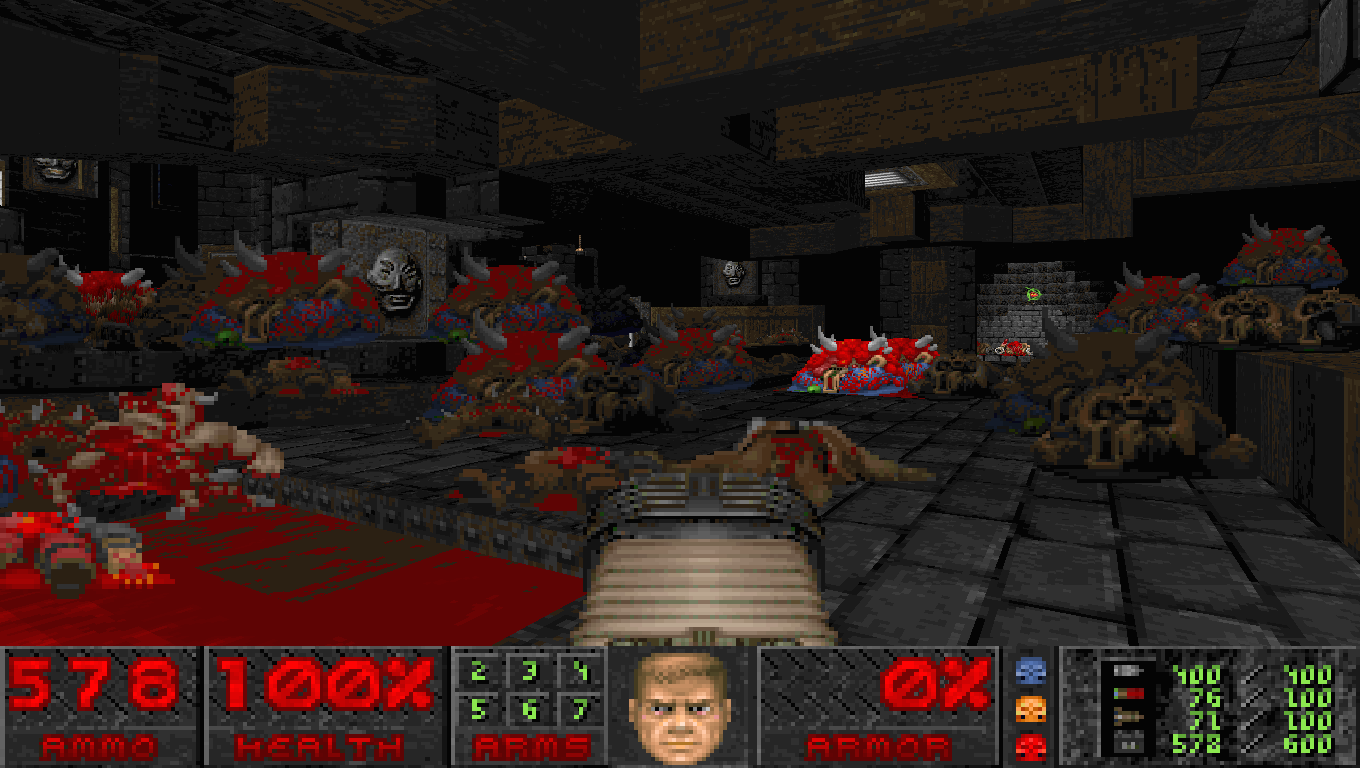
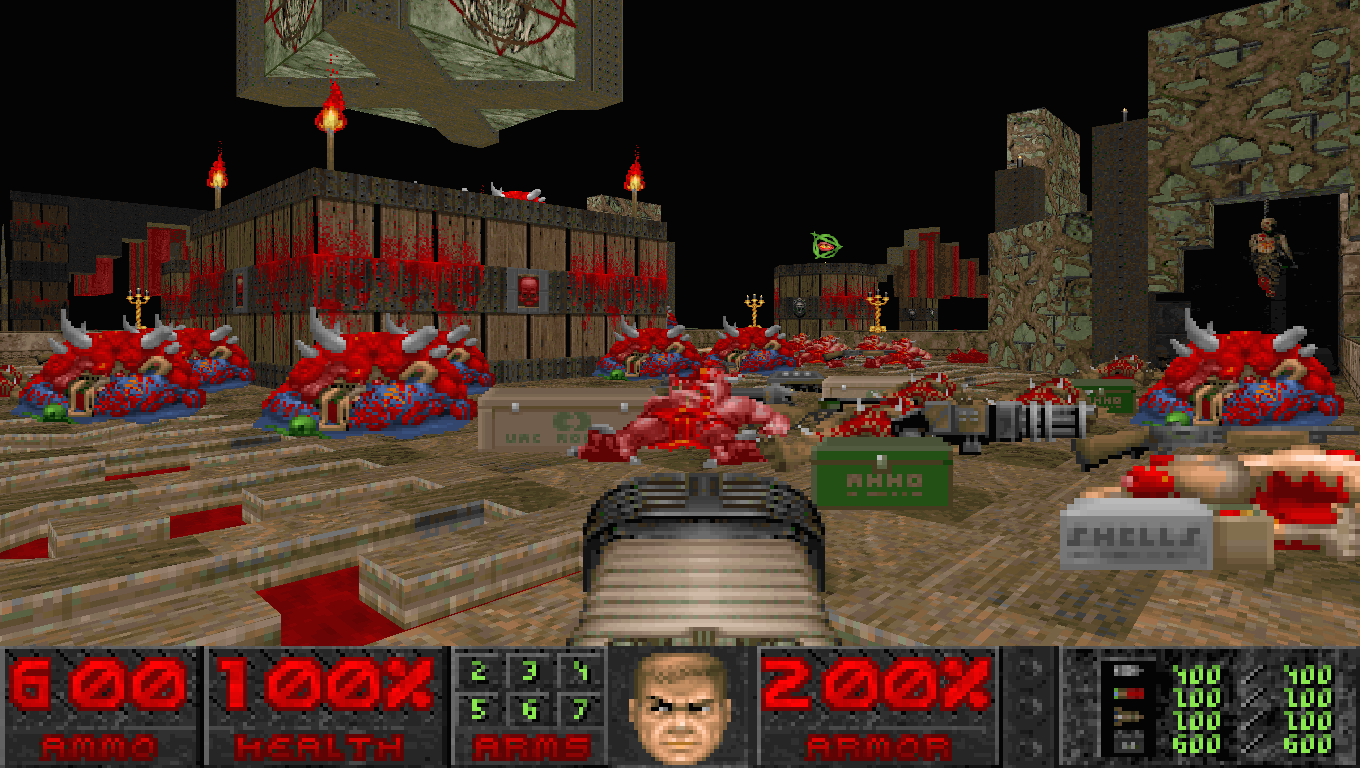
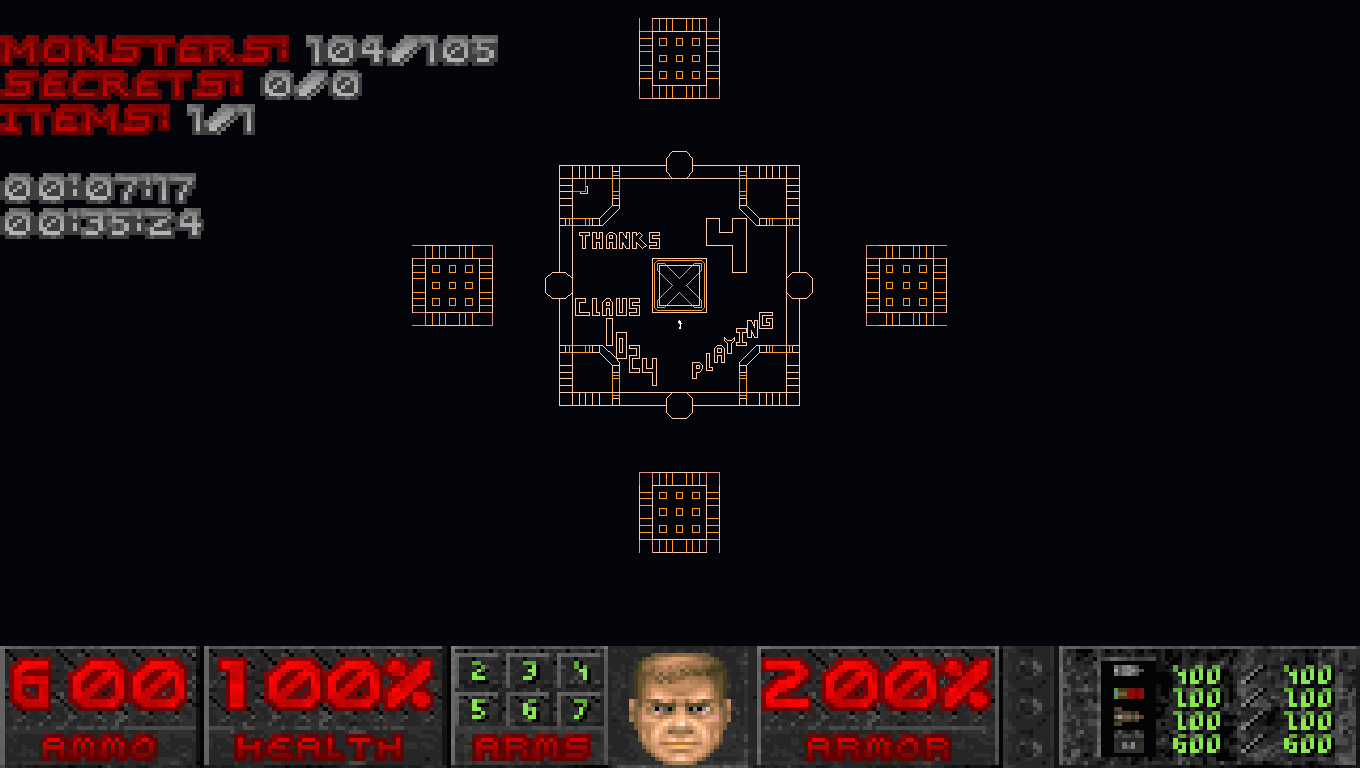
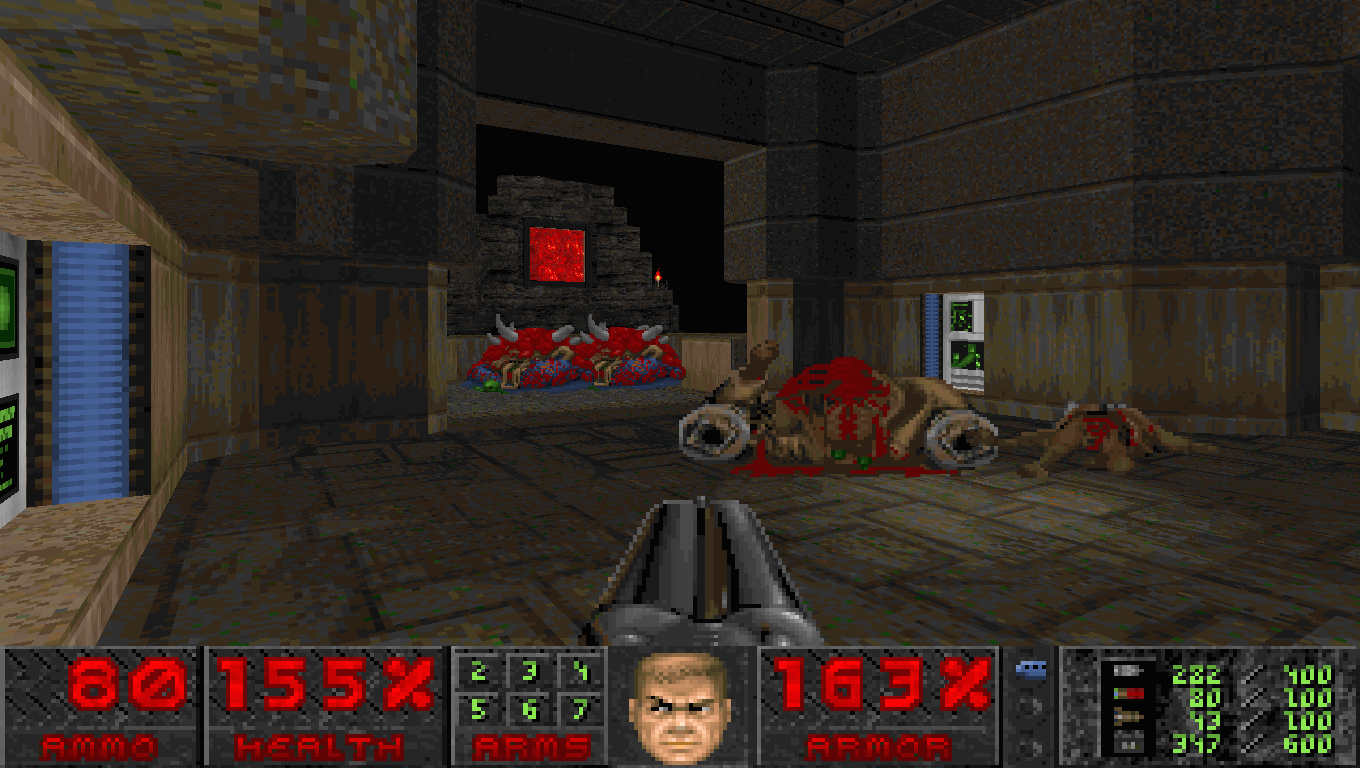
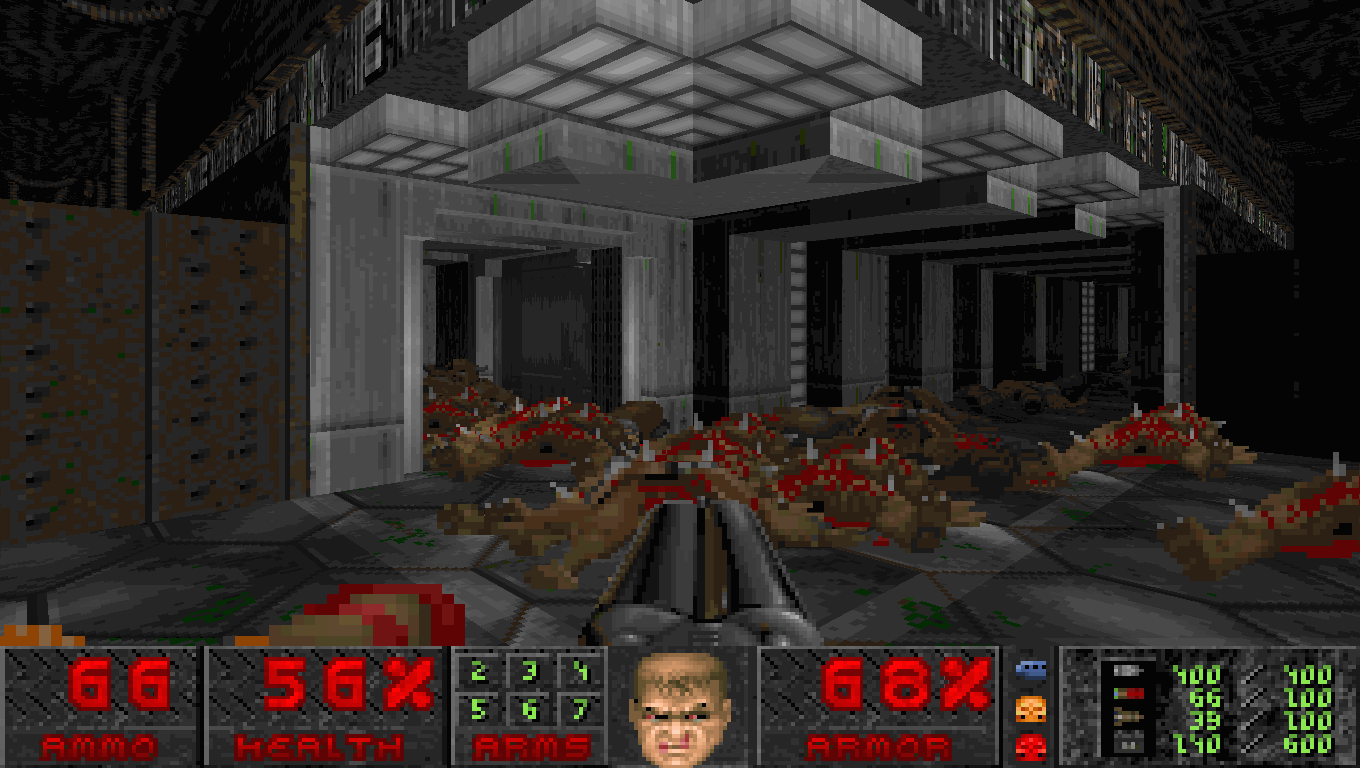
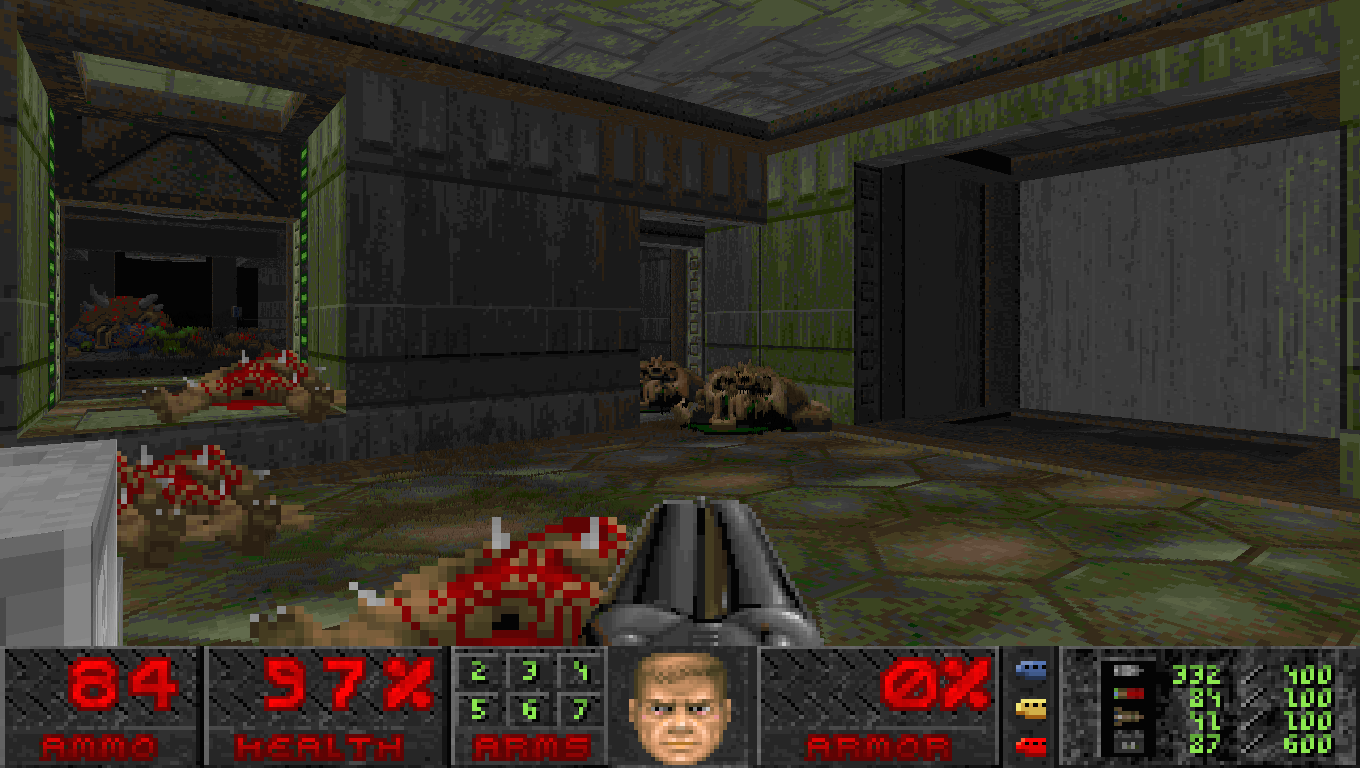
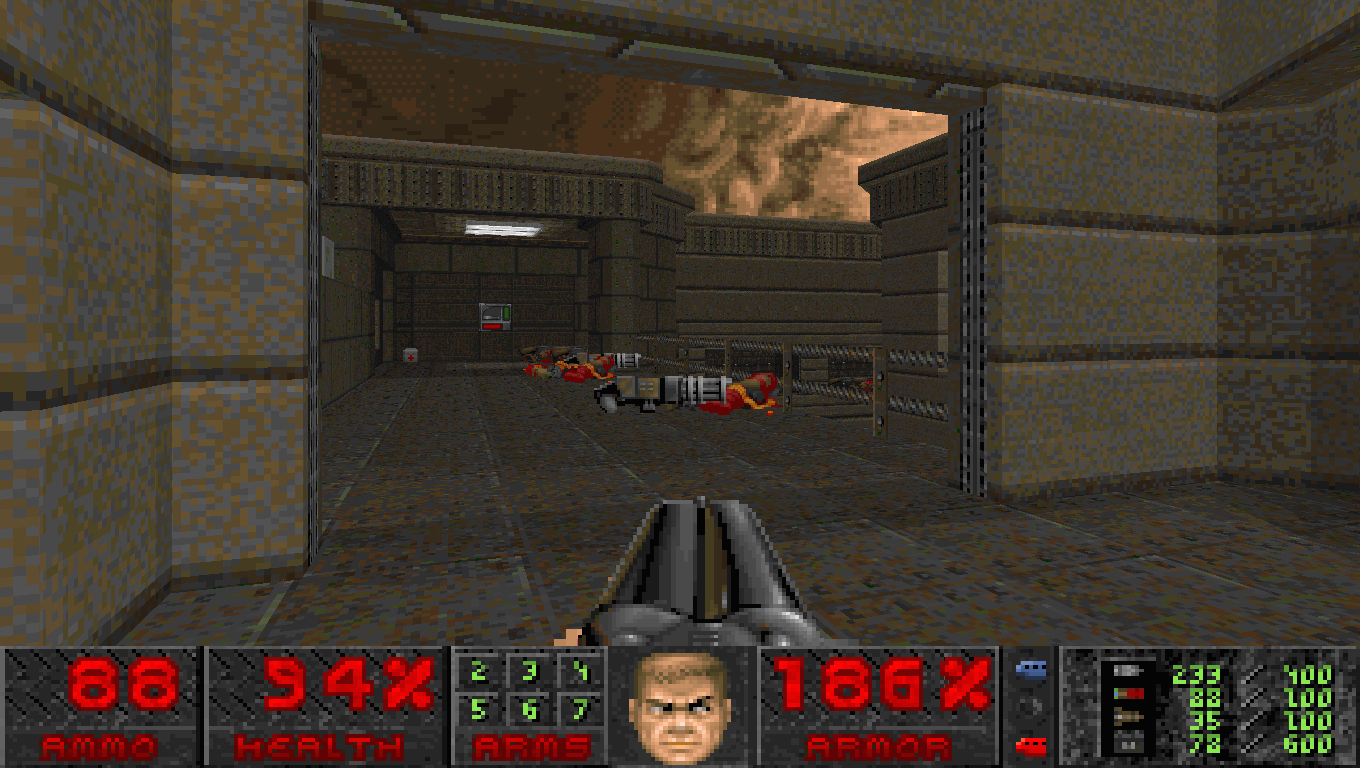
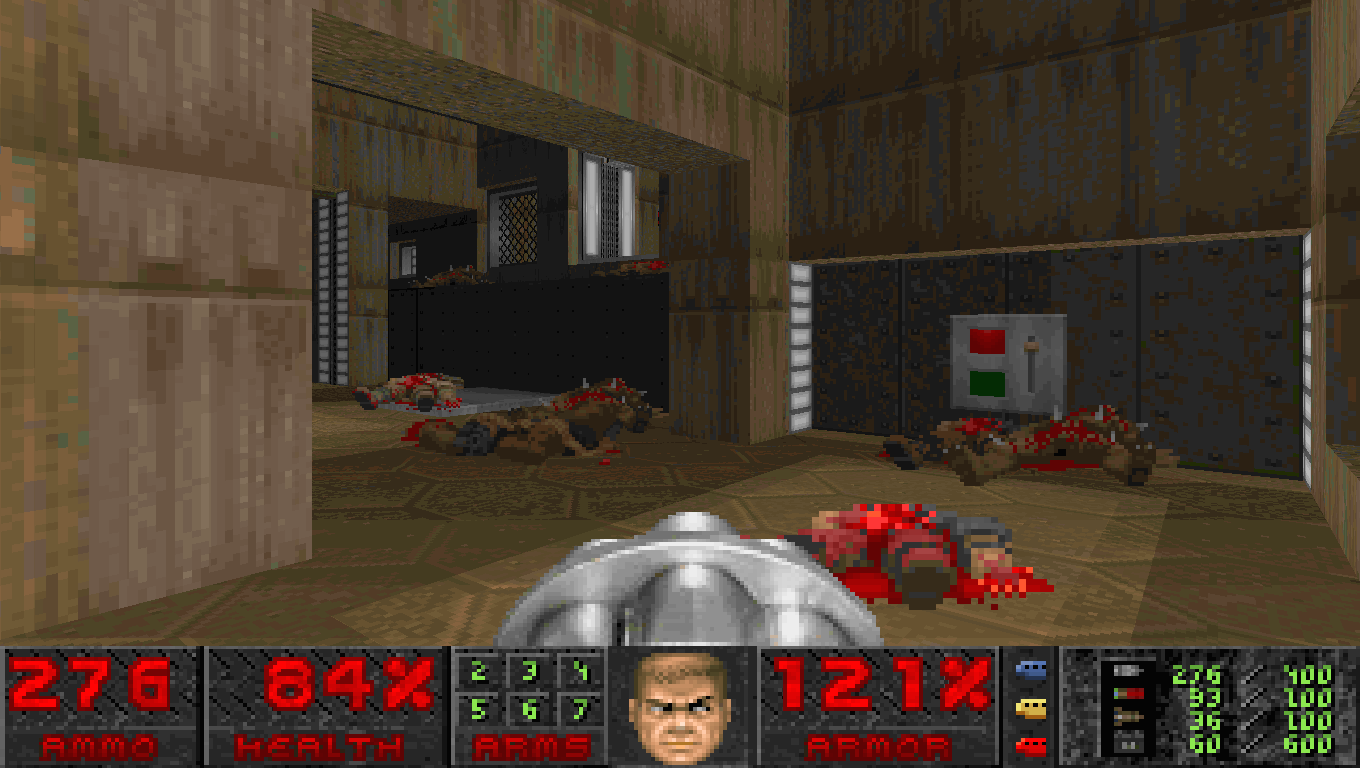
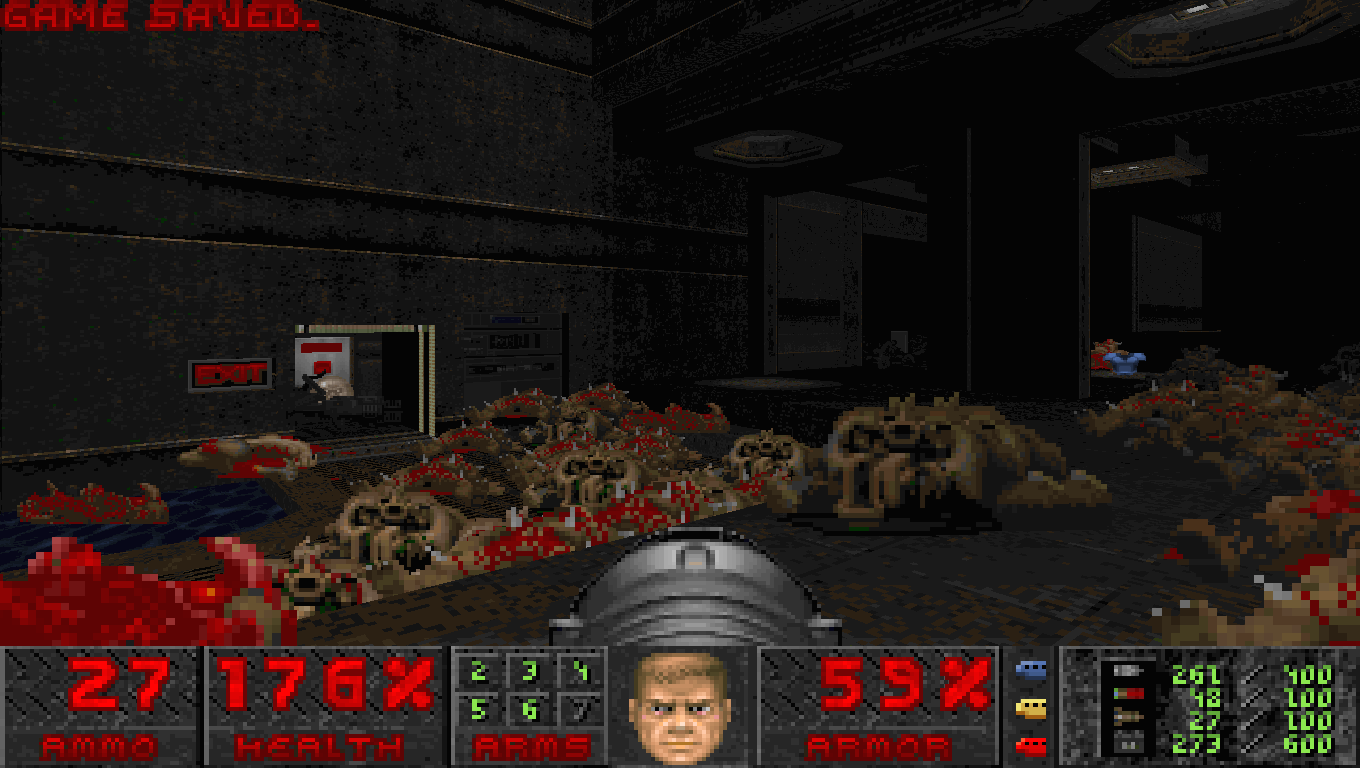
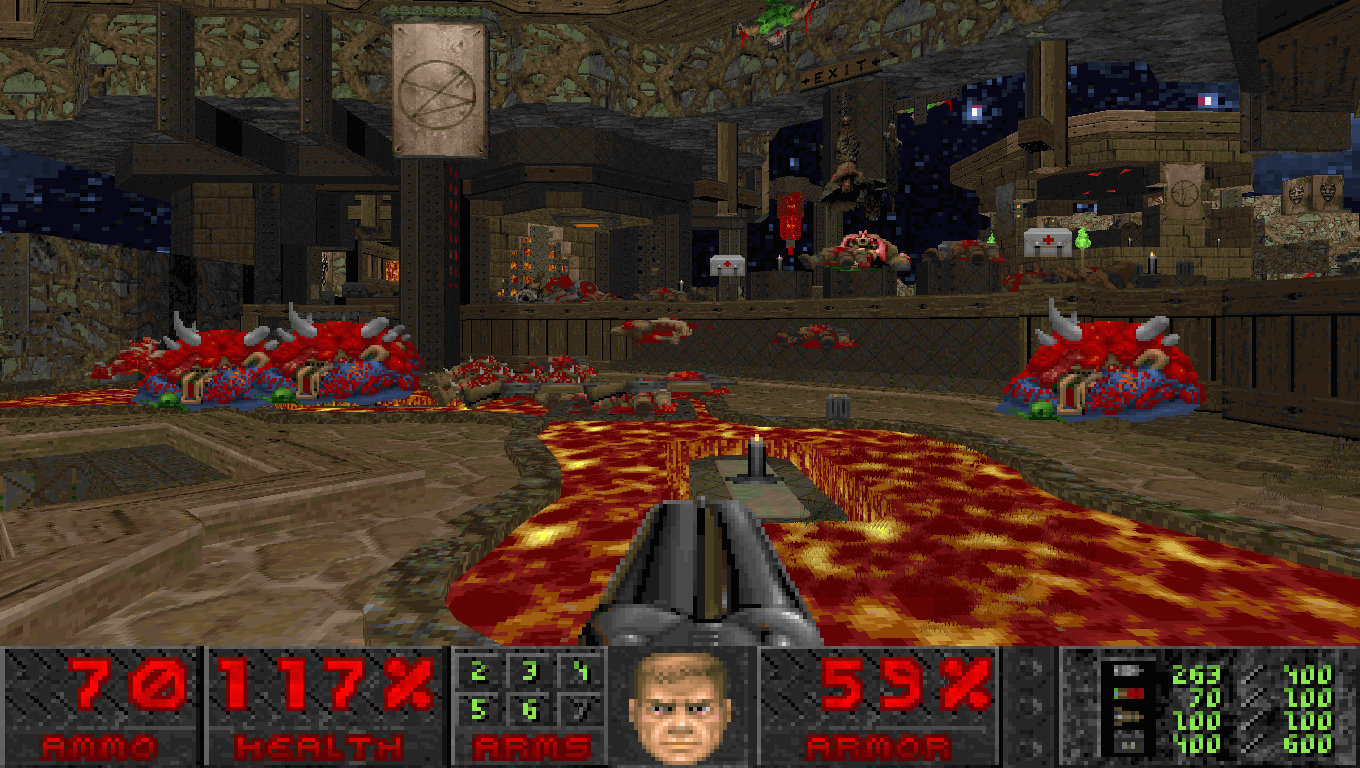
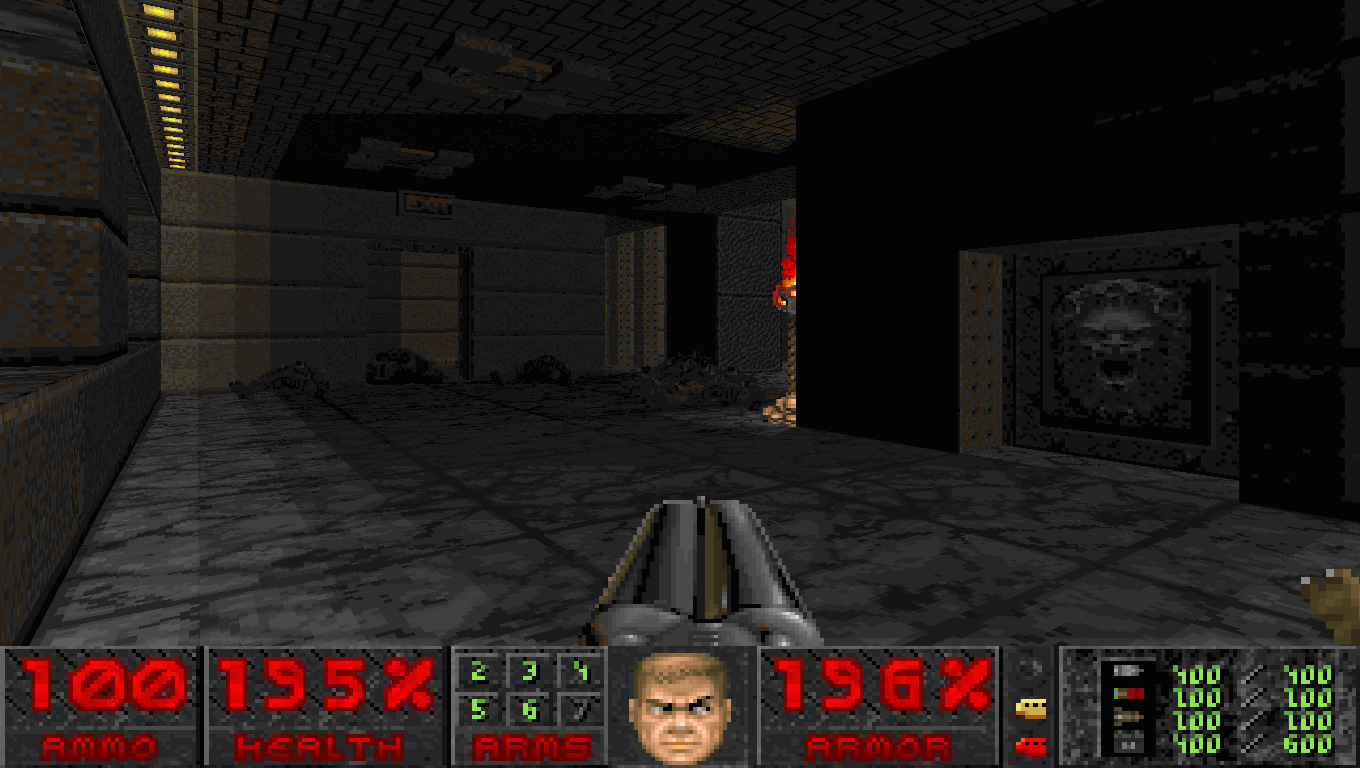
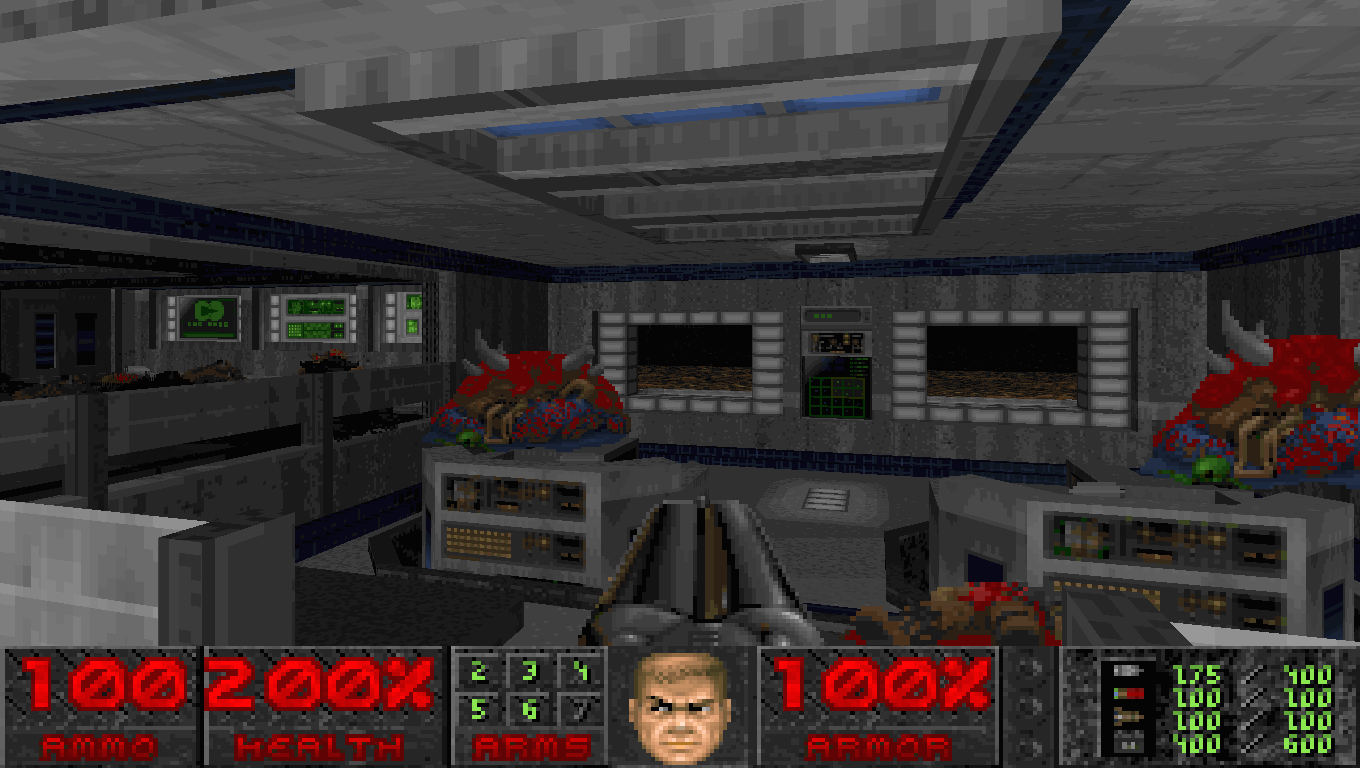
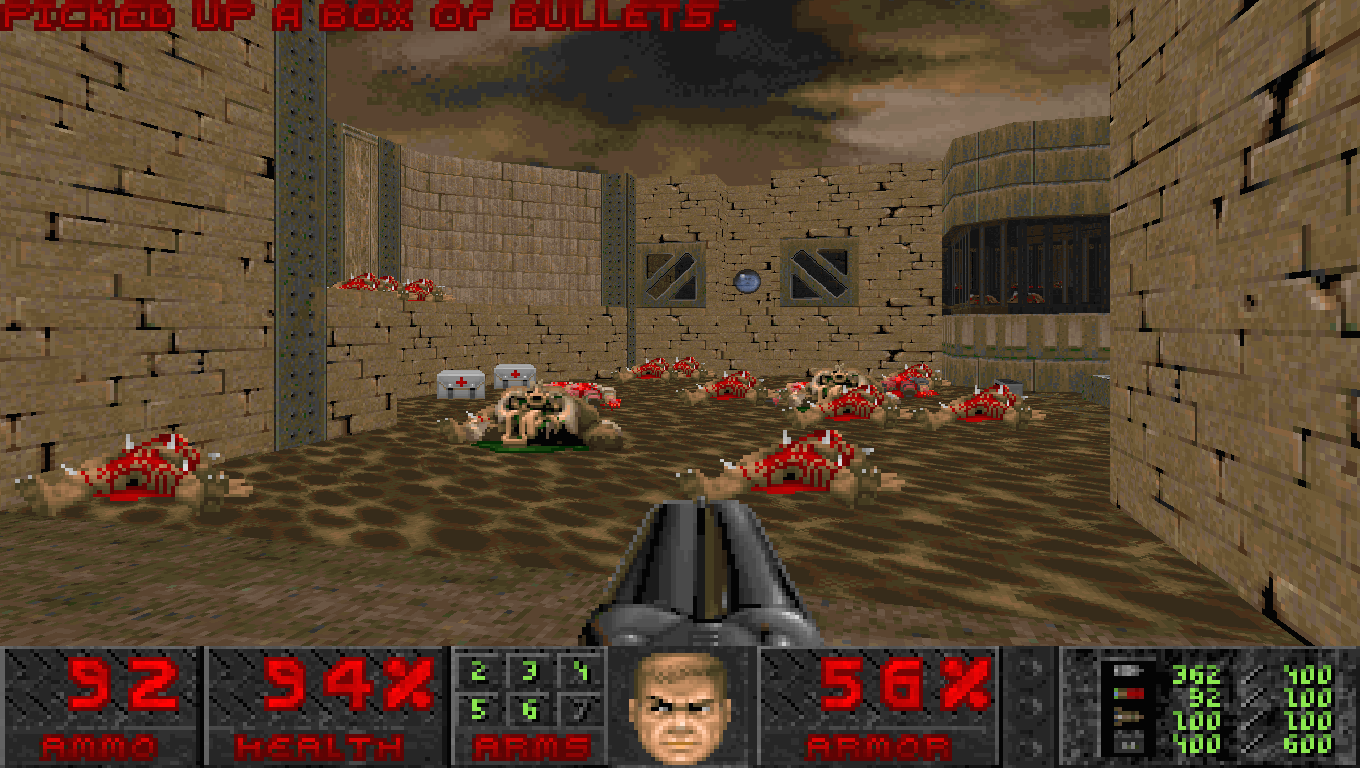
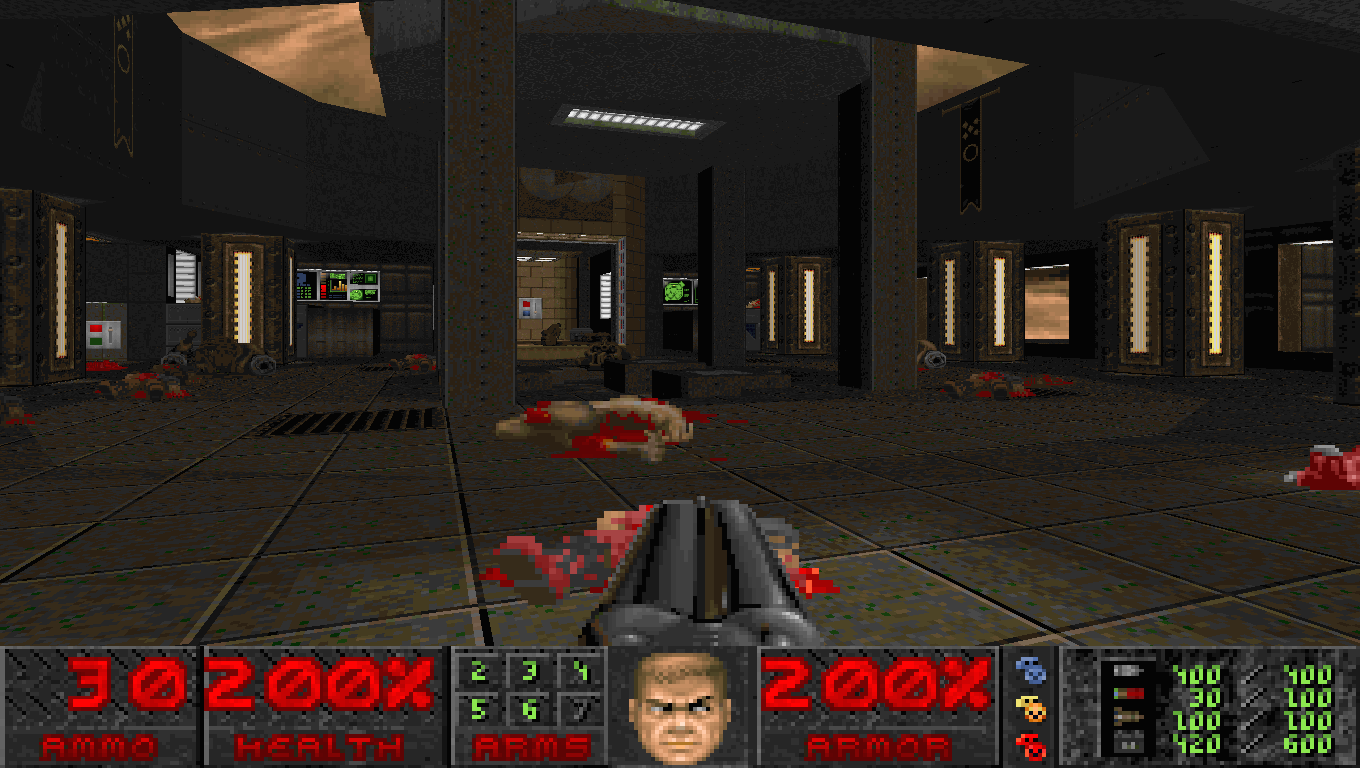
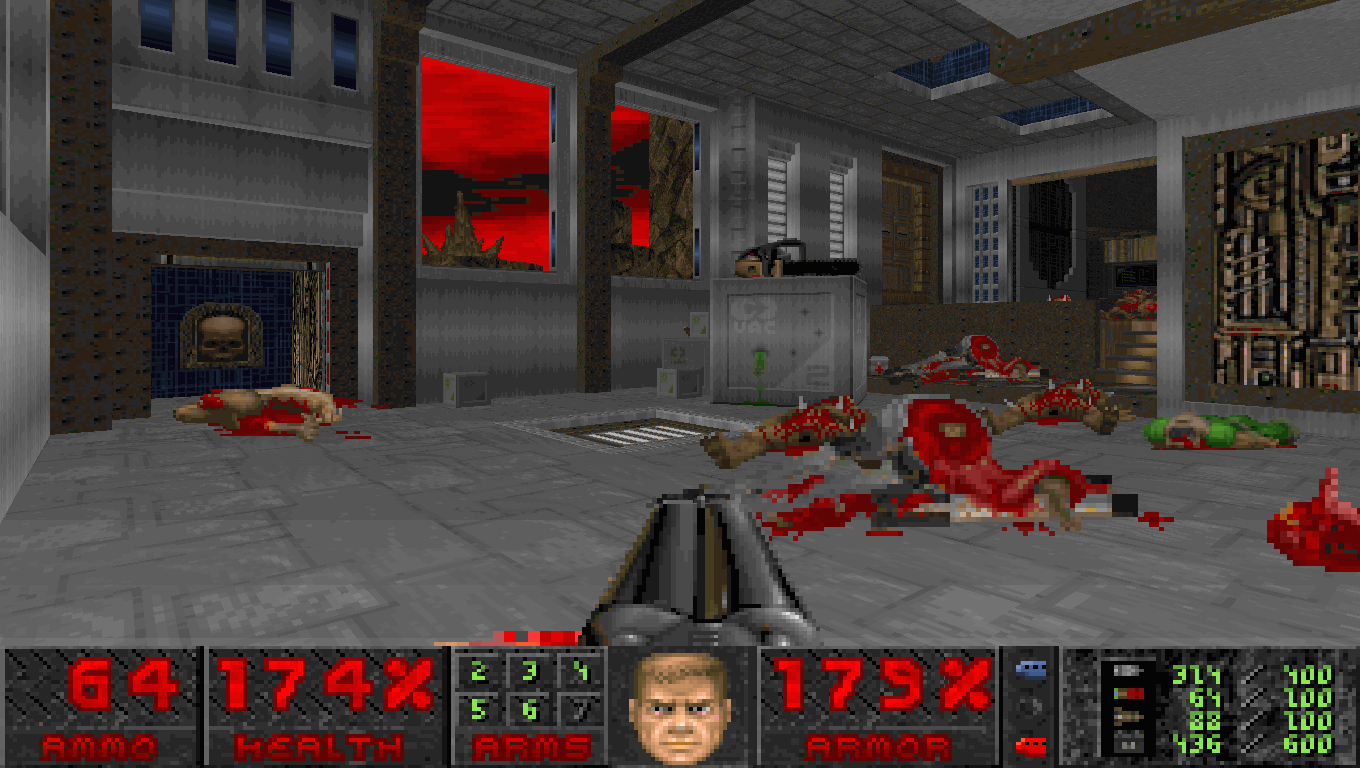
Hi everyone! Long time no see. I have decided to join for this month, seeing the recent activity and two wads I was somewhat familiar with. As far as I can tell, both wads were released in mid November (Operation: Biowar in 1999, Equinox in 2001). I think I have played Biowar a decade ago in ZDoom with a gameplay mod such as Aeons of Death. The name of the wad sounded familiar and I definitely recognized the last few levels, though it is possible I may have also played the wad on a Skulltag server back in 2010 or so, which is why those parts seemed so familiar to me. I have also played Equinox a couple times before, similarly done once a decade ago in ZDoom with AEOD and may have used God Mode cheat in the last level because it was unplayable for me at that time. Both these very old playthroughs were probably done on HMP skill, as back then I wasn't that good at DOOM as I am nowadays. However, I have replayed Equinox a few times in last few years (2021, 2022 and 2023) using different versions of ZDoom (1.22, 1.23b33 and 2.8.1) on UV skill, getting 100% (or as much as possible) in each level, with mouselook and jumping enabled (and crouching in ZDoom 2.8.1, since crouching wasn't added until ZDoom 2.1.7 or so). The last Equinox playthrough was last November. As such, I will NOT revisit Equinox for this month and most likely never will, since it was quite exhausting, especially towards the end. But I will still review the levels while watching some YouTube videos to refresh my memory. For now, I will review BIOWAR which can be considered a semi-blind playthrough. I only looked up on Doomwiki.org for secrets and I guess the final level on YouTube to see if it's a standard IOS fight. I have played biowar.wad in DOOM2.EXE v1.9 using DOSBox 0.74-3, UV skill, 100% everything, continuous with saves, keyboard only controls. At the moment of writing, Biowar was done just a couple of days after the topic was started and these weeks I am revisiting Final Doom after a decade or so since I played TNT & PLUTONIA last time. Obviously I am playing them in DOSBox as well (TNT is done, currently revisiting PLUTONIA). Biowar seems to be fully playable in DOSBox, as the text file doesn't mention anything about source ports. There are also plenty of new textures, a new soundtrack by Mark Klem (who you may recognize from creating the soundtrack for old classic megawads such as Memento Mori series and Requiem) and even a new HUD graphic (this graphic predates the Community Chest series and the graphic itself might be based off Duke3D's save/load menus), with an older Marine being the protagonist of this wad, taking place of DoomGuy who has been killed. The HUD face definitely gives me HacX vibes (will eventually get into that game), as it has been mentioned earlier but I think it also looks like a graphic you could see somewhere in Quake 2. Oh yeah and there's some new sounds included, though the death screams of the zombies are obviously from Quake. The weird thing being that Ranger's death sounds from Quake are used, so it feels a bit weird to hear Ranger (aka QuakeGuy) dying whenever you kill zombies. Could have used the death sounds of Grunt and Enforcer or maybe some Quake 2 enemies instead. :P The only disappointing thing so far is that there are no new gameplay demos when loading the wad but thankfully there is a new story provided in the text file which makes up for the lack of new demos. Let's see how well BIOWAR holds up in 2024. I will keep my reviews rather short from now on. Total Deaths: 0 or 1. Depends if you count the random instant death upon destroying the IOS in last map, otherwise I had no other deaths in the wad. :) Screenshots: Overall, Operation: Biowar is not bad at all. In fact, I'd say it's pretty good, especially for 1999 standards. It is also easy and fun. Quite underrated wad, since I really like many of the levels and especially the soundtrack by Mark Klem who made the soundtrack for Memento Mori series, Requiem, etc. I already recognized a few songs that were from those wads anyway but I wanted to point out anyway. The only criticism I have is that some levels are really damn dark (even at Gamma Correction Level 2), it is hard to see the enemies in the darkness. And the occasional game breaking bug (MAP05) and unreachable secret (MAP08), though there are workarounds for both of these issues. Oh yeah and maybe there could have been some sprite replacements for weapons/monsters as well, especially since there are already new music, graphics, sounds and textures included but the problem is that this would have made the wad much more difficult to install in the original DOS version of DOOM2, due to having to use third party programs to merge sprites into the DOOM2.WAD and shit like that which I am not very familiar with, despite playing Doom wads since back in 2007 or so, it wasn't until a couple years ago when I started playing old wads in DOSBox, to get the authentic experience. Then I started to get familiarized with DEHACKED, DEUSF and other old modding tools, so I could properly install old wads in DOSBox. Otherwise, I like how the wad is fully playable in DOOM2.EXE in DOSBox. I never had a single crash, well other than loading the final level's save with the IOS active, caused DOSBox to freeze due to yet another vanilla Doom bug/limitation. Luckily, I had a save before entering the portal leading to the IOS fight, so I could redo the part and do it without dying, to give the wad a proper closure, as it's unlikely to ever play the wad once again in the future, unless the authors decide to update it one day. Which reminds me, I wouldn't mind if Biowar were to get remastered/remade one day. I can imagine it turned into a full 32-level megawad with remade maps, various issues fixed, more polish, more challenge in some maps, etc. It would be a worthy megawad and better remembered. I will review Equinox towards the end of the month. Until then, I hope to catch up with reading everyone's posts. Have a nice day everyone. -

The DWmegawad Club plays: 10x10, Heartland, Sigil II
FistMarine replied to dobu gabu maru's topic in WAD Discussion
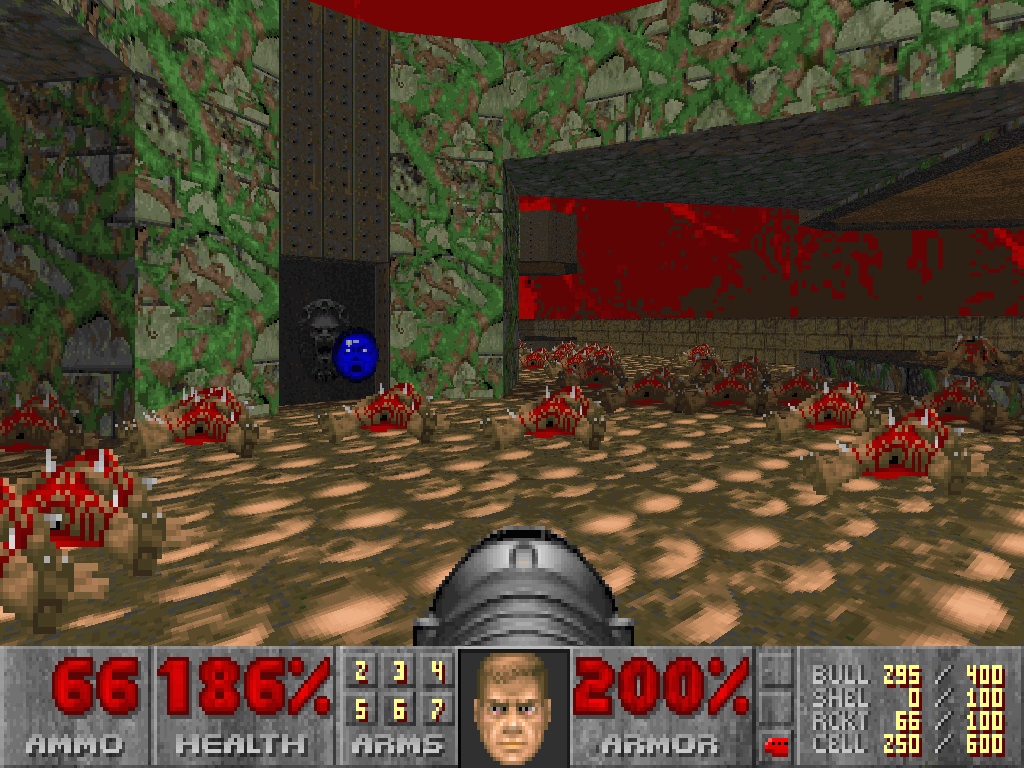
I don't remember what were the exact resolutions I could select (I don't think 1280x720 was a resolution available in the Video Options menu for me) but I know my monitor is 1360x768 and I prefer a 4:3 aspect ratio while the image is stretched on whole monitor to keep the original DOOM FORMAT. 1024x768 is the resolution I usually use in most source ports, to keep the original 4:3 aspect ratio. PrBoom-Plus and DSDA-Doom have the option to adjust the format (DOOM FORMAT) and stretch it to whole monitor, even if I select the highest resolution available. Eternity worked fine by default at resolution 1024x768 until a certain Windows 10 update changed that and now it forces the aspect ratio in most games for some reason, so I have black bars on both sides no matter what. Besides, while I was messing with the resolutions available in Eternity 4.02.00 in one evening, it BSOD'ed my PC once (probably because I selected the wrong resolution) and then I decided to give up, so I will probably use Eternity 4.02.00 on the older Windows 7 PC I still have around, where the screen is correctly stretched to the whole monitor, as I don't like the black bars while playing, they are distracting to me. I also don't play on widescreen mode in classic ports because I can't stand the green borders on the status bar and it looks ugly and squashed in some cases. I know I could just download widescreen assets for status bar but there's two issues with that: 1) There are many mods that change the status bar graphic, so you also need to download other widescreen status bars too 2) There can be conflicts between mods with their own status bar and the widescreen assets, overlapping the status bar graphics This is not an issue in ports like GZDoom because in that case, I play with Alternative HUD enabled, so playing on widescreen mode in that case is not a problem for me. Yes, I know this sounds weird for many and I tried to explain the best I could, it's just that I have my own preferences. As for why I am using Eternity 4.02.00 despite being released three years ago, I just prefer using the official releases, don't like having to use a SVN build. I will be fine with that missed secret in Heartland MAP05 if it glitches on me, whenever I get around playing that wad. And if I feel like replaying Heartland in the future after beating it first time, I'm sure Eternity 4.03 will be released by then, so then that crusher save game bug will not be a problem anymore. Thanks for advice anyway, I appreciate it my friend. Anyway, I finished SIGIL 2 earlier this week and won't go into many details (for instance, I don't have a favorite and least favorite map). As I said previously, SIGIL 2 is a worthy successor to the first SIGIL, both wads being must-play. Levels are generally well designed and pretty well balanced, though I played continuously and with saves, so it was obviously easier. I also admit that I watched Zero Master's UV Max video on YouTube in advance to plan my routes and get all those one time secrets in each level. Something I realized since later levels, if you get locked inside the one time only secret, then if you open it from inside, it stays open the rest of the map, so those goodies (such as Blue Armor) can be saved for the end of the map. As for the final battle, while it is pretty well done, I'd have preferred some unique boss instead of a triple health Spider Mastermind. There should have been a Cyber Mastermind (Realm667 monster) with 5000 HP (or higher) and depending on difficulty, he'd get accompanied by a Cyber and Spider, so you'd have THREE big bosses into the same room instead of one buffed spider and two cybers. Or maybe that Spider Mastermind should have been using different sprites or made bigger or whatever. Oh and you can cheese this fight by teleporting away, then hopefully you can get one/both cybers to infight with the spider. I did that and finished off the Spider with two well aimed BFG blasts. Once you beat the big badasses, there is one more room to clear and one Baron behind the exit. I won't go into further details but I will say I liked the following: -All levels can be 100%'ed and have no bugs/glitches/softlocks in them from my experience so far -Backtracking is possible in each level, so you can go back to collect all the goodies you left behind -Gameplay is solid -Levels are solid -Secrets are creative (FIREBLU secret in each level is funny as hell, rest secrets are the usual shoot the eye through tiny gaps) -Soundtrack is very nice The only things I didn't like: -Cyberdemon in the first level (I'm okay with at least one Cyber in the rest of the levels, seeing as you are better prepared to fight them at those times) -One time only secrets (I'm mostly okay with their inclusion, seeing as they are somewhere early on and in most levels you can actually get there in as little as 15-20 seconds, provided you know where they are, though it's still weird that Romero decided to go for this feature) -The final boss should have been an unique boss, something like a CYBER MASTERMIND which is a cross between Cyberdemon and Spider Mastermind! Or at least a recolored Spider Mastermind with a dark/red color or whatever. I would like to see a SIGIL 3 existing one day to complete the trilogy and become a megawad for the original Doom, bundling SIGIL & SIGIL 2 into one wad in the process, much like other megawads like Base Ganymede: Complete and The Ultimate NMD did it back when they were released. But for now, I am looking forward to the upcoming HELLION megawad for DOOM 2 HELL ON EARTH! As well as whatever Romero plans next to make for Quake. Total Deaths: 15 (E6M1-E6M2, E6M4) Screenshots: I will join the new topic later this month, as Nostalgia is a megawad that I've been wanting to play since last year, though knowing that March is also quite busy for me, I won't make any promises. Have a nice weekend everyone. -
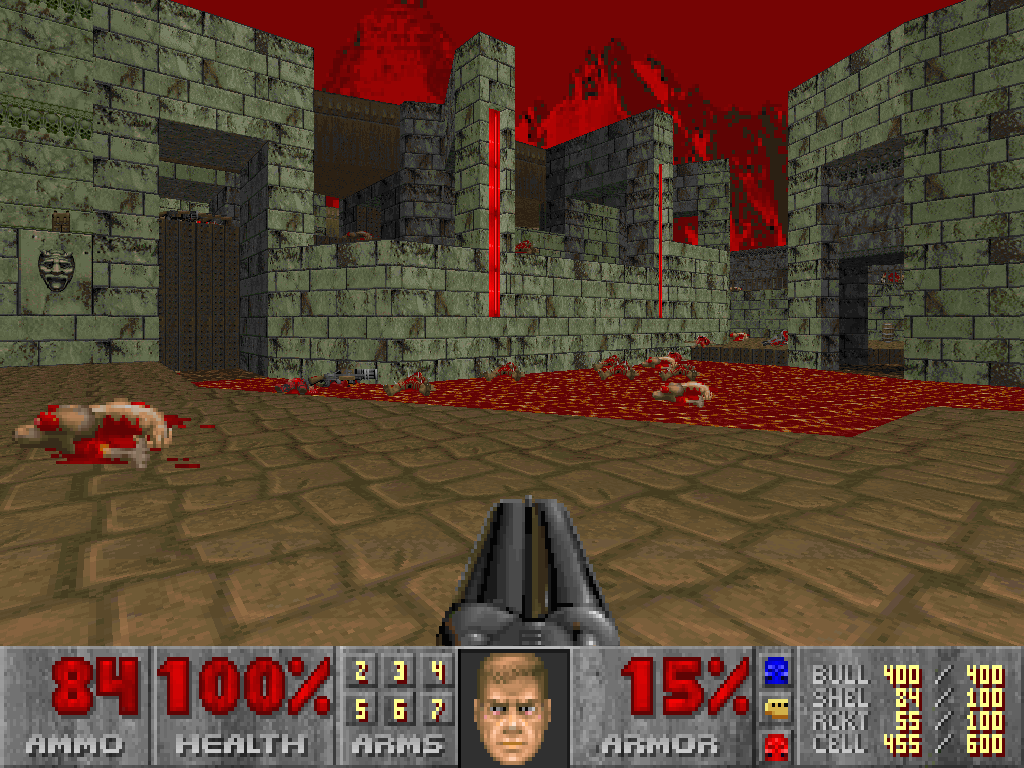
Hi. Sorry for taking forever but while I had the first wad done and reviewed since last month, it took a while until I decided to do the second wad as well and then post. On the last month topic, I participated and reviewed two wads (Revolver.wad and FETAL2.WAD). I didn't rate them but from now on, I will try to give them a rating. Therefore, I rate both those wads a 3/5, as they were both okay. As for this month (or rather, the 79th edition, will join 80th edition soon), here is a short review for each: I will see when I will play Leap of Faith and The Imp Fiesta, maybe another time. For now, I rate ja_tansp.wad a 3.5/5 and FACTORY.WAD a generous 2/5. Have a nice weekend everyone!
-

The DWmegawad Club plays: 10x10, Heartland, Sigil II
FistMarine replied to dobu gabu maru's topic in WAD Discussion
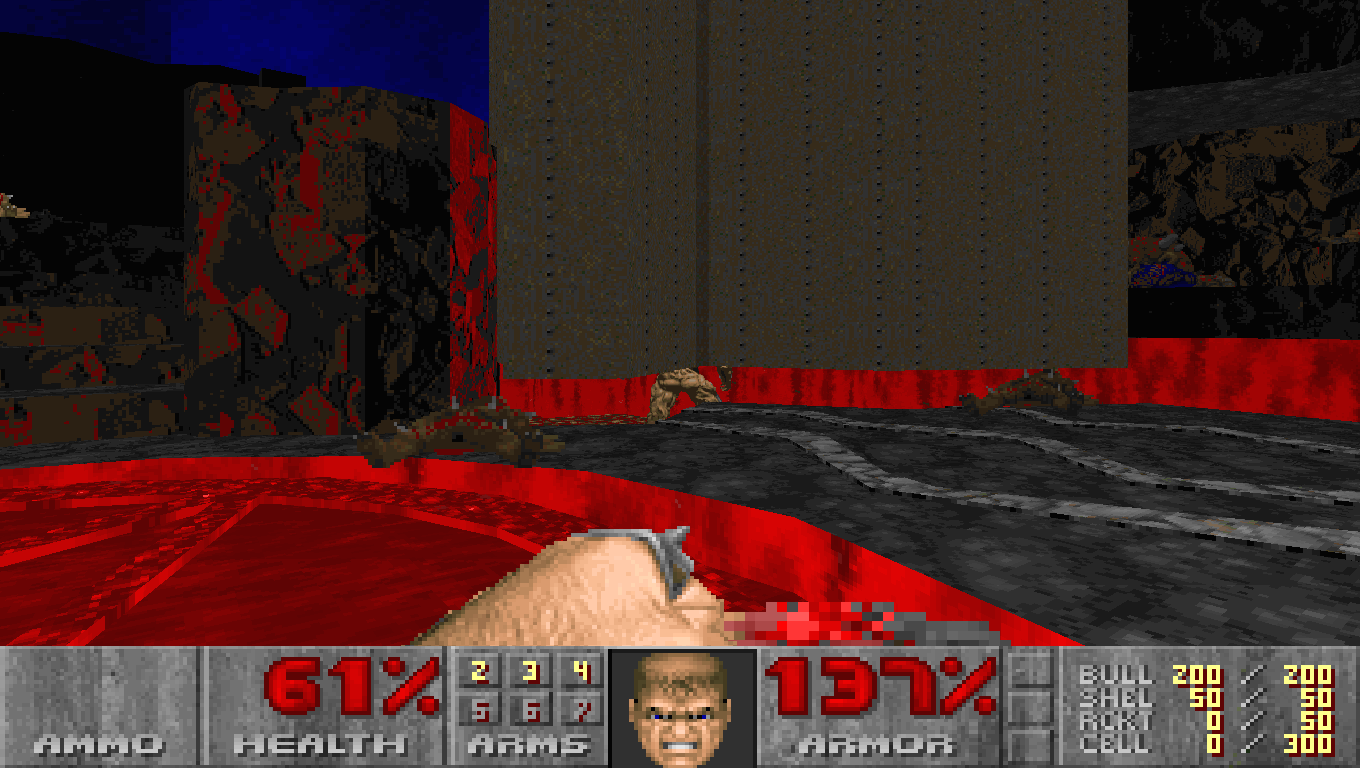
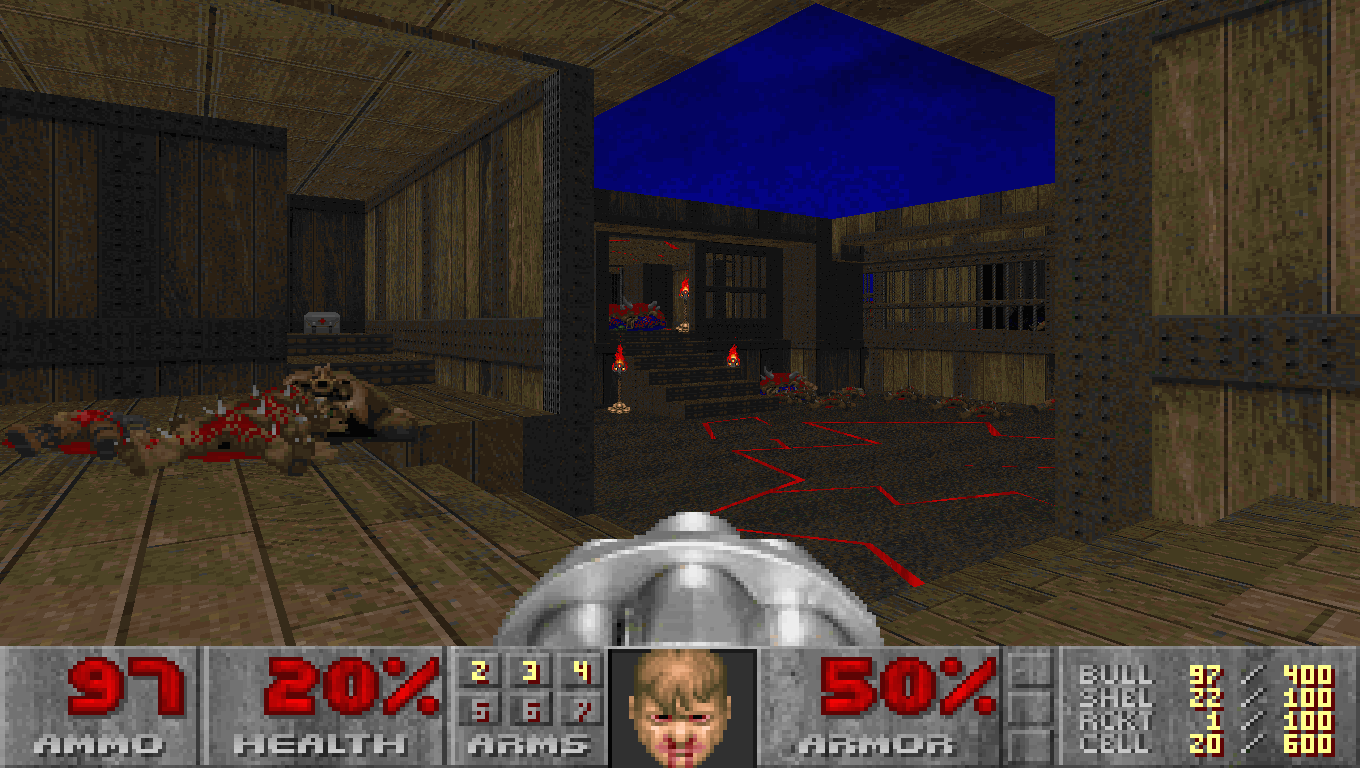
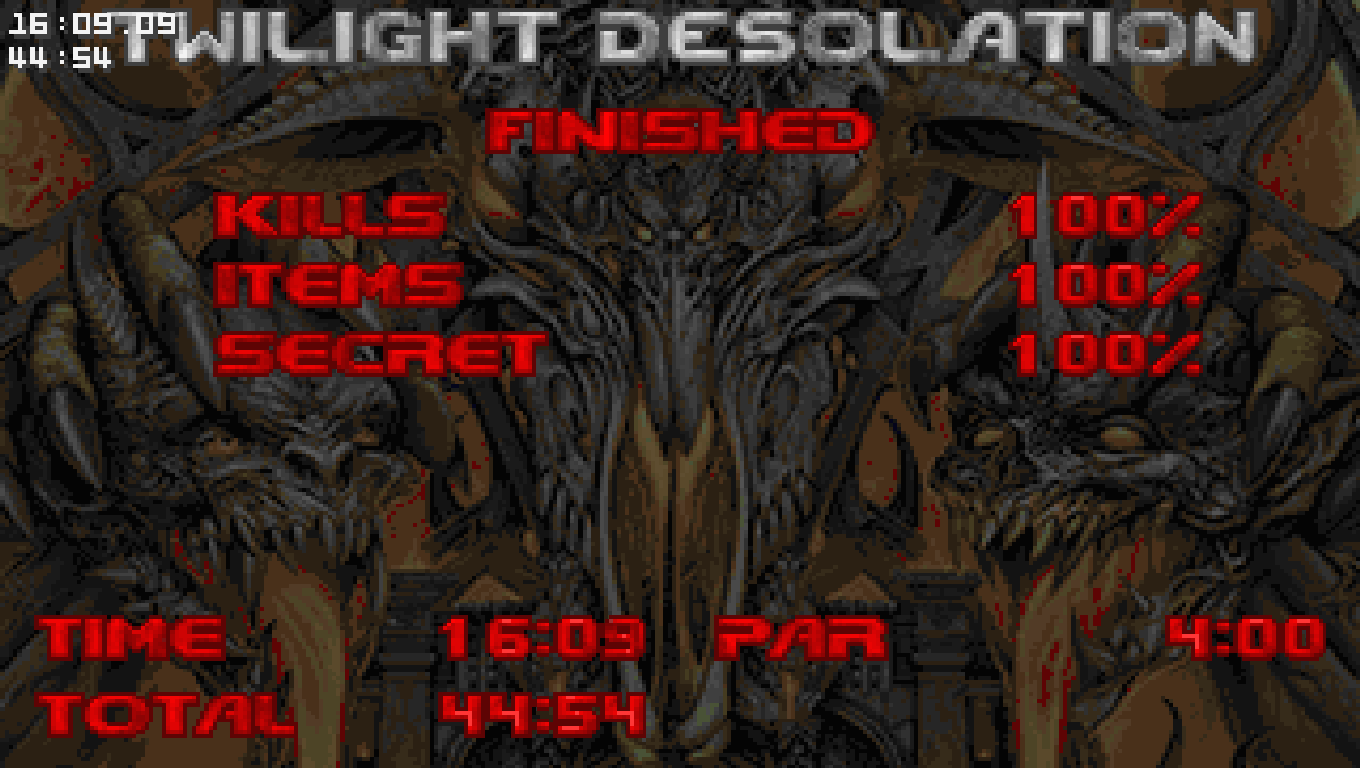
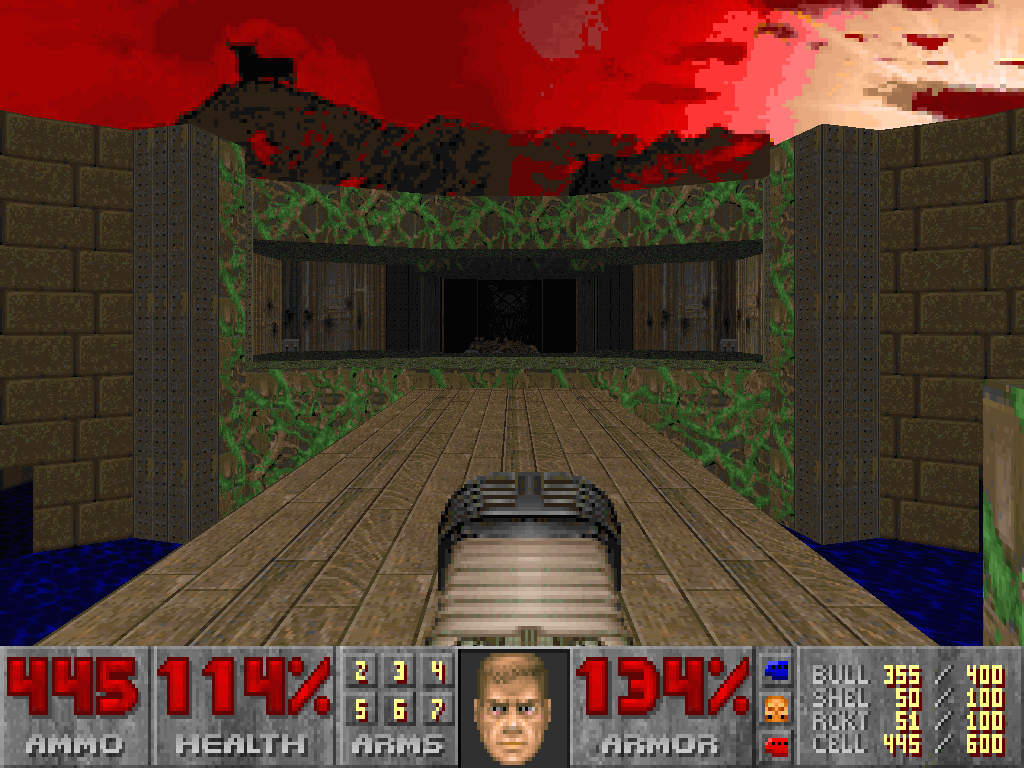
Hi everyone. I regret not participating earlier this month due to being busy and while I was very interested in playing Heartland and SIGIL 2 since they were chosen, I held them until the month was nearly over. A few days ago I wanted to play Heartland in Eternity 4.02.00 but my Windows 10 PC did some updates as of lately that changed the aspect ratio in various games, so now I get black bars on the sides instead of stretching the screen to whole monitor. Not sure why this happens but I will probably go back to the older PC to run Eternity 4.02.00 like I wanted (on resolution 1024x768 and stretched on whole monitor) and play through Heartland at some point, especially since I had finally finished Ancient Aliens a while ago and wanted to continue playing skillsaw's other masterpieces. Also I disagree with the comment earlier about Duke Nukem 3D aging badly, I think Duke3D still holds up well these days but even though I have fond memories of the game from my childhood that make me overlook some of the flaws, these days I only don't like the Build Engine jank and also wish the game got better remasters years ago, then it would be more fondly remembered these days. As for SIGIL 2, I bought the big box back in December to put it alongside the first SIGIL big box, they look nice together. I played and finished the original SIGIL in past few years multiple times (versions 1.0, 1.1, 1.2 and 1.21) in both Eternity (original version adding E5) and PrBoom+ (compat version replacing E3). However, I didn't get to play SIGIL 2 until recently and even though I'm very late, I managed to finish the first three maps and got to secret level. I used the version available on Romero's website, which is SIGIL 2 v1.0. I played in DSDA-Doom 0.27.5 (latest version from December 2023), UV 100% everything with lots of saving. Yes, I watched Zero Master's UV max video on YouTube in advance because I read about the one time only secrets that can only be grabbed within first 30 seconds, as well as each level featuring a Cyberdemon. And also because first level kicked my ass quite a bit, mostly because of that goddamn Cyberdemon, as you will read below. A short review of first three maps: E6M1: Cursed Darkness First level of SIGIL 2 is no joke and can give you a hard time, even though the ONLY dangerous parts are the beginning (rushing to get 30 second secret, which also gives nice rewards) and killing the Cyber with the secret crusher. The rest of the map is not THAT hard but I imagine doing it saveless is a nightmare (pun may be intended). I initially died once to a lost soul when I teleported back (got some bad RNG with pinkies blocking my way to teleporter and then biting me, was left to 3 HP) and then I would say nearly 10 other deaths when trying to crush the Cybie. I tried luring him while I was invulnerable but he wouldn't usually cooperate. One time I even caught myself in a crusher or died in lava on my way back. It was quite embarrassing and left me frustrated...until I finally got him! And then I died in lava because I was down to less than 20% health. Eventually, I got it for real and finished the level with 92% health and 137% armor, as well as full supply of bullets and shells! Yes, I got all secrets thanks to Doomwiki and Zero Master's video. Overall, the first level was nice but I really hated that fucking Cyberdemon! The first level could have not included that Cyber and the level would have been better, IMO. As there is a decent challenge to be had with the enemies already present. E6M2: Violent Hatred Second level of SIGIL 2 is much better and easier, despite the title referencing E4M2: Perfect Hatred, it's really not a very difficult level. The 30 second secret is easier to get to and contains a bunch of ammo boxes, which means you should get that Chaingun rocking. And there is a Cybie waiting outside in the lava lake but he is not that bad to handle, I still died once from splash damage but then again I was down to just 20% health, although I managed to dodge many other rockets which was pretty sweet. And another death from lava because I wanted to see what's on the other side and my radsuit had just expired (oops). The rest of the level is really not that hard and getting the secrets are usually easy, as you mostly just walk on the ledge around the building. Getting the soulsphere without getting hurt by lava once on my way back was quite difficult, so I quickloaded until I kept my 200% health and armor. And the teleporting part at the end made me initially think there is no way back but turns out there is a teleporter nearby that can send you back, which is great for completionists. Overall, this map was very nice. E6M3: Twilight Desolation Third level of SIGIL 2 is also pretty good, it may be dark at times but you can get a Light Amp to help with darkness in some areas. The Plasma Rifle secret at beginning isn't difficult to get and it can help dealing with stronger enemies or you can save the cells and wait until you get the BFG later in the map, so you use the BFG when dealing with Baron hordes and the Cybie at end. Oh and you will also find the Rocket Launcher, which will complete your arsenal. You have to walk to various star-shaped teleporters, then explore each building, deal with the barons infesting one building and face off against an army of monsters and the Cybie himself. This time thankfully I didn't die but I happened to take a rocket right to the face as I try to BFG him, survived with 38% health and 55% armor. Eventually, after shotgunning him and getting bored, one well aimed BFG blast finishes him off. Then run around the level grabbing all the remaining goodies (including medkits, soulsphere and blue armor) and finding the SECRET exit! Yes, the secret exit is now available and it's not that difficult to get into. It is located on the ledge where you get BFG, near the FIREBLU secret. I got the jump in first try. You just need to strafe jump into that red hole, not rocket jump, even though rocket jumping was intended like in E3M6 when getting to secret exit. Overall, this was another very nice map. Looking forward to the rest of the episode! SIGIL 2 first impressions: Pretty good stuff and a worthy successor to the first SIGIL. Although I also wished that SIGIL 2 was for DOOM 2, I don't mind having 9 more levels for Ultimate Doom. Maybe Romero will go and even make SIGIL 3 one day, completing the trilogy. Yes, I know that HELLION was already announced and will be a full megawad for DOOM 2 and I will be looking forward to it. And then we can hope Romero will also make a Quake mapset one day, though I don't know what it should be called. Anyway, about SIGIL 2, I really like the levels so far, the balance is pretty good, the secrets are inventive, the new textures (including the sky texture) is nice and the FIREBLU secret with a zombieman inside is funny, I'm glad it's one for each map. But at same time, I dislike how each level has a one time only secret. The one from first map I read can be opened again but just to be on the safe side, I got it at beginning before it closed. But on a more serious note, it's only a problem on a blind playthrough. If you read about it on Doomwiki or watch YT videos, you can just rush and get it first, then you don't have to worry again. As for Cyberdemons in each level, seeing as they are mostly present on UV skill, I don't really mind that with the exception of the Cyber in first level, I think that one was quite bullshit and would have been better if he was placed as a turret and have a secret teleporter you can simply telefrag instead of having him in lava at beginning and lure in a crusher which is difficult to time it. I know that this was made so it's intentionally difficult, especially as everyone is pistol starting the episode (continuous players can enjoy the gathered arsenal on E6M2 and above) but I never liked when the first level is more difficult than later levels (which IMO is what I really disliked at Thy Flesh Consumed, Romero's levels were really frustrating compared to most in the episode), though again this is done for balance reasons, as first level was intentionally difficult to deter people from blindly playing on UV. The Cyber should disappear on HMP and below but I still went with UV as I am an experienced player to handle most stuff thrown at me but not a DoomGod by any means. Therefore, while I didn't like Romero's levels in TFC (and also TFC as a whole was a mixed bag to me), SIGIL I and SIGIL II are pretty good with lots of creative and memorable setups. Certainly worth playing, though I'm speaking too early as I still have 6 maps left to complete. Maybe I will give my final thoughts next week or whenever I finish SIGIL 2. :P Deaths so far: 12 (E6M1-E6M2) Screenshots I don't have any preferences to vote for now and I think a winner was already chosen for March but here are my votes just for the hell of it, even if they will not be counted: +++ Heretic: Shadow of the Serpent Riders (E4-E6 Only) +++ Hexen: Beyond Heretic +++ Hexen: Deathkings of the Dark Citadel I couldn't resist to not nominate these games, seeing as Heretic v1.3, Hexen v1.1 and Deathkings v1.0 are all dated 22th March 1996. Which means in next three weeks, it is time for their anniversary and the time I decide to beat them on the hardest difficulty. I completed Heretic and Hexen multiple times on the fourth difficulty but never on the fifth. Guess it's time to rectify that! Coming soon. ;) Have a nice weekend everyone! -

What is Strife's equivalent to "Hurt Me Plenty" difficulty?
FistMarine replied to Dweller Dark's topic in Doom General
For more information about the skill levels in Doom Engine Games, you can always consult the wiki: https://doomwiki.org/wiki/Skill_level I agree with @ReaperAA when comes to the Build Engine games having different codebase and the skill level is handled differently in each game as well. But also when comes to Duke3D and SW having four difficulties, what most people don't know is during development, they each had FIVE difficulty levels available (not really the case in LameDuke but it was the case in Duke3D Beta 0.99). In case of Duke3D, they cut the easiest skill available (Skill 0 remains unused in final game and can only be accessed by command line parameters, features even less enemies than Piece of Cake), while in case of SW, it seems like they removed either skill 4 or 5 and made No Pain No Gain have the maximum amount of enemies present, which is why there is a huge increase in enemy count compared to Who Wants Wang (the default difficulty). If you don't believe me, you can read here for more details: https://tcrf.net/Proto:Duke_Nukem_3D_(PC)/v0.99_Beta And one comment at Duke4.net forums mentions that in SW, NPNG skill is actually 5! https://forums.duke4.net/topic/11406-shadow-warrior-scriptset-for-mapster32/ But I'm not fully sure if in SW, the skills are really counted from 0 to 4 or 1 to 5. This is important to remember because the behavior differs between some Build games/versions. As for the difficulty equivalents (compared to Doom) in each Build game, in order of release date: Duke Nukem 3D Redneck Rampage Blood Shadow Warrior Anyway, I hope you guys enjoy. I know I went a bit off-topic but seeing as Build Games got mentioned, I thought I'd try to describe their difficulties in detail and give their equivalents compared to Doom. As I haven't seen a similar topic before and some people might enjoy knowing exactly what each difficulty does in some games. And personally, I kinda wish that DUKE3D, RR and SW had each difficulty slightly different, at least when comes to damage taken and enemy health. EDIT: I also forgot to mention that in Duke3D and games based on it, tagging an item will make it appear on that skill and above. This example can be seen even in some original maps (such as E1L5: The Abyss), where some Atomic Healths only appear on CGS and above. But this is also taken to the extremes in RR:RA, where playing on easiest difficulty will have much less health supplies available, while playing on higher skills will get you more health pickups as well. Seriously, just look at how many health pickups you get in first area (only one on easiest difficulty, three on rest difficulties). -
Hi everyone. I have been thinking to join this event since a while ago but even if I got to play through some random wads, I didn't get to review them. Now I finally got some time to try playing and reviewing some random wads. Before I begin, I want to ask without bumping the older editions/threads, is it possible to play what was chosen long time ago? I am talking about the five randomly chosen wads in the OP, since these are the ones I'd like to stick to playing/reviewing. So if I wanted to play one or more wads that were chosen long time ago (e.g. on the first couple editions), is it possible to review them here in the current topic? If yes, I will try to do that since next time or so, if chosen wads don't interest me. Anyway, for today, I want to review the first two wads: Revolver and Fetals Asylum. I never played them before (though I heard the author behind the second wad has made other famous maps/wads), so I decided to play them earlier this week. I put the reviews and screenshots in spoilers.
-
Heretic: Shadow of the Serpent Riders comes with an Episode 6 included in the E6M1-E6M3 map slots. E6M3 used to be E4M1 in the original Registered release of Heretic. https://doomwiki.org/wiki/Heretic#Heretic_levels https://doomwiki.org/wiki/Fate's_Path If you are playing in DOS, you can access the extra episode with the following parameters: HERETIC.EXE -WARP 4 1 -SKILL 4 HERETIC.EXE -WARP 6 1 -SKILL 5 The first is for the original release to access the hidden E4M1 on Skill 4, the second is for the SOTSR release to access the hidden E6 on Skill 5. You can also use the ENGAGE61 cheat code or MAP E6M1 in ZDoom ports to access the hidden episode. Just note that while E6M1 and E6M2 can be finished, E6M3 has no exit, although it contains a couple monsters, so it's still worth checking out in single player mode. There is also an unused Maze map in the original version of Hexen and a deathmatch hub in Deathkings if you wanted to check out some more extra levels after beating the main levels, though I'm getting a bit off-topic right now. On topic: I would like to see Heretic and Hexen remastered by Nightdive Studios. I enjoyed the Quake 1 and 2 remasters very much and they've done plenty of other great remasters, so I'd like to see their take on Heretic and Hexen, as they are some of my favorite childhood games that I highly enjoyed back then (even more than Doom in some cases), despite some people's mixed feelings on them. I already have a wishlist on what they can fix for Heretic and Hexen, though I will share it at a later time, as now it's a bit too early to talk about that. Heretic should absolutely have a finished Episode 6 (with E6M3 being the secret level and moved into E6M9 slot) and I can already predict that Hexen will have Shadows of Chronos added as an official episode, seeing as it was made by Kaiser himself. I also propose that the Hexen 2 remaster should be called Hexen 2: Eidolon Edition! However, the biggest thing I would really like to see is merging Heretic and Hexen into one game, so that features can be shared between the games. This should allow for some very cool mods to be made and I don't think it's out of place to suggest something like this, considering that both games have some shared elements between them (health items, torch, wings, chaos serpent, etc) and most of the Heretic/Hexen mods for ZDoom/GZDoom already borrow some stuff from the other game. This should also allow using the Tome of Power in the first Hexen game. I mean we all wondered why the first Hexen lacked the Tome of Power and while there are some mods that have implemented powered versions of Hexen weapons (such as in the Carnage Galore mod), I would like to see this happening officially. The idea with merging both games into one is inspired by this project (which actually merges the entire series into one): https://forum.zdoom.org/viewtopic.php?t=72799 Even if some of these things will not happen, I would still be thankful with having new official ports to replay Heretic and Hexen, instead of using DOSBox or source ports or the crappy Hexen95 port that no one uses or even heard of (it is basically the Doom95 equivalent for Hexen). EDIT: I forgot to add that I'd also like to see Hexen 2: Portal of Praevus and Heretic 2 released digitally, even though I already own them in physical format, it would be nice to have them available for everyone instead of having to look up expensive copies on eBay.
-

The DWmegawad Club plays: Doom 2 In Spain Only
FistMarine replied to dobu gabu maru's topic in WAD Discussion
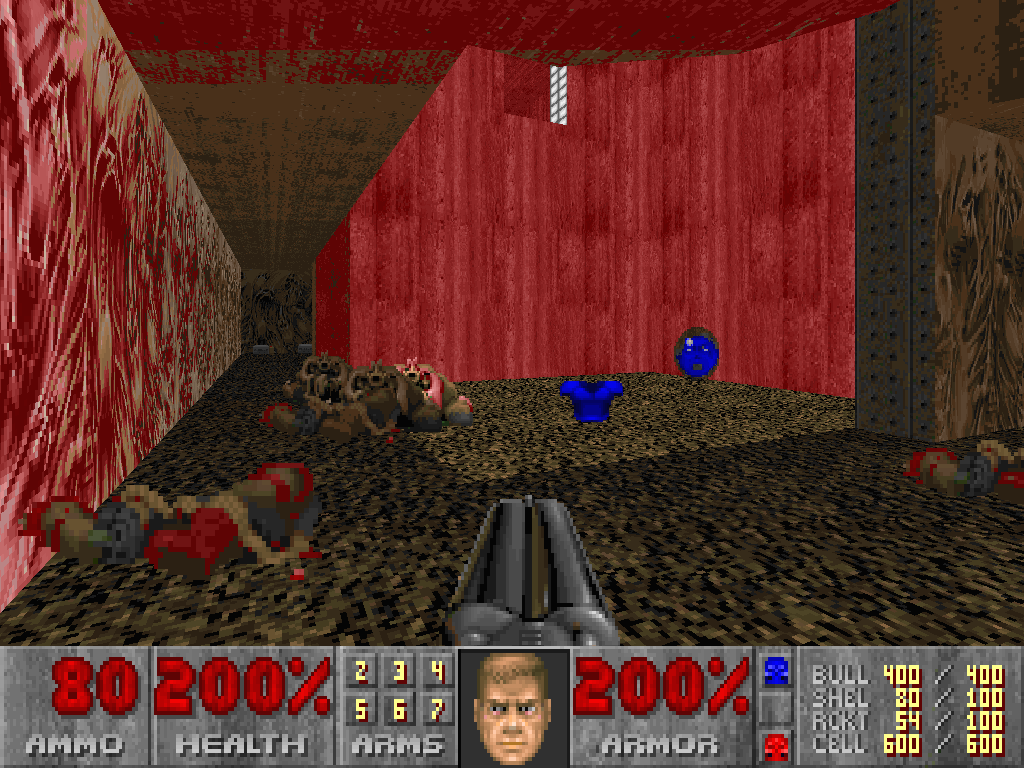
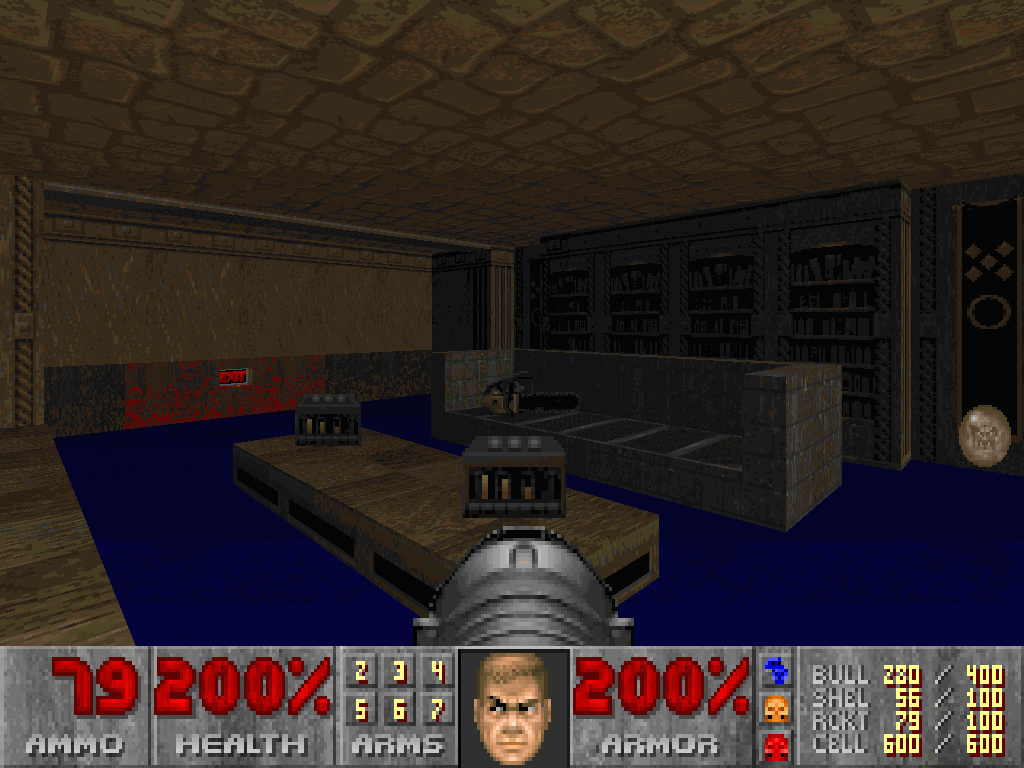
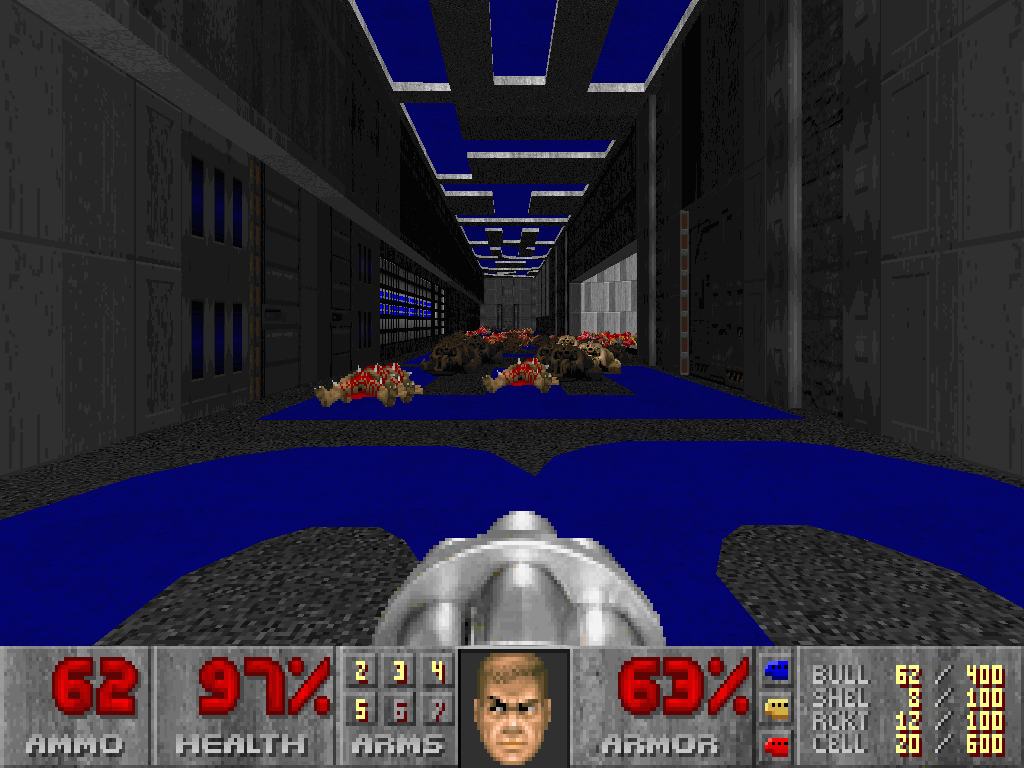
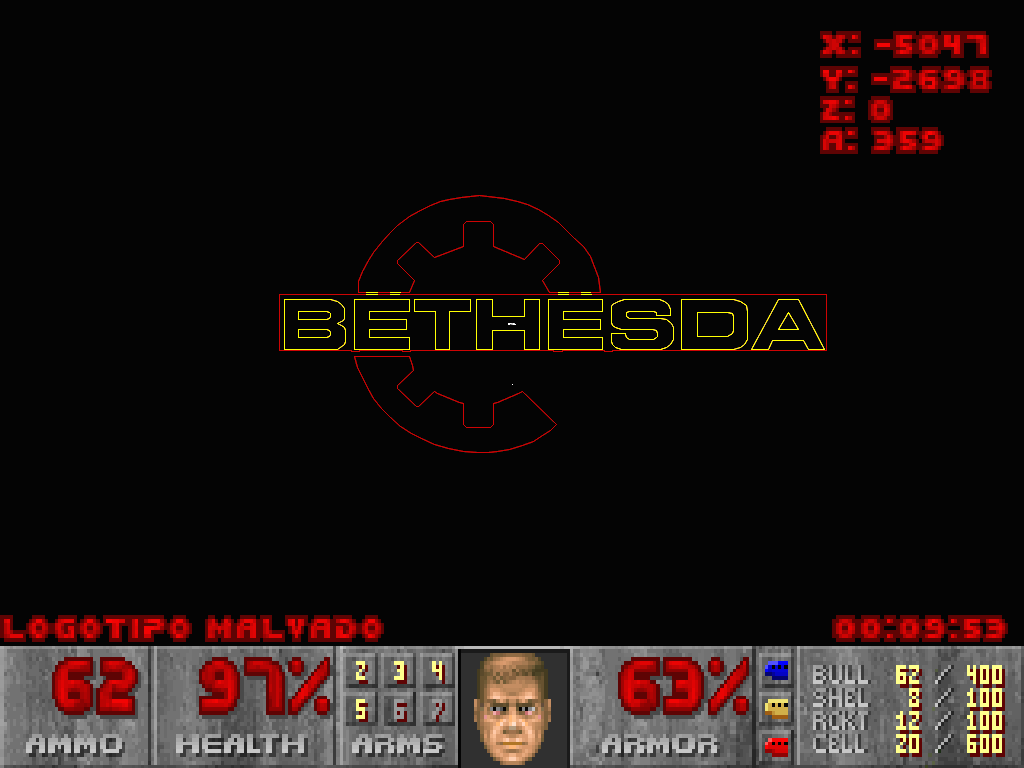
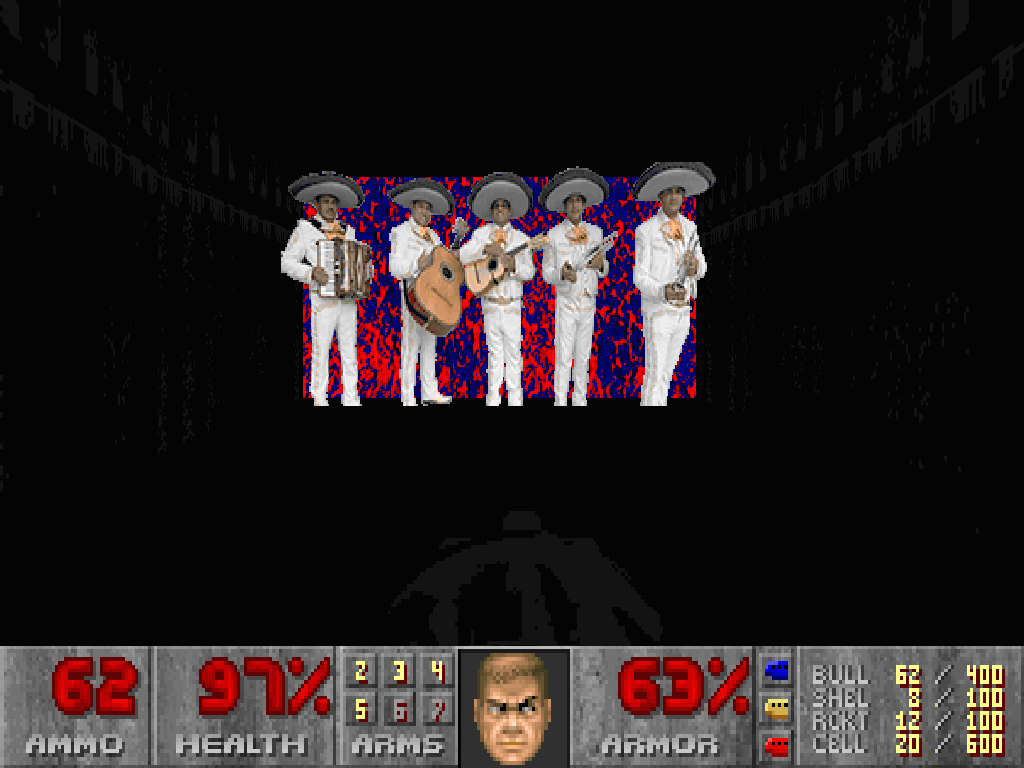
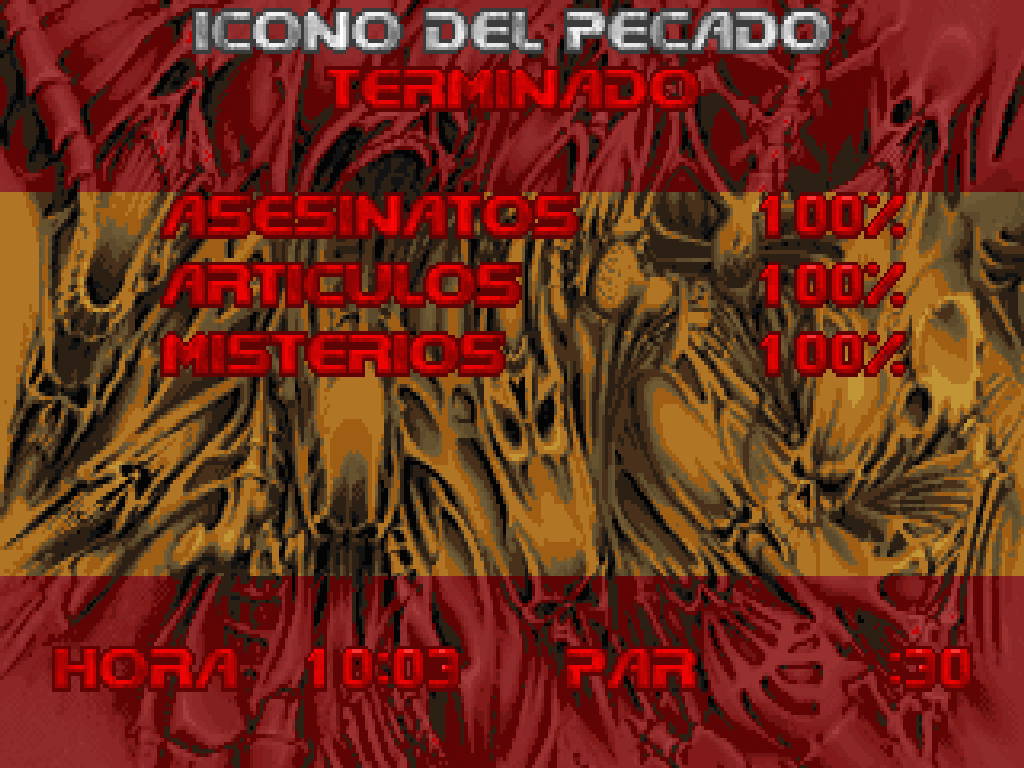
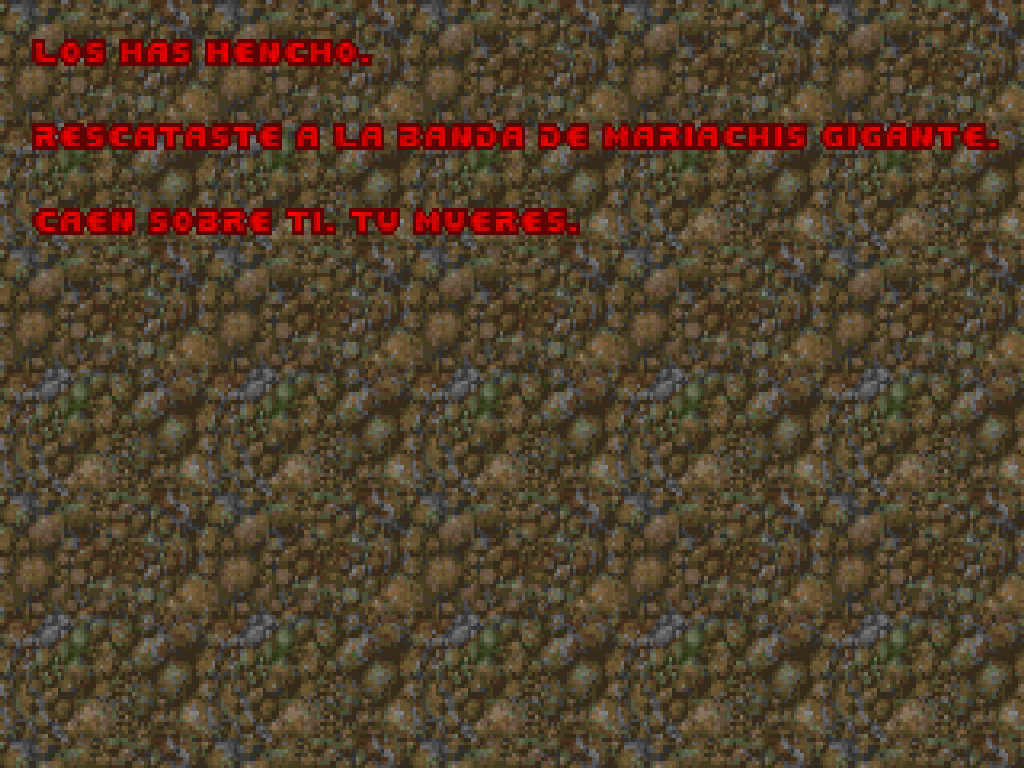
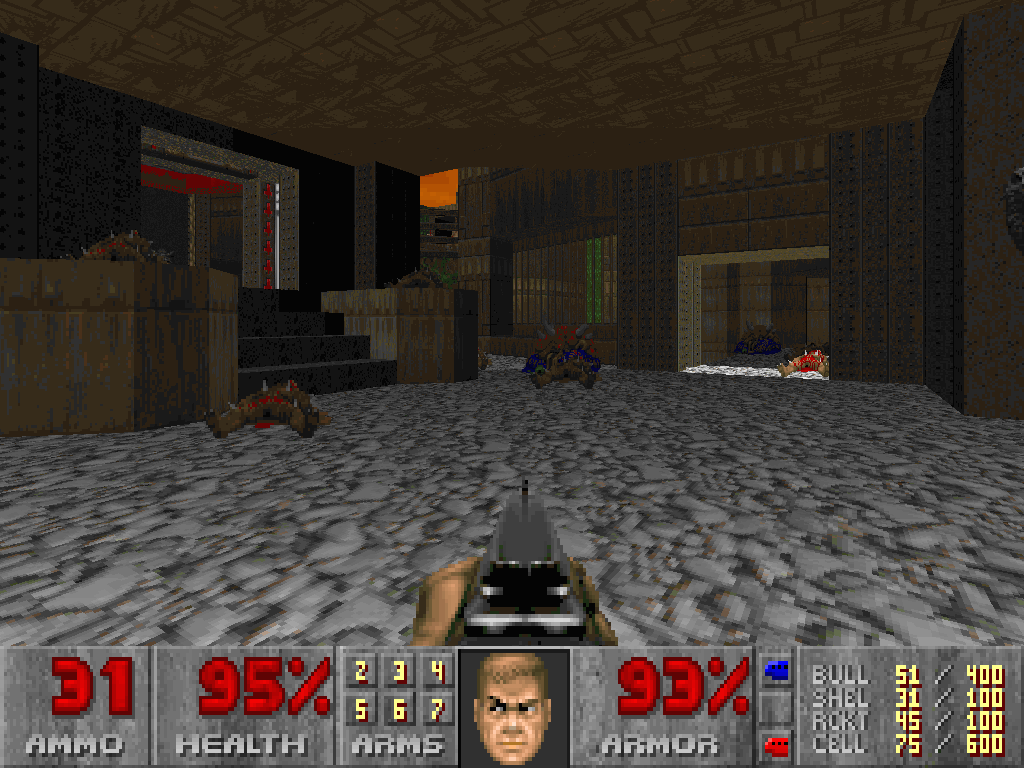
Maps 21-30 review and the conclusion to D2ISO. MAP21: Estado transcendente Well, that was quite an experience. Pistol starters don't have access to any of the shotguns and the plasma rifle but the continuous players can afford to use these weapons if they desire, although the Rocket Launcher seems to be the preferred weapon in this map due to the abundant ammo you get. There are also an exaggerated amount of Powerups almost everywhere but the two Invulnerabilities are much appreciated against the Imp/Revenant slaughterfest room. In general, the fights are pretty straightforward, so there isn't much to worry, it's not one of those brutal slaughtermaps that will kick your ass, instead it's one of the easier ones that should be a relaxing adventure. The only part I didn't like is when you grab one of the two Blue Armors (you can't grab the other one later), the floor lowers and you get boxed by FOUR Revenants! I actually lost half of my health (from 192 to 96 hp) in that battle but the extra health/armor saved the day as usual. All the rest battles are really cool and I don't want to get lost in details, it's definitely an unusual map in a good way. Overall, I liked this map, if only for being an absurd 1994 type of map in a good way. MAP22: Las catacumbas Another map that turned much easier than I expected. I don't want to talk about every part but instead I want to talk about the Red Key fight because it can be either easy or hard, depending on how you approach it. Normally, you have to fight the many teleporting Hell Knights and kill them with the Plasma/BFG (what do you think those FOUR Cell Packs are for?), then kill the THREE Revenants awaiting you. What I did was grab the red key while the elevator was lowered and make my escape quickly before getting overwhelmed. The plan worked perfectly and that was the winning move because I did not take a single hit and I was able to take the Revenants from behind the Yellow door, then take the Knights with my BFG from behind the elevator. Though I actually managed to lose quite a bit of health/armor from the last few monsters in the map, which were the zombies/imps guarding the Plasma Rifle, as I went from 164 to 114 hp in just a few seconds. A bit strange that I'd clear hard encounters without any damage but the easier ones with quite a bit damage taken, although I'm not complaining because that's what the extra health/armor are for and I did the map with little damage taken, so my careful approaches are working well for maps like these. I don't regret doing it the easy way because nothing stopped me in doing it how I wanted. If I was locked in the room with no way to escape, then I would have done it as intended. Overall, this was another nice map with plenty of interesting fights. MAP23: Barriles de diversion I wasn't sure what to expect this time, if it's going to be inspired by Barrels of Fun or not. Instead, there are plenty of ARCHVILES scattered around the whole place (after completing one task, don't remember what was it) and also some spicy ambushes from time to time, though most of them aren't that bad if you know how to avoid them. And yeah, I still died once because my health was running low and didn't want to grab the megasphere earlier when I still had over 100 health/armor. The problem is I got killed by a resurrected spider just in same time my BFG shot took out the archie, imps and that damn arachnotron. Ah well, that's what I get for running low on health while the armor was also pretty much consumed. Though I blame that Rev fireball earlier dealing the 80 dmg because I was forced to take cover from an Archvile and had no other good option besides two shitty options (homing rev fireball that did 80 dmg or the arch-blast that does like 85 dmg). Or worse, getting hit by both of them at same time. Afterwards, taking out the monsters and grabbing the megasphere, I had more than enough to deal with the rest Archviles and the various ambushes that are behind the Blue Door, so there aren't complaints from me. In the end, this wasn't a very difficult map on a continuous run and I somewhat enjoyed it but I can imagine it's not that fun on a pistol start because you need some good weapons against the monsters, especially when they ambush you and most of these weapons are hidden inside secrets. MAP24: El abismo This place seems familiar, doesn't it? Although it has already been pointed out by everyone else (though I laughed at DJV's comment comparing this map to a Maximum Doom map), I have to point this as well: this is a remake of E1L5: The Abyss from Duke Nukem 3D. Without repeating what others said, this is quite accurate to the source material, although the enemy and item placement is slightly different at times, plus there are some workarounds for some design choices due to Vanilla Doom lacking Jumping, Jetpack, Shrink Ray, etc. I would have instantly recognized this map myself if I didn't spoil by reading the Doomwiki article because at that time I was at MAP23 looking for secrets and then opened the MAP24 page in advance to have it ready for the secret hunting and then saw mentioned it's a remake of E1L5: The Abyss. With that said, the only two things I don't like about the map are: 1) lack of armor on UV skill, though not that much of a problem for continuous player if they brought themselves the Blue Armor from previous map, also the map is generous with the soulspheres, so even the pistol starter will not struggle much as long as they don't get bad damage rolls. 2) lack of backtracking, which can be a problem because while the original Duke Nukem 3D had a few maps with points of no return, in this E1L5 case, you COULD backtrack even from the Battlelord's lair because you had a Jetpack, though you needed to complete the secret level Launch Facility to obtain it in The Abyss. On that note of backtracking, there is a teleporter from the last room, that sends you back to the entrance of the Battlelord's lair but you can't get past the platforming part again. I didn't try falling into pits because I knew it would be inescapable, as in Duke3D if you didn't have the Jetpack and fell down, you would have died instantly, so making it inescapable is fine and it's also a callback to original MAP24: The Chasm. In other words, backtracking is possible before you attempt the platforming part. You just need to use the secret route to go back to the canyon area again, otherwise you would have to replay the map (I replayed the parts after platforming because I thought there would be a teleporter that sends you to beginning like some earlier maps, good thing I had multiple saves so I didn't replay the whole map). Also the cacti from Duke3D are in the map and they were in MAP11 as well but I forgot to mention that earlier. Maybe those cacti from MAP11 were a small tease for MAP24? ;) BTW I'm not sure if it's just me or issue in the first release of D2ISO but it seemed like I got softlocked once in the shrink ray room. After pressing the switch, I didn't get to the raising platform in time and then the switch couldn't be activated again. I loaded save, tried again and made it in time. Maybe that platform can be lowered if pressed on it? All I know is in Duke3D you could press on the hand switches again but you could also make a long jump or just use the jetpack (the latter can also be done to escape the room without shrinking yourself). And yeah I know you had to shoot once with the pistol through the cross to escape the room in D2ISO but for the softlock I was referring to the platform raising that switches didn't work again, sorry if I sounded confusing here. I wasn't too bothered with the damaging floors and there were three radiation suits but I also think there were a few more Protective Boots in original E1L5.MAP (there were five of them). And also twice as many Atomic Healths (15 of them in original E1L5.MAP, one of which appeared only in multiplayer modes and another one appeared only on Come Get Some and Damn I'm Good skill levels). I am 100% sure there was also an Armor Pickup near the entrance to the Battlelord's lair in original Duke3D (and another one in the Battlelord arena), though I think it shows up in same place(s) on easier skills. Usually I'm not a fan of maps that completely lack armor but in this case it's fine due to generous amounts of Soulspheres and also playing continuously with conserving the armor from previous maps is a nice thing too. Other than the issues mentioned, the map was a great experience as a huge fan of both Doom and Duke Nukem and would love to see more DUKE3D maps remade into DOOM2. Or maybe seeing Tarnsman create user maps for Duke3D? Either option would be cool. MAP25: Catarastas de sangre And now time for the forest filled with damaging blood almost everywhere. Good thing it's 5 dmg at least and there are many hidden rad suits scattered around. If you don't find any, you can find two in the exit room after you collect all three keys. Combat and progression didn't seem that difficult on a continuous run and never had problems with spectres getting in my face when shooting rockets but I had quite a bit of a problem navigating the rest of the map after I reached the exit, even by watching Decino's video. I was running low on health at one point just from that fight with 10 or so Mancubi behind cages in the corner of the map, then after spending some time in the damaging blood running desperately to find another radsuit, I ended up with 16% health left, then got saved by two medkits right on the platform where I arrived. Afterwards, I don't think I struggled with health again except running in circles trying to find a particular place and secret hunting. The only shit that happened to me is one time I was running and then suddenly got stuck inside a tree, not sure how it happened but I was running in between trees and simply got stuck into one tree's tight spot with no way to escape. I admit having to use IDCLIP this time but then I quit game to reset cheat, since I never save with cheats active (except in very rare cases in broken maps I am forced to cheat). I mean I still had the rad suit active and tried to unstuck myself in those 20-30 seconds or so but really didn't want to risk a death here after pretty much finishing the map nicely. It would have been a shock if I played the map saveless but since I played with saves, I just...eh I could have just loaded the save but that would have meant a cheated death because I would have eventually died from the damaging blood if I wouldn't have gotten unstuck in time. I just like to play fair. :P Overall, this was an interesting map that wasn't much of a problem on a continuous run but I can see pistol starting being really annoying. MAP26: Las minas abandonandas This map is shown in the third demo and unsurprisingly, the player dies almost immediately. The reason for that being a pillar full of ARCHVILES in the middle platform. Yeah, I know you aren't supposed to kill them early and take cover from attacks but I think the map would have been miserable for a first playthrough if you didn't get rid of them, to have an easier time and plan my routes. Since I was well stocked on resources (almost full on everything except rockets and cells), I allowed myself to use about 30-40 rockets to get rid of them and my plan worked. Of course, there's still more archviles later and I suspected there should be a crusher to get rid of them. Well, there is a big one at the end of the level and you need to lure them but I found this after I had killed them with SSG by camping on the upper platform after opening the door. Anyway, it looks like the monsters were mining keys or something, as there were multiple keys available, though only one you need to pick up and the rest copies were unreachable anyway. I find it funny when there are multiple keys of same color available. I have found the secrets containing RL and PR when I was done with the map and all I can say is I am glad I am not pistol starting blind playthroughs because I have no idea how I would have handled this level without these weapons, probably not even making it very far. It's definitely a level that shouldn't be played blind pistol start without saves. Oh and I suppose the blue armor didn't survive for the next level but a nice new green one should do it just fine. Overall, I enjoyed the map for the most part mainly because I played continuously with saves, even if it was done blindly. MAP27: Monstruo condominio Well, that was an interesting map. Unlike MAP17 which I correctly guessed it was a TNT-inspired map, I didn't think of any TNT references in this map. Anyway, I found the ambushes interesting, especially the ones with teleporting monsters over the field and the whole darkness that makes the spectres nearly invisible, though I'm lucky I never got to facerocket myself in this megawad when dealing with the spectres because I get the mapper's intention and I am always careful with my weapon usage. With that said, I still used the RL at many times when it was the need while always double checking to not have a surprise spectre or lost soul in my face. I don't have much else to say about the map, it was fine and I enjoyed my time with it. MAP28: El mundo de los espiritus This map reminded me a lot of Ultimate Doom's E2 and E3 in terms of design, although with Doom 2 monsters thrown in. Yes, it was pointed out already but I was writing in my text file since a couple days ago, so my point still stands. I really appreciate the generosity with health and armor (the Soulspheres and Blue Armors), although I found funny how almost every Blue Armor pickup activates an ambush or is guarded by heavy monsters. I actually ended up with like 3-4 spare Blue Armor pickups by the time I reached the end, so it's VERY generous if you find the secrets and there is one combo (Soulsphere + Blue Armor) right near the exit, to allow you to start the next level with 200/200 even if you don't find the secrets. The map is pretty tough from the looks of it but on a continuous playthrough, is pretty fun and well balanced. There are some vicious traps but not that deadly with the plentiful supplies you are given. There are even a couple annoying 20 dmg floors but they aren't very common and you don't often have to run over them. The ambush at end of the level with Chaingunners and Barons was something else, though expected at that point. Why do you think the Blue Armor and Soulsphere were for? The only annoying part of the level was how confusing it was and kept running in circles at times, whether it was progressing or finding secrets. Now I will shamefully admit when I played Ultimate Doom episodes 2-4 for first time back in early 2010s, I got often lost in some maps in E2 and E3, where I just kept running in circles, not finding the place I want to go. In original Doom 2, the only map I was often getting stuck and running in circles was MAP19, when I was a kid back in 2000s. I have improved my navigation skills a lot since then but because this map was inspired by E2/E3 maps from UD, I still had situations I kept running through same parts because I couldn't find certain rooms, even when I knew where to go, I just kept running through some parts again and again. Because of that, the level took me like an hour and half in game time to complete, in real time must have been about two hours with secret hunting and some short breaks I took. It was certainly an interesting level overall but also extremely exhausting. MAP29: El extremo vivo Very difficult map, worthy on being the MAP29 slot. And that's why I made sure to prepare myself in advance and started MAP29 with 54 rockets and everything else at maximum. Which meant I had more than enough to deal with pretty much everything the map threw at me. On a continuous run, it was very challenging at times but even then I didn't mind the ambushes, I actually found a few maps in the middle of the mapset much harder. I even managed to survive every single encounter. There were some dangerous ones, some tricky ones and some relatively easy ones. There were also plenty of interesting optional battles, mostly for the heavy weapons and unmarked secrets. However, the damaging floors were a bit discouraging in exploring the map for these optional areas, though I appreciate all the health packs and powerups, they saved my life multiple times. I didn't die (at least not until the exit for obvious reasons), I had multiple points I got really low on health. The Mastermind room was tricky and costed me quite a bit of health/armor, the RSK battle ended up easier than I expected so only took a single hit, the many Revenants afterwards (in the SMM room) made me lose 200 hp worth (went from 194/194 to 94/94 in just a couple seconds) and then the Archviles afterwards in front of exit, blasted me twice because one dodged my BFG shot and the other survived, leaving me with the exact same health and armor I had upon starting MAP16, good thing they both died afterwards with next BFG or else I would have been toasted. And then the pain didn't stop in some optional battles, like the room with Archie and Chaingunners, as well as the BFG room. And I suppose the damage taken from exploring in the blood lake. Yet despite all that, I still survived, which greatly impressed me because despite all the pain suffered in this map, DoomGuy was still well and alive. Of course I saved the game often and used several slots, as by the time I get to the exit teleporter, I realized it's a point of no return. So I knew I was missing some optional/secret stuff, which I went back to get by loading my save and looking up Doomwiki guide. And once did all that stuff, I saved on, stepped into the exit and arrived in the nice living room, where I am given a blue key, BFG with two cell packs, two Megaspheres and a bunch of Rocket Launchers. I quickly realized I have to use the RL to do a death slide to the exit. Kinda weird to give the player so much stuff in the exit room but at least it was clear what to do with the Rocket Launchers. When I saw the supplies, I expected a big battle and instead it's this death exit which left the map on a bit disappointing note, after all that pain suffered, only to die anyway and lose all the inventory. Overall, this was a brutal map that somehow I ended up having a good time with it, as I played it continuously. I will admit that it's blind unfriendly but like with most maps of the megawad, it's perfectly approachable if playing continuously and arriving in the map in a well stocked state. On a pistol start, you are supposed to know in advance where to go to get the hidden weapons and do some exploration in the hurt floors, hopefully making it alive to the land. Then there are also unmarked secrets, like in the room leading to the RSK, there is an unofficial secret that contains two cell packs and three rocket boxes. I understand the original DOOM games had a few unofficial secrets but this one should have been official because it's very rewarding and shouldn't be missed. And then I remembered original MAP29: The Living End had the Plasma and Cell Packs hidden in an unofficial secret place, with the map itself having no official secrets and if playing in DOOM2.EXE, then that means 0% secrets at the end of the level. MAP30: Icono del pecado Thankfully, this wasn't an IOS style map and at same time, it's finely balanced for the forced pistol start. I didn't miss my arsenal for once. Grab the supplies, do some infighting between chaingunners, demons and revenants, quickly run for the green armor where the revenants are coming from (don't rush this step, wait until you can safely dodge the revs), run around the room dodging everything, use the chaingun to kill the revenants and the archie guarding the exit, grab the keys, while killing more imps and revenants, then the hell nobles, open the exit door, meet up with the Mexican Men and congratulations! You have finished Doom 2 In Spain Only! Oh yeah, some more interesting things about the map (also mentioned on doomwiki): -it is shaped like the BETHESDA logo -map name displayed on automap is "LOGOTIPO MALVADO" Also according to the intermission text and ending picture (if my limited Spanish is correct), it appears the Mexican Men have killed the DoomGuy! I actually found this funny and laughed my ass off. After all this effort, the player dies (again). DoomGuy just can't catch a break, it seems. Overall, a funny map and great conclusion to the D2ISO megawad! Too bad this map doesn't work in vanilla/chocolate but it works in limit-removing/boom/zdoom ports at least, so not much to complain from me, though I wish the wad was labeled as "limit-removing" instead of vanilla, even though the text file clearly mentions MAP30 is impossible to complete in vanilla. It's just weird to have a map crash the game like that. Total Deaths: 21-22 (MAP05-MAP06, MAP10, MAP15, MAP32, MAP16, MAP20, MAP23) Time Sucks: 3 (MAP19, MAP23, MAP28) Note: I don't remember if I died 9 or 10 times in MAP32, I "cheated" that softlock tree death in MAP25 and I don't think that MAP29 death exit really counts as an actual death, so I put as 21-22 deaths in total, with last map where I "officially" died being MAP23, which is funny how the last "episode" turned out easier for me. I only provide these statistics for fun and decided to add for first time the maps where I scored TIME SUCKS (HORA CHUPA), though I will admit lots of maps in the second half took me around 40-50 minutes, so I'm surprised I didn't have more maps where I spent an entire hour at them. Screenshots: D2ISO Overall: Pretty good set of maps that feel very 90s at times, although with modern gameplay and modern level design. However, I have some criticisms about D2ISO as well. The overabundance of damaging floors and traps in certain maps, the latter which seemed to be more of a problem early on. The positive side is that playing continuously allows you to have a good time even when suffering through the harder maps, of which there seemed to be few if taking your time and playing carefully. Finding secrets and finishing the levels with as much health/armor/ammo as possible is a great reward that will help the player most of the time, with the only exception being the maps in the middle (MAP32 and MAP16) that seem hostile towards continuous players and have a somewhat lack of armor (quite ironic that in MAP16 I didn't struggle with health but instead with the armor) and plenty of traps that can outright kill you, even when playing continuously and carefully approaching every room, making some encounters a bit luck based IMO. Nonetheless, this "careful approach" is a tactic I adopt when playing every megawad and has saved my ass a lot of times, even helps with certain difficult levels when well stocked on health/armor/ammo supplies. I am aware the pistol starters have it worse because not many maps give the armor immediately and they also need to find hidden powerful weapons but the impression I got with the whole damaging floors and plenty of traps is that the mapset is very fun when playing continuously (even if it's your first playthrough, aka a blind playthrough) but not that much fun when pistol starting it blindly and saveless. I've watched a couple videos by Decino and he seems to be much better at surviving traps with fewer resources available but I also handled many parts better than I expected, which I doubt I would have done that well if I pistol started. I took a look at a couple videos posted in the thread as well, it's interesting to see each player has their own strategy when handling the encounters but to me I find it more interesting when DoomGuy has all the necessary tools to deal with various brutal ambushes and succeeding in the end, as opposed to pistol starting and getting ass kicked all over the place. Which creates the issue where DoomGuy is underpowered when pistol starting but overpowered when playing continuously and having full health/armor and all weapons with plenty of ammo, means that the player is likely to deal with almost every encounter without much problem, as opposed to the pistol start approach of being forced to run away from monsters and not having enough ammo/health/armor to fight back unless they find secrets and/or get lucky with the infighting, RNG, etc. The only exceptions to this continuous rule are MAP01 (pistol start for everyone) and MAP30 ("forced" pistol start after the MAP29 exit) but again, this was almost the same to DOOM 2 (MAP01 for obvious reasons, MAP30 because it gave you everything at start and only difference in a continuous run would be the number of rockets, as you get only 43 when pistol starting). Although I confess there were some parts where the Eternity source port's default compatibility settings screwed up a few encounters (infinite height, lost soul limit, etc being disabled by default), it didn't stop me from 100%'ing the whole wad (MAP04 being the only exception, because I played the initial buggy D2ISO.wad instead of latest/updated D2ISOV2.wad that I saved for another time) and I still don't regret my decision of playing the wad continuously. Not even a little. I think for a blind/first playthrough, UV 100% continuous with saves is a good choice and nothing stops me in the future to replay the second version of the wad in PrBoom+ 2.6.66 with proper compatibility settings enabled while pistol starting each level, though with saves in certain maps, because now I am familiar with the maps. In the end, I am glad to have completed Doom 2 In Spain Only. For the most part, it was a fun experience, with some annoying parts in some maps. As a whole, D2ISO is a pretty solid DOOM 2 megawad that I highly recommend checking out at least once. Just make sure to play with my recommendations of playing continuously. 90% of times I had more than enough health/armor/ammo to deal with everything and it paid off. Whether you play on easier skills and not finding secrets, it's up to you. But please think twice before you get into this UV 100% pistol start saveless challenge. While I chose UV 100% blind, I played continuously with saves and looking up guides for secrets. Also I found interesting that this is probably the only megawad I've seen that uses far more Spectres than Demons, don't know if it was pointed in the thread but I noticed this at least and wanted to mention. With that said, the D2ISOv2 pistol start playthrough will still happen one day, maybe in one of the upcoming months when I feel like revisiting this megawad. I also realized the second version of the wad had the status bar written in Spanish, while the initial release I played didn't. I absolutely hope to do the second version of D2ISO one day, as I feel like I missed some things out in this playthrough and didn't do the wad's enough justice. But for now, D2ISO is done and I should just move on to play something else that I never played before. I should also finish reading everyone's posts, maybe sometime during this weekend because right now I'm just finishing this message and posting it in time, to meet up the deadline. It's almost midnight for me right now. :P As for the October votes: +++ 3 Heures D'Agonie +++ Garrulismo +++ Hexen: Beyond Heretic I couldn't resist to not nominate the good old HeXeN and also two other random votes I chose from the topic. A couple notes about each: 1) I already finished 3hda and 3hda2 since 2021-2022, though still have to do the third one someday. With that said, I still voted for the first one because it should be played by the club one day and complete the trilogy. 2) I heard of Garrulismo before but never played it and the author's name sounds familiar, I think I may have played Duke Nukem 3D user maps from him back in late 2000s or so. 3) Hexen is technically done with all three classes on skill 4 (I will consider a replay on skill 5 next year if I feel like it). So in the unlikely probability to get Hexen selected, I will mostly just focus on writing a walkthrough or something. Reading people's thoughts will also be very interesting. The DWmegawad club needs to do Hexen one day, that's all I will say. Regardless of what wins, I hope to continue to be a part of the club, even if I may not have time to catch up with the writings, I will still play and read the posts. Have a nice weekend everyone! -

The DWmegawad Club plays: Doom 2 In Spain Only
FistMarine replied to dobu gabu maru's topic in WAD Discussion
Maps 12-20 (including secret levels) MAP12: La fabrica This map is shown in the first demo and the player eventually dies from getting surrounded by monsters shortly after grabbing green armor. As for the actual map, it was quite tricky at times but then things turned out to be fine. Having the extra health and armor was also nice because there was some unavoidable damage and there was even an optional part of the map which was worth going through because it led to a much needed Megasphere! I think the most difficult part was the one fight with FOUR Revenants and the Archvile. Also the Chaingunners in that E2M7-like room with the many medkits, also caused me significant pain. Other than that, most other fights seemed straightforward to me. I don't have much to say about the map, it was fine and I didn't have to spend too much time in the acid, which is appreciated. MAP13: Centro de la ciudad Here we have a Downtown inspired map with a few tricky ambushes (mostly the Rocket Launcher and the very last ambush) but much more calm when compared to most of previous maps. Design wise, it's pretty nice. Gameplay wise, as mentioned above, it's a bit on the softer side and there is even an easy to figure INVULNERABILITY secret, though I did a bit of savescumming to test where to use the powerup (grab it and quickly head to one of the rooms) but then loaded save when I felt like it's not needed for that room. Eventually I used it for the last ambush (after grabbing the RSK and revealing demons, revs and an Archie) and that seemed to be the winning move. Though I did get a Ghost Revenant during the fight but managed to take it out with RL alongside the last pinky while the invul was expiring. Perfect timing. The rest of the map is pretty straightforward and ambushes/progression are easy to figure out. Though it took me a while to figure out how to get that Soulsphere by "jumping" on that chair, despite repairing my lost health/armor with just the bonuses present in the map, I still needed to acquire full 100% completion. The only annoying thing is one Rocket box became inaccessible in that RL room since I tried to run away from the ambush but thankfully didn't affect the completion and it's not that big of a loss. Overall, I liked this map. MAP14: Los antros mas intimos Here we have a map inspired by The Inmost Dens. Two maps in a row inspired by the original DOOM2 maps in same slot, bonus points for that. Anyway, despite the hot start, this is another calm map that won't cause much trouble. I was also waiting for some big fight coming but there wasn't any. I don't have much else to say. Though I liked this map very much. MAP15: Zona de la industria Here is a map filled with many damaging floors, most being 20 dmg and some of them are mandatory to cross a few times, mostly for progression and secrets. Unfortunately, no Rad Suits are present but at the very least there seem to be plenty of health packs around and even a few armor pickups/powerups. For the best results, I recommend starting this level with 200/200 and you will have a much easier time. With that said, I still died twice. Once at the RSK trap because the Archie blasted me twice (had 98% health and 67% armor in advance, needed just a little more hp to survive the second blast) and the second time I died after clearing the BFG room with the Pain/Soul hell (also took lots of damage from the lost souls but that's mostly due to Lost Soul limit disabled, damn Eternity defaults), so I had to rely on ALL medkits to survive and that's arriving here prepared with a Soulsphere from a secret. I then had no idea what to do and dropped down after I saved. Then I died while desperately humping the walls and before I attempt doing anything else, I decided to watch Decino's video to figure out how get out of this room and in general to solve the secrets and get 100% everything and the secret exit. Because this level is not friendly to blind players at all. I almost died at the Cyber fight after managing to take a rocket directly to the face but thankfully survived with 32 hp and a bit of armor left. Not sure if the invisibility really helped during this Cybie fight (most of the time it worked but that rocket I just couldn't dodge at all) and it was helpful against the hitscanners shortly after. Good thing I had grabbed a Blue Armor a bit earlier and had nearly 200/200 before this fight or else I wouldn't have survived that rocket to the face. Overall, while the map has its moments, I can't say I enjoyed it too much. On the one hand, there are a couple annoying ambushes and the goddamn 20 dmg floors with NO RAD SUITS at all that will surely force you to lose tons of health/armor. On the other hand, playing continuously and starting the level with 200/200 and plenty of ammo, as well as generous amounts of health/armor pickups will make the level tolerable and not too frustrating. Just make sure to save the game often and then you will have a good time. But playing blind UV pistol start saveless is a recipe for disaster on a map like this, so I just don't recommend it, as you are gonna have a miserable time. Only if you learned the map and the monster/item/secret placement, you can do it pistol start and maybe without saves if you are brave and confident that you can beat the map in one go. Funnily enough, Decino cheated with IDDQD twice when he played through this map. Not sure why he didn't save the game before crossing the lava. I find it odd that he would rather cheat with IDDQD instead of saving the game once in a while. Also the Megasphere at the Secret exit is very much appreciated. The short intermission text is not appreciated but it's been like this so far and I have no hopes there will be a long translated text or maybe there will be. Now for the secret levels... MAP31: Zona secreta The first secret level is a bit unusual. It feels like a puzzle Plutonia map. You MUST find the secrets in order to complete the map. But what's more interesting is how you access the secret exit. It's located in the final room and you must press against the column, probably hitting the wall behind the exit portal and you will be suddenly warped to the secret level. Yeah, I had to watch Decino's video a few times to understand how to progress. Just couldn't figure out some puzzles but at least I didn't suffer through this map's combat, I took some damage early on but at later parts I stopped taking damage completely. The armor still had to be replaced in the end. And finding the secret exit took me a while to understand. I don't have much to say about the map. However I have plenty of things to say about MAP32. MAP32: Hotel California The second secret level is also somewhat unusual, taking place at a hotel infested by demons and plenty of fights that will kick your ass. The first is that difficult fight with the Barons. I didn't realize I had to simply lure them to the crusher and just took them with the BFG but was low on health that I got finished off by the crusher. Well, load game and try again, this time being careful at the crusher. I wish I had waited a bit more before grabbing the Soulsphere because there were medkits in the next room but I wasn't sure if I will make it alive until then, so I grabbed it anyway. These parts aren't that bad but then comes the fight after the door requiring the red key. I lost more health than I expected thanks to getting surrounded by Barons and I had to run from the last Revenant when all I had left was 32 HP. Seriously, what were the chances to survive a hit from the Revenant at that time? But unfortunately, this bites me in the ass really hard because most of my deaths when playing Doom are caused by running out of armor at the "wrong" time. I should have risked fighting that Revenant and restarted the fight if I died because there was an essential GREEN ARMOR that I missed in the other room! So I had no armor left and low hp. I found medkits in the next room but still struggled to survive. This room with the Barons, Cacos and the Mastermind killed me more times than I should admit, which was six times because of crappy RNG and the Spider refusing to infight with Barons, she would only attack me and Barons would also attack me at the same time. I suspect this is a side effect of the Boom compatibility but I didn't realize I could just run and come back later after pressing the switch. Because the damn barons would be everywhere and block me and risk taking a hit. One time I took the berserk pack to save myself from dying, only to suddenly take a 64 dmg fireball to the face. And then finished off the next second by a Caco also rolling a 40 dmg projectile. Bullshit. I guarantee the series of epic fails wouldn't have happened if I had the Green Armor because having some form of protection is much better than just having 100 hp or less and no armor at all. Seriously, I hate when you are thrown from one difficult fight into another without being properly equipped. Encounters like these are fun if you are properly equipped but turn out miserable if you are stuck with low health and get killed often. Anyway, I admit I was getting frustrated at this part and only then it occurred to me to run away after pressing the switch. I came back later to finish the last Baron and the stuck Spider Mastermind (thanks to Boom compatibility, she got pushed at the ledge by that infighting Baron). But then surprise, it's time to fight a horde of Archviles with only 34 HP! I had my BFG ready and saved while taking cover. It took me two or three attempts but I got it done in a timely manner. I saw the Megasphere and decided to save it for the end, without knowing of the exit type. I just went to find the medkits and the Green Armor secret that I found earlier. Then I went back to the fight mentioned earlier to finish it off and only then I noticed that Green Armor sitting in a room I didn't reach earlier because I had to run from that Revenant, which is a decision I regret. After finishing the monsters, I went to the next part behind the blue door. Mostly straightforward, though I died once by killing myself with the RL when the Archie invaded the small office room and then the solution was just to use SSG and Chaingun. In the end with the YSK, it comes the fight against many Revenants and an Archvile. Running away seemed to work and carefully take took out. I was getting low on ammo at that point, as I ran out of shells and cells, had only like 100 bullets and 30 rockets or less left.. Afterwards, kill the Revs guarding the Yellow door, kill the last Archvile, backtrack for goodies, etc. That troll face in front of the exit is same as the one at the very beginning, so it must be a sign. Before going back to beginning, I save and then fall into the pit thinking it's the exit and then find out it's the E1M8 type of exit, as I correctly guessed. Oh great! I then load to grab everything and check the door at the start, nothing happened. I guess I will start the next level with only 10 Health and 11 Armor. Thanks very much! So from what I can gather, the secret levels will punish continuous players by making them start MUCH WORSE than they finished MAP15 and/or MAP31. Here is how: -Finishing no secret levels, start MAP16 with 200/200. -Finishing MAP31 only, start MAP16 with 107/100. -Finishing MAP32, start MAP16 with 10/11. After reading the comments, it seems I wasn't the only one to suffer in that Mastermind room. Plenty of people mentioned how difficult was that room but that's mostly because the mapper didn't take into account that most players are not very well prepared to deal with that room, even if there are a few health pickups present, the problem is if you didn't do the previous fight correctly and then if you didn't grab the armor, you are screwed. In the end, I did not enjoy this map too much but I appreciate the design and how some fights are setup. Sorry if I sounded frustrated here but this was the only map so far I really did not have that good of a time. Though in the end I think I died 9 times in this map, so it wasn't really that bad but some parts I did not like at all. Let's hope things get better from now on. MAP16: Afueras For continuous players, the difficulty of this map is determined by which exit you took. If you took the normal exit in MAP15, you would most likely have 200 health/armor. If you took the normal exit in MAP31, you would most likely have around 100 health/armor. But if you took the extra challenge to complete MAP32, then you will arrive in this map with around 10 health/armor. Good luck. Another issue for this map is there is no green armor! Well, there is one Blue Armor but if continuous players want to save it for the end (alongside the Soulsphere), they have to rely on the armor bonuses to maintain whatever little armor they have left. Afterwards, it's just 100 health and the medkits. The good news is that this map contains a decent supply of medkits and stimpacks to make it through. The bad news is there are plenty of traps, some deadlier than others. Even the Soulsphere and Blue Armor have traps in them. The beginning is quite challenging to survive with just 10 hp but after getting lucky and making it through, you get the medkits as a much needed reward. Afterwards, it's surviving some deadly traps and some of the usual traps (mostly imp traps) that won't cause much problem. I had five deaths in this map. First two from the Rocket Launcher secret room (I absolutely refused to use the RL in such cramped room and just SSG the spectres and revs to death), then two more deaths at the Yellow Key trap (one of them was blowing myself up with the RL) and my final death came from one of the two Archies. I tried to BFG that damn Archie but he survived and blasted me into oblivion, despite having 84% health, I expected to survive with 1 hp but somehow the RNG wasn't on my side here. Although most likely I would have been finished off by a shotgun guy, so not much to do here besides circle strafing and using rockets. I only wanted to get rid of the Archies quickly because I was kinda exhausted from this map, even though I did maps 31-32 in one day and 16-17 in another, so don't worry, I didn't play MAP16 after MAP32. In the end, the map itself was good and I didn't actually mind too much the deadly continuous start but I only wish there was just ONE Green Armor available somewhere, maybe at the start or one of the rooms that contained the Medkits. That's all I'm asking, the rest of the map I don't have complaints about it. I think most of the time it sucks when you have no armor at all, DoomGuy dies in just a few hits (depending on the monsters, it can be as little as one or two hits) at 100% health if the RNG won't be in your favor. I don't really like relying on luck to survive, which is a sentiment shared with others as well, because the luck cannot be controlled by a human and it is entirely decided by the computer. And I can't imagine to be any better if I had grabbed the Blue Armor sometime early because it would most likely get consumed until I get to the end and I would have no armor in the next level, which means you have to decide in which map you want to suffer. At least I finished the map with 200/200 after two consecutive maps where I didn't, so things should be better balanced from now on. And yes, I feel it's fair to get as much stuff as possible before exiting a level when doing a blind continuous playthrough. There will be enough time later on to do a separate pistol start playthrough where I have the knowledge of item/enemy placement. MAP17: Viviendas Good news. This map felt much better than the previous map. It also reminded me of a TNT map, though I haven't played Final Doom and Master Levels in a decade, so I will eventually get to them (and four other wad playthroughs I still have in progress). Also pretty much everyone pointed it was a TNT map already, so I guess I don't have much else to add right here. Although there are plenty of traps, you also get TWO Soulspheres and TWO Blue Armors, which are inside secret places but if you find them, you have more than enough to deal with the monsters. In fact, I finished the level with a spare Soulsphere and Blue Armor, though the former had to be grabbed anyway for 100% items. As for the fights, I don't want to spoil the surprise but I will say for the end, I'm glad that backtracking was taken into account. Overall, this map was nice. MAP18: La corte de yardas This map seemed a bit inspired by Ultimate Doom's Thy Flesh Consumed, although gameplay wise it wasn't that difficult because most of the time I maintained my health and armor very well. There aren't many points where you need to cross damaging acid and the only difficult ambush is the YSK where the Plasma came very handy and took little damage. Collecting the BSK didn't seem to spawn anything (maybe the encounters earlier were the ones you had to fight for the Blue Key?) and the RSK trap can be easily avoided by timing so you grab the key while falling down and escaping. This guaranteed a quick escape and take out the monsters carefully from the opening. Besides the occasional snipers, the only weird thing I noticed is towards the end, I wasn't able to make the Arachnotron fight with the Knight. As soon as the plasma was approaching, the Knight gets lowered in the ground for 10 seconds or so. It was quite cleverly done and didn't let you make the monsters infight, so you had to take them yourself. The only annoying thing was taking an 80 dmg Revenant fireball to the face in the cathedral near the end, I had 172 hp in advance and dropped to 117 after taking two hits but other than that room, I don't recall anything that gave me trouble. Just be careful with the two Archies at the end, though you've got pillars to take cover from their attacks. Overall, this was an interesting map. MAP19: La ciudadela Well, this was an interesting tough map. It certainly kept me on my toes at times and I also appreciate all the generosity with the health pickups, radiation suits and the powerups because there were times I took shit-tons of damage or ended up accidentally wasting health (e.g. grabbing a medkit at 87 hp when dodging some attacks) but I also had parts where I took very little damage (such as the part after BSK where you get ambushed by Revenants at the slow crushers, I only took 10 dmg from a missile), so it sort of compensates at times. At the beginning, I had to take the Spiders myself because the Mastermind didn't want to infight with her sons and I had to take them all myself. I have no idea how would you avoid the Spider most of the time because you only get to telefrag her at the very end and until that time you need to revisit this area for the rad suits or just explore some areas. The ambushes are very clever and even a few nasty ones, but most of the time I did just fine with minimal damage because I had to conserve some health for crossing damaging blood. The only annoying ambush was at the very end with the Revenants and Chaingunners, which smells like a classic Plutonia trap. I could have died if I attempted this fight with 99 health and 100+ armor (green) but just to make sure, after reading on Doomwiki about TWO Megaspheres and TWO Soulspheres being present, I ended up looking for a Megasphere secret and grabbed it. I survived the trap with around 74 health, so I don't regret having to use a Megasphere for a vicious trap like this because this is one of those traps that can outright kill you if you don't know what to expect and what to do in advance, even though I had Plasma prepared in advance. My only regret is not making use of a Blue Armor pickup earlier and one Soulsphere that I had to watch Decino's video to find it in the lava at end (at opposite side of the Megasphere secret) because it was an unmarked secret which also contained a few ammo pickups. But yeah, the 8 Rad Suits present were just enough to make it through the whole map and still clear everything. But once again I recommend playing maps like these continuously, to bring stuff from the previous maps and you will actually have a good time and feel like a challenging map without being unfair. Also, this is the only map so far where I got TIME SUCKS or rather HORA CHUPA in Spanish. Overall, while not my favorite map so far, it was decent but if I had pistol started this map, I would have probably hated it. Looking forward to the conclusion of the second "episode". MAP20: Te tengo ahora! Well, that was an interesting finale to the second "episode". A micro-slaughter map. The first fight is against THREE Revenants and a bunch of Imps firing from cages. After taking them down, you have to deal with Mancubi firing from windows while pressing switches. Kill the Archie guarding the Blue Key and grab it to get out of here. Remember to come back here to grab the goodies at the beginning if you are playing continuously (pistol starters need these supplies now). Afterwards, kill the Mancubi in cages. I recommend saving here just in case. Now open the door to unleash the first Cyberdemon and a wave of Nobles. Get them to infight, then take the finishers. Kill the Mancubus downstairs and drop down into the jail. Kill a bunch of hitscanners, grab the Yellow Key, kill the Archie and teleport. Save now. Open the Yellow door to unleash the second Cyberdemon. Take out the two Archies quickly and after a while the Revs will show up. Also be careful with the Mancubi firing. Again, you know what you do and be careful to not get surrounded. I died once from the Cyber when he approached the exit and cornered me. After you made it through, finish off the Cyberdemon, grab the Red Key and open the exit. Backtrack if needed and also find the map's only a secret: A health bonus! On the bright side, after finishing the map, there is finally a longer intermission message! It was about time there is a proper message. Overall, this map was surprisingly fun. I expected to get my ass kicked but I ended up managing it pretty well, leaving aside only one death that happened due to an accident. Deaths so far: 20 (MAP05-MAP06, MAP10, MAP15, MAP32, MAP16, MAP20) Screenshots: At the moment, I have reached MAP29 and while there are some difficult maps coming up, they aren't too bad on a continuous run, though pistol starting is an entirely different story. I highly suggest the players to finish the megawad, there are some really interesting maps coming up (MAP24 should be very familiar for every FPS fan, though I won't spoil the surprise, as it has to be seen to be believed) and I don't think it's fair to give up right now when things are getting more interesting. I will also try to catch up with reading everyone's posts in the following days. Have a nice weekend everyone! -

The DWmegawad Club plays: Doom 2 In Spain Only
FistMarine replied to dobu gabu maru's topic in WAD Discussion
Hi everyone. Happy to see Doom 2 In Spain Only was chosen. I heard of D2ISO before but never played it. To rectify, I started playing it since a week ago and currently I reached MAP18 (did the secret levels as well), so I will only review the first "episode" for now. Just a note for those wanting to play the wad in vanilla: as mentioned in the text file, MAP30 crashes the game, so it is impossible to complete the map and thus the entire megawad if using DOS/Chocolate. I quickly tested this myself in Chocolate Doom 3.0.1, IDCLEV30, then after using the monitor to reveal a teleporter behind me and entering it, the game immediately crashed. Then I tested in Eternity and it works properly, so Eternity is the port I chose for this playthrough. I decided to spice things up, so I am playing the initial release (D2ISO.wad, dated 10/05/2021) in Eternity 4.02.00, UV 100% Continuous with saves and Keyboard-Only as an added challenge. I really wanted to give Eternity a try, as I only used it a few times before. It's a solid port that I wish had more frequent releases and some features finished (such as Heretic support) and compatibility settings properly implemented. I like how the latest version adds a secret notification and a nice new mini HUD to check the stats, though unfortunately still no automap stats, so I have to switch between Classic and Mini HUD to see the level stats. I even run into some issues, as it appears it has Boom compatibility enabled by default (fist can be selected when already having a chainsaw, monsters dropping off ledges, lost soul limit disabled, etc) and even infinite actor height seems to be disabled, though probably for the better because I really hate infinite height. Luckily, this didn't affect 100% completion at all, except MAP04 which had a few monsters not teleporting but this is a map issue fixed in the second version of the wad. I may consider doing a separate playthrough of the latest release (D2ISOv2.wad, dated 09/09/2021) in PrBoom+ 2.6.666 (UMAPINFO) pistol starts (most likely with saves) at a later time if there is enough time left this month. But for now, I will stick to the Eternity 4.02.00 continuous playthrough and hope to finish D2ISO in time. A couple first impressions: -It's basically Doom 2: Spanish Edition. Mostly the texts are translated and the levels themselves are supposedly made by Spanish versions of the id software members. Of course that's the joke and the mappers themselves are the ones from behind famous wads such as BTSX and DTWID series. -The demos are half-assed, player dies in less than 30 seconds (except the second demo which lasts 37 seconds). You could say the demos are inspired by the first demo from DOOM 2 v1.9 (in the older versions of Doom 2, the MAP11 demo lasted about two minutes, as the player was also much better at avoiding the attacks) -The levels themselves are usually nice but are noticeably harder than the original DOOM2 levels for obvious reasons. I think D2ISO is more comparable with the D2TWID maps in terms of difficulty (or even closer to PLUTONIA in terms of difficulty in some maps), considering it was made by the same authors behind the DTWID series. According to the Doomwiki, the project name is also very influenced by D2INO. -The soundtrack is very nice. -The automap often hints at the possible traps that will happen at certain points in the maps. Due to high amount of traps encountered, it is recommended to take a look at the automap to detect possible traps, so you have a better survival chance. I also highly recommend playing continuous if it's your first playthrough and with saves, due to some brutal traps that can kill you almost instantly. Even better if going for the 100% completion due to the very rewarding secrets and you can use that on your advantage to finish each level in best state possible, which will greatly help for the next map. Let's go! MAP01: Entrada The first level is mostly Tyson-focused. You get a Berserk pack right at the start and you will need it to punch imps and spectres or else you run out of ammo. Even if you do some infighting (I certainly did a bit between zombiemen and imps), the bullets won't be enough to get you far and you will need to start relying on fists to survive. Luckily, there is plenty of health and there is even an early green armor that will be a great use throughout this map. There are a few traps at some points but nothing too difficult. Even with the vanilla's wonky hit detection, the fist worked fine most of the time, outside the few times where imps took 2-3 punches to go down and got a surprise hit to the face, though I didn't go below 70 or so health in this map, so there is not much to worry about dangerous traps. Afterwards, you will need to make a difficult strafe jump, which may take a couple attempts, to get the Blue Key. Then you will also get access to the Shotgun, lots of shells and even a Chaingun secret. All that will be great help for the next map. Overall, this is a nice intro map that serves as an appetizer. Looking forward to the next map. MAP02: Salas de debajo I was surprised by the difficulty spike of this map, as I nearly died at some points but thankfully made it through. Mostly because of a rather surprising lack of health. The beginning isn't too bad for the continuous player, though the pistol starter will have a much harder time and there are some annoying traps later on that I only survived with pure luck. Green armor trap was really mean and although I avoided picking up the armor, just triggering the trap and running. Then trying to kill the blocking demon with the chaingun while I was getting shot multiple times from behind. It wasn't a pleasant experience and was left with just 11% health. I had to run and hide behind a wall and pick off the zombies from far away with chaingun/shotgun and then was able to succeed, as I really didn't want to risk dying that early on, it would have been pretty embarrassing. I was really hurting for health and found an occasional medkit/stimpack that kept me barely alive from a surprise attack. I was lucky that the blue key trap with the shotgunners, somehow they didn't even hit me, so I stayed at 25% health in the last parts of the map and made it to the exit carefully and trying my best to survive. Then backtracking to find the last enemy guarding the much needed Soulsphere secret. I had exhausted all health pickups prior to that but I suppose 125 HP and full green armor should be enough for the next level. Also I found the secret chainsaw and rocket launcher earlier but couldn't make any good use of them in this map, so I put them aside. I guess they will be useful in the next couple maps because the RL is often a waste when using it against weak enemies, though it works well when firing at groups of them. Overall, the level was interesting but wouldn't have hurt to have a couple more regular health pickups around to make up for the surprise traps that force you to lose at least 30% of your health (though some of them can be dealt by just standing still instead of running), since I spent the second half of the map with around 25-40% health left. Not asking to have three medkits added but I think an additional three stimpacks wouldn't be much to ask, which is funny because according to the Doomwiki stats, there's two more stimpacks at the easier skills. Oh well, I won't complain much because of the Soulsphere's existence, otherwise I would have been forced to start the next level with only 25 HP! :P MAP03: Las vias del tren Well, another map filled with traps at every corner. However, this one felt easier, mostly due to the far more generous health available. There's like 10 medkits, a Berserk pack, a Blue Armor, etc. There are still copious amounts of traps that you have to watch out for but I think they are easier to deal with. Of course the automap will be a great help in hinting at traps. If you see yellow lines (DOS/Chocolate/Eternity) or white lines (PrBoom+) located near walls, you should expect a monster closet happening at some point, usually revealed when getting near it. Also you have to deal with the damaging floors, mostly 10 dmg ones and an occasional 5 dmg one. I have a feeling this will be a common problem in the later parts of the megawad. The yellow key trap wasn't too bad to deal with (just stand on the teleporter pad and move left to right quickly) and as a result, I didn't lose too much health. The nearby medkit was able to restore most of the health lost. Oh and I didn't get the SSG until I was done with the map. Turns out it's just a bunch of imps showing up when you grab it. I then did a bit of saving/loading when grabbing the blue armor and taking damage from the floor. Still not a fan of the forced damage from damaging floors but it wasn't that bad so far, as this map had plenty of health pickups that it wasn't that much of an issue. It remains to be seen later on how frequent the damaging floors will be. Overall, this was an interesting map. MAP04: El Foco Speaking of damaging floors, here's a map where most of it is covered in damaging mud. It's only 5 dmg and not as bad as I expected. The map is generous with health and there is a low monster count. Some traps are present but they aren't as bad as in the past two maps. What was more tricky is finding the secrets, so I had to watch Decino's video to see where they were because I didn't understand when reading the guide at the Doomwiki, though I still thank Doomwiki for all the help offered so far in every map I needed. Unfortunately, just found out the hard way that the initial release has this map broken (and I guess MAP06 according to a post I've read, though the latter didn't occur to me). Only 90% kills (39/43) are possible. Four zombies (two SGs, two CGs) don't teleport at the Yellow Key trap. Thus no 100% completion for me this time. Oh well, I promise to play the latest D2ISO V2 release at a later time and do the proper justice. I just wanted to play the initial release and compare the differences between the two versions but didn't expect to be only two maps having been changed/fixed. I wish I had known this before I started the playthrough. Overall, I didn't mind playing this map. It's not as bad as I expected, since the map is very generous with health, the monster count is low, traps are kept to a minimum and there are two Rad Suits to help you navigate in the damaging mud. Also I appreciate the Soulsphere secret coupled with the 148% armor remaining, so I get to keep the blue armor for the next map. The design was a bit brown but I didn't mind too much, though the non-teleporting monsters left a slight disappointment that I couldn't 100% the map. MAP05: Los tuneles de residuos Despite somehow not taking any damage at all in the first five minutes, two infamous traps (and some very accurate chaingun snipers) did make me lose tons of health/armor and eventually lead to the wad's first death. I'm talking about the ambushes at the yellow door and the yellow key trap itself, the latter was the only part that really gave me a hard time, despite having 96% health and 48% armor in advance. Got surrounded and eventually killed by an imp fireball (just had two more monsters to kill). On second try, I managed to make it out alive mostly by camping at the sector where you get the yellow key instead of dropping down directly. Other than that, I didn't have much trouble with whatever else the map threw at me, including the blue and red key traps. Mostly because the former gives you an invisibility sphere to deal with the chaingunners and the latter allows you to run away if you keep the door open, so you can do a quick escape. Also there are a few more traps towards the end, including the exit room. I only wish that I knew in advance there were TWO Soulspheres in the map, so I could have used one earlier and prevent the unfortunate death. Yes, I'm trying to keep the deaths to a minimum early on, so that I can compensate with the difficulty of the later maps because I KNOW there's going to be some spicy maps later on that will kill me multiple times. Overall, it was an interesting map, though visually may not be as impressive as you might expect. But gameplay wise was pretty good. MAP06: La trituradora Well, I expected the titular crusher to be the slower one. Though until you reach that point, you have to deal with various ambushes. Some easy ones that usually involve monsters waiting around corners but also some vicious ones, like the part you drop down and get surrounded by various zombies/imps/spectres, lost quite a lot of health and armor in that one (was left with about 140). It also doesn't help that I got blasted once by the Archie at the YK trap (I thought I was hiding behind the pillar but then realized I was a bit exposed) and some bullshit RNG rolls at a few points in the map (mostly fireballs from nobles) that bite me in the ass really hard and consumed my armor and my health quickly that I did not have enough to survive a certain trap later on. Anyway, after dropping down to the crusher and killing the Knight, there will be two barons teleporting (luckily they didn't do much damage), avoid them and get them crushed, which will take a while because for some reason the crusher is not the slow type. Afterwards, follow the bloody tunnel, clear the place from monsters and watch for a couple more ambushes with imps, chaingunners and lost souls which will follow after and they aren't too bad to clear. But then I happened to run into a surprise HK in a narrow corridor while chaingunners showed up again and of course I got hit by a fireball that rolled the max 64 dmg because of course it does and then I was left with 42 hp and no armor left. Great! At least the gunners didn't shoot at me at that time, so it sort of compensates for that damage but come on now, getting max (or at least high) damage rolls frequently is just bullshit. I had to retreat and take them out carefully. Then save, make my way upstairs, follow the trail of health bonuses, grab a medkit and surprise, it's time for another surprise trap that it's guaranteed you WON'T survive because you can't go back to grab the green armor that you need so much right now. At least not until you are finished with this part, then you can backtrack! But will it be possible to survive or not? Let's find out. And once again, as I found the harsh truth, this map brings us another death, mostly getting caught in a bad spot where I was surrounded by monsters and dead in two seconds, with no option to escape because of the Hell Knight blocking the stairs and the wall earlier also closed. Load game and try again. On next attempt, after activating the trap, I try to retreat a couple steps behind, then kill the bastards through those small openings. I manage to survive with 38% health and get some health, a green armor and realize the map was pretty much over because all left are a bunch of imps/zombies and the armor got very little use, which was a bit disappointing because I really could have used that armor a bit earlier. But hey, at least the two cacos at the Red Key trap didn't cause me any trouble. But again, the map was nearly over, so yeah, no point in making it longer, what's done is done. At least the secrets weren't difficult to find and as usual they are great (Soulsphere and Blue Armor) when saved for the end, considering that the continuous players really need those extra health and armor items when starting the next level. After I ran around the level to grab everything and I saved in front of exit, I expected a long translated intermission text but instead, it was a very short one. A bit underwhelming for all the trouble so far. Maybe the next intermission screen will have a proper text? Find out next time. Overall, the map was interesting and visually was very good, especially with the nice new textures and the barrel sprite that looks like it was borrowed from BLOOD if I'm not mistaken. But the ambushes are getting really annoying at that point that the maps could have done with slightly less traps. MAP07: Facil de muertos This map is shown in the SECOND demo, continuing the DOOM 2 (and a few other IWADS) tradition of having the demos get recorded in a weird order instead of the usual level order. What I mean is that the first D2ISO demo shows MAP12 and then MAP07 demo, instead of the other way around. But DOOM2 also first showed MAP11 demo and then MAP05 demo. It's something I started to nitpick as of lately and would rather prefer to see the demos shown in a logical level order (e.g. MAP12, MAP19, MAP26 instead of MAP19, MAP26, MAP12). Which reminds me why wasn't MAP19 chosen instead of MAP07 when doing the demo loop in D2ISO? :P OK fine, back to the map review. As surprising as this sounds, this map was easier than both previous two maps combined. How? Well I didn't have much trouble with the ambushes this time around and still had around 120-130 health/armor when I reached the exit, before grabbing the Soulsphere secret and the Blue Armor. I don't know what to say, I guess I got really lucky in this map because ambushes didn't turn out very problematic to me, even with some really tricky ones involved. I expected to get my ass kicked after the experiences of some maps so far but somehow the tables have turned and got through each encounter with little to no damage. Playing carefully also helped at times, as did blowing up the barrels in advance because I'm not going to risk having a barrel detonate near me if a monster happens to destroy it. The RSK setup with the zombies and barrels was also interesting, though luckily I didn't get blown by the barrels because I moved at the right time when they were blowing up. The high amount of barrels does make this map seem inspired by MAP23: Barrels of Fun. But the design itself seems more interesting/unique than that DOOM2 map. The archviles at the end didn't pose any trouble and you fight mostly groups of zombiemen, then kill the two archviles and whatever few monsters they managed to resurrect. And that's pretty much it, then all left was figuring out the Soulsphere secret and grabbing the Blue Armor and other goodies, to prepare for the next map. Visually the map was quite impressive, especially the hexagonal parts in the middle. Overall, I liked it. MAP08: Trucos y trampas This was a quite tricky map, despite being smaller in size, the difficulty comes mostly due to the amount of damaging floors and some absolutely nasty traps, mostly at Red and Blue keys. The yellow key trap isn't bad at all and can be solved by the usual "running away" tactic. The red key teleports you in acid and you have to collect the Soulsphere (I did a bit of saving/loading here to avoid picking up the Soulsphere or else it was an instant reload, seriously I still had 180 health or so) and fight the demons while some revenants teleport behind you. I don't know why I kept insisting to use the SSG here but should have used the more powerful weapons. Of course I took lots of damage and ended up with like 80 hp or less and that's why I start most levels with 200/200, to compensate with annoying traps like these that force you to lose lots of health/armor. The blue key trap on the other hand, spawns a bunch of demons and nobles in a cramped place. I was glad to survive this trap with around 40 or so health while spamming plasma at them and camping at the door. I don't know what was the intended strategy to solve this one but this is what worked for me. The two archviles in this map didn't cause trouble at least, so there's that. Overall, this was an interesting map even if I wasn't a huge fan of the red/blue key traps and it also didn't feel like MAP08: Tricks and Traps. Instead it felt more like a Plutonia map. Not that it's a bad thing but I expected a map as crazy as original DOOM2 MAP08 was. :P MAP09: El pozo Well, now here is the real Spanish version of Tricks and Traps! At least that's what seemed to me, though other people also pointed this out. On a serious note, I am amazed I got through this one without dying. There were a few parts I got to about 40-50 hp but thankfully managed to survive. I also appreciate the generosity with the Secret Soulspheres. Not all parts are difficult. The ambushes in the Library are easy to take care of because chances are you SHOULD see the Chaingunners/Revenants and whatnot hiding in the corners and waiting for you. Just snipe them and they should simply reveal themselves. The blue key trap can be avoided by having the door open and activating the elevator to have it ready to escape, then quickly grabbing the key and running away. If you are lucky, the Chaingunners will shield you from the Cyber's rockets while the elevator will raise. The yellow key fights in the acid are pretty standard and should pose no problem, being able to do without taking any damage. The red key fight is the most difficult with the Cyberdemon and nobles. I don't think I could get many of them infight but the invisibility sphere from the earlier room/trap was still in effect and somehow worked wonderfully against the distracted Cyberdemon while grabbing the red key. I'm actually surprised I didn't get a rocket in my face during that time. I don't approve the damaging acid without any radsuit, although you shouldn't stand in the acid too much but sometimes it was required when dodging the fireballs thrown by nobles. I also didn't have trouble with any of the crushers, despite some of people's complaints. The one in the circular area with acid (that also contains the BFG secret, though I got it when I was done with the map, also hate the 20 dmg floors) could be predicted because it has a red ceiling texture and seemed a bit suspicious to me, so I just quickly ran through it and it activated a trap with a few chaingunners, as well as the crusher becoming active, meaning I had to be careful to time it correctly. The other crusher is in an optional room with THREE Hell Knights, a bunch of ammo and the mighty Blue Armor. The continuous players should save that armor for the end. The only hints I can give here is to time the crusher correctly. Notice that it starts when you enter the room (good thing I noticed in time to retreat) and stops when you move out of the room but it functions normally when inside. There are hiding spots and you need to kill the Hell Knights. Their projectiles CAN be dodged if you time it right by strafing left/right. You also need to flip a switch to get out of the room, located in one of the spots. When you exit, make sure to wait until the ceiling goes up, so you have enough time to make it to the safe place next time. The crusher functions perfectly in most source ports but I know in vanilla/chocolate it can stop working if you save/reload and it can lead to softlock or unable to reach a secret/optional area. The rest traps in the map are pretty standard stuff. I even expected an Archie to show up at end but there wasn't any. Though the traps became really repetitive towards the end. In the end, I found this map pretty interesting. And while I didn't use the secret BFG in this map, it will be a great help for the upcoming maps. MAP10: Base de reabastecimiento What's up with so many blue armors and soulspheres at beginning? Are you telling me that the effort of having 200/200 at end of previous level was wasted for nothing? You don't even get the opportunity to go back (thanks for people mentioning this, so I picked up everything before leaving), so grab all the Soulspheres (pistol starters should also grab one blue armor) and let's begin a crazy adventure! When I saw the THREE Archviles after teleporting, I knew I was in for a nasty surprise. I did a bit of savescumming here because first time I got left with low health/armor EVEN after using BFG to get rid of them but to me seemed an impossible task to kill THREE Archviles with a single BFG blast and in best case scenario, you will kill two of them, get blasted by the third one and remain with 158 health and armor while he teleports away (though my successful attempt resulted in its corpse teleporting). It also didn't help that they would attack immediately after blasting me and trying to switch my weapon to SSG to finish the last one off, mostly to conserve cells, which took precious time. But then I realized you are supposed to AVOID them and they teleport for ambushing later. No wonder I had a bad time and didn't think to run instead of fighting them. I died once at that point by killing myself with RL on purpose after I was left with low hp/armor but then I did a bit of savescumming to get rid of these THREE archies because yeah I didn't realized what to do at first and I just panicked when I first saw them. And depending on how you end up after the Archies teleport away, you will have to spend the rest of the map with whatever health/armor you have left because all you get is occasional health bonuses. And I expected the map to be tough but things turned out to be far easier than the initial impression I got. Which means the rest of the map is actually great! If you play slowly and carefully, you will not actually lose much health except for the occasional unavoidable damage. The ambushes are also pretty interesting and mostly predictable, especially the fights towards the end are pretty epic, some of them I even did without losing a single point of health and it really paid off. The BFG fight against the FOUR Archies at end was also interesting because you have some cover from them. Though I did get blasted once on the last archie but still had like 84% health left, though the armor needed a replacement. I appreciate very much finishing the level with 100 health and armor. Overall, while reading the comments and catching up with playing, I expected this map to suck due to the "lack" of health after the starting point. But despite the absolute bullshit trio of ARCHVILES at start with no cover (seriously, why didn't they just teleport away instead of attacking the player almost immediately), this was an exceptionally great map. I really enjoyed my time with this one. MAP11: Circulo de la muerte Interestingly, this map wasn't too bad, as it's very generous with health and armor pickups and there's even a couple powerups to be found (two soulspheres, two blue armors and one megasphere). Visually, some areas look similar to the earlier MAP07, except there is a SPIDER MASTERMIND in the center of the map, hence the map name. I confess using about 50 shotgun shells to kill the Spidey, as I decided to take advantage of that as a continuous player but when I will pistol start the map in next playthrough, I will do it as intended using the teleporter to telefrag the Mastermind. I didn't want to bother getting shot while crossing the damaging lava, not to mention there were a few tricky traps, although most were pretty standard stuff that just required you to be careful. The Archviles were hard to reach and required me at least 20 or so rockets to take them down while camping at the door. I also don't really approve of teleporting an Arachnotron behind me when I opened the Yellow door and even got to around 40% or so health left but luckily most of the time I had plenty of health/armor that I never really struggled with health. The traps were interesting in general and I am okay with that, as there was some great challenge in this map. There was one (optional?) fight that reminded me a lot of MAP27: Monster Condo with the Revs and Mancubi. The reward was a Berserk and a Soulsphere, which is exactly like MAP27, though at least the room wasn't duplicated so I didn't have to fight the same monsters twice. :P Oh yeah and intermission text is also very short, as expected. Overall, this was a fun solid map. Deaths so far: 3 (MAP05-MAP06, MAP10) Screenshots: Have a nice weekend everyone! -

The DWmegawad Club plays: Claustrophobia 1024
FistMarine replied to dobu gabu maru's topic in WAD Discussion
Ah, my bad. I looked up the exact same link in past week or so and completely missed the fact Congestion 1024 was already chosen before. I suppose nothing stops me to do Congestion 1024 on my own sometime during next few weeks/months and maybe write a review on the wad's page (still working on reviewing every single wad I have played so far in a separate text document, should finish reviewing at least 30 wads before Doom's 30th anniversary, which will be the day when I will start publishing my reviews), though my priority should be playing the wad chosen for the DWMC before I start a new one. -

The DWmegawad Club plays: Claustrophobia 1024
FistMarine replied to dobu gabu maru's topic in WAD Discussion
NOTE: I already finished the megawad last week (including the bonus maps) and meant to post about maps 21-24 last Friday (as well as post about maps 25-28 yesterday, then the rest today) but some important things got in the way and couldn't finish the review in time. Then earlier today I decided to finish the entire review, so I will post maps 21-30 and 33-34 right here (though they are all in spoiler just in case people haven't finished MAP30 and/or the Bonus Maps yet), as well as the votes for September. Also recently got the data back from my old HDD (it's a long story) and will resume the older playthroughs I had in progress at that time, such as Deus Vult II. :) Total Deaths: 36 (MAP07, MAP15, MAP17, MAP24, MAP28, MAP30, MAP33-MAP34) Screenshots Votes: +++ Community Chest 3 +++ Doom 2 In Spain Only +++ FreeDoom: Phase 1 Overall Thoughts: Claustrophobia 1024 is an interesting experimental wad, inspired by Congestion 1024, that contains maps restricted to a playable area of 1024x1024 map units. Now I will say that it's been a long time since I played these 1024 wads but for this month I decided to jump straight to Claustrophobia 1024, seeing as this was chosen first. Before I started it, I decided to check out the joke wad Claustrophobia 64, just for the hell of it and beat it in like 10-15 minutes or so. Interesting experimental wad, nothing more. As for CLAU1024, it was fun and pretty interesting at times. It wasn't perfect but in general the maps were nicely designed and challenging without being unfair with a couple exceptions towards the end. Then again, I played continuously and if I pistol started each map, I would have died a lot more times and probably hated some of the maps. Interestingly, the maps 28, 30, 33 and 34 racked up a lot of deaths. Especially the bonus maps killed me more than the rest maps combined. I am glad that until that point, I kept my deaths to a minimum. I also really liked the new graphics, especially the new textures, new status bar and so on. It is clear that this wad has a lot of care put into it. Even if there are some weird maps, I think this was a fun megawad in the end and I'm glad to have revisited it after about an entire decade. I also really appreciate that EVERY map (except MAP34, which is also the only unfinishable map in the whole set) can be 100%'ed in PrBoom+ (2.5.1.4, complevel 9). There are no inaccessible monsters, items or secrets. Maps without any items (bonuses and powerups) will show 0% items at the intermission but that's okay. I even appreciate the fact the whole Megawad was tested properly in Boom compatible ports and wasn't tested exclusively in ZDoom, which is where the ZDoomisms can arise and ruin the experience for a wad played in source ports other than ZDoom based ports. Now while I didn't care much about maps 33 and 34 (though I liked their void theme), especially the latter that has no exit and you telefrag a voodoo doll, I'm glad they were included to make the project feel more "complete". As I said earlier, MAP33 could have been a super secret map after MAP32 and maybe MAP33 being the map that rewards you with the BFG instead of MAP32, but MAP34 feels just like a bonus map in the end. As things stand currently, I can't think of a good reward upon finishing MAP33 & MAP34 if they were part of the progression (MAP34 fixed too), since finishing MAP32 is already a big reward to claim the megawad's first BFG and even a Megasphere as bonus. My hope is that one day the DWMC will also select Congestion 1024 and Claustrophobia 1024 2: The Mystery of Too Many Maps, so I get to revisit them after a decade. Nothing stops me to play them soon on my own but then I won't feel like replaying them for the club, so I may have to recall memories of the maps, like I did with the first two Community Chests (still waiting for the third one to get chosen for the club) because they were chosen months after I had already beat them and I didn't feel like playing them again. In the end, I enjoyed Claustrophobia 1024 for the most part and I am glad to have revisited it after all these years, giving it a proper conclusion. I wasn't sure what to vote for the next month but ended up throwing random votes. I don't expect any of these to win and next month I may end up busier that I may not even participate. Regardless of what wins the next month's choice, I hope to continue to be part of DWMC, provided the wad doesn't end up being too long. This month's wad was much shorter and I was able to finish/review it in a timely manner, so it depends a lot what gets chosen. But I will try to participate anyway even if I don't finish in time. It's been fun to read everyone's thoughts on the maps (still catching up reading all posts on last two pages or so), even though I don't feel a few maps were well balanced on a pistol start according to a couple posts I've read but playing the maps continuously I had plenty of fun and I would urge people to play continuously if it's their FIRST TIME playing the wad. Even better if the player finishes a level with as much health/armor/ammo as possible (getting 100% everything in each level is also very rewarding), so the next levels will turn out much more fun when DoomGuy has the tools needed to deal with the surprise ambushes and such, to even the odds. Have a nice day! EDIT: Various fixes. -

The DWmegawad Club plays: Claustrophobia 1024
FistMarine replied to dobu gabu maru's topic in WAD Discussion
MAP16: Nocturnal Abyss by Brinks Interesting map that seemed a bit more difficult than I expected. But first, players who want full 100% everything, make sure to grab the health bonuses in the starting room, even if you have 200% health! For some reason, the door cannot be opened from the outside. Not sure why but this seems a bit weird that there's a few points of no return in this map. The last part of the level does this as well. We will get there shortly. The Blue Key trap is tricky. Of course I'm spoiled by reading a comment earlier and playing continuously, so I just prepared my Plasma Gun to make short work of the teleporting monsters. The Knight's fireballs in this map had the habit to roll high damage, interestingly. Though the other monsters didn't cause me much trouble, such as the Revenants or a few surprise ambushes at some point. The other difficult part was the Yellow key trap with another knight and two chaingunners. I killed one of them but focused my attention on the Knight that managed to get a lucky shot as soon as I turned around. At least the second chaingunner didn't fire at me. Though after taking them out, it didn't occur to me that there was a hidden Arachnotron behind a vent that I only found much later in the map. At the end, you take the lift and then wait for a Baron to show up before reaching the exit. The problem is that this fight is cramped and there is no way back at this point. So I hope you got everything in advance if you want 100% everything. After realizing that, I loaded an earlier save and just explored, for the rest secrets and stuff. Had a nasty shock when I revisited an earlier room and suddenly got attacked by an Arachnotron from behind and only then I was aware of its existence. I took a couple shots and was left with around 70-80 hp/armor. Then after taking him out, I loaded my save to try again because I am not going to throw away my blue armor like this, especially after the earlier incident with MAP14. I will keep my 135% armor, thank you very much. Loaded save and tried again, this time without any loss. Then grab the goodies, such as the SoulSphere secret. Then used the BFG for the Baron at end because I was kinda sick of this map at this point. Overall, the map was nice, despite some annoying parts. MAP17: Transfer Base by Solarn and Kyka and Jodwin Well, this level was unexpected. It is very claustrophobic (see what I did there?) and has some really annoying and cramped ambushes, some of which involve ArchViles, though not all the ambushes are bad but some will surely give you a hard time, even with decent health and armor. Although the Doomwiki mentions it, it must be repeated: there is a non-secret BLUE ARMOR right at beginning by just pressing a switch, then the Blue Armor will appear and will serve you well throughout the map. There is also an early Soulsphere secret but the continuous players will want to save the Soulsphere and Blue Armor for the end. Hopefully you will have enough health and armor to make to the end, as you will be taking plenty of damage at times. Which is why the extra health and armor from the previous level will be much needed for a tough map. There are many times you will teleport, often surrounded by monsters (like that previously mentioned ambush with the caco and imps, good thing I had Plasma in advance) but despite the initial impression with all the teleporting, the map is possible to explore in its entirely without being locked out of backtrackng. A place that you visit now will be revisited later on... The soulsphere secret in that courtyard was so much needed, especially combined with the 60% armor I had left. Because as soon as I teleported, I was surrounded by plenty of monsters (including an Archie) and lost a shit-ton of health and ended up with 80% or less, then desperately try to get rid of them with Plasma/BFG. Without the Soulsphere, I wouldn't have made it alive. Then I had to clear all this mess and be careful to not die with the monsters around the corner. My armor was also gone entirely at that time and I was desperately looking for a Green Armor and then had to read up the secret guide on DoomWiki a few times to understand where is that Green Armor secret and how to get it. Then I understood the secret is available after pressing the switch that unlocks the exit. Kill a few Mancubi, get the armor secret and now SAVE! Because well, I died once afterwards. What happened is I teleported between chaingunners and a revenant, I died almost instantly from 100 health and armor to 0. That was kinda bullshit to be honest, although not that bad for being the map's only death. On the second attempt, I teleported but forgot to activate the switch, so I loaded save again and after pressing the switch and teleporting, I managed to telefrag the revenant and take out the chaingunners quickly with the Plasma. Then take out the last couple of monsters that were near the exit. I had to be careful once more because it was quite tense but even with some damage taken, I succeeded in the end and got the two much needed medkits, before backtracking to grab everything left in the map. My guess why sometimes you get bad luck in this map with monsters surrounding you is waiting too much before you teleport and the monsters spread around the teleporter destination, so if you aren't quick in solving this level, you may end up with a nasty surprise, like it happened to me twice and the second time wasn't forgiving like the first time. DoomGuy cannot sustain all that damage forever... Although I'm playing continuously, I never had problems with the ammo (though I ended up with less than 100 shells at the end of the level) and considering that pistol starters even get the backpack immediately, my only advice is to NOT pick up all the ammo that you see at the time. Since this map allows backtracking, I would suggest to save some of the ammo pickups for later when you actually need them, so for example, you don't end up picking up shells at 99 and bullets at 399. Same goes to the health/armor pickups, they should be picked up with care. Though I admit it's kinda hard to avoid picking up stuff in a cramped map like this but if you have reached the exit, then feel free to grab everything you left behind. Overall, this map was interesting but I don't think it was very fun to play, to be honest. It was acceptable on a continuous run but I would have hated it on a pistol start, especially due to the lack of rocket launcher, despite the rockets being present. MAP18: Weather Station by InsanityBringer and Kyka After the previous map, I expected a breather level. For the most part, it seemed like one, except for some absolutely dickish traps involving nobles in very cramped spaces or maybe I just had bad luck from how much damn damage I took in this map. At the beginning, it wasn't too bad (though the start can give problems to a pistol starter) and I was enjoying the map while I maintained my health and armor very well, other than the fact some zombies were getting lucky with their shots. And the ambush in the acid room wasn't too bad because I just retreated to the previous room and took care of the teleporting monsters and those imps in the acid. But then in the Red Key room, the unexpected happens. Tried to escape when the knights appeared but I ended up with a series of misfortunes. The SSG shots going through the spectres that blocked the exit, elastic collision that throws me away AND getting hit by 1-2 very damaging fireballs from behind at the same time. I was still trying to escape but that stupid spectre refuses to die thanks to shots going through it twice and got surrounded, then just as soon as I get out while getting attacked up from behind, I found myself with 35 or so hp left. Wow, I just couldn't believe it myself how much health and armor I lost just from one dumb ambush. Afterwards, I get health and ignore the green armor to preserve whatever little remained from my armor. I then almost get killed by the Baron that corners me in front of a door. Luckily, that door was closed as I haven't pressed the three switches earlier. I realized later on there were monsters waiting inside and I can't imagine to have been any better running from a baron and finding myself in a tiny room with hitscanners and a knight, so forgetting to press the switches earlier seemed like a good thing. Anyway, while the Baron was approaching, I pulled my BFG and prayed while I was getting slashed. I survived with 11% health left. Then I carefully make my way back to get health while killing the imps and whatever teleported in the central room. Then at the end, after killing the two chaingunners and backing off from the Hell Knight, I'm happy that Spectre didn't block me for too long, so I could escape in time, though I don't recall taking any damage here but it would have been embarrassing to die right at the end, after all the suffering in this level. It seems I didn't need the green armor but I absolutely needed the blue armor near the exit which is opened by pressing the red light switches in each room containing the keys. And then grabbing the medkits to get back to full health. I appreciate all this. Overall, I think the map is okay. I don't know how it plays from a pistol start but I can imagine being a bit miserable since the health seemed a bit scarce and mostly available in form of stimpacks, while the armor is not given immediately, well besides the 15 armor bonuses that were automatically picked up at map start. But yeah, this was a map that seemed easier than I expected, so this is why I got surprised. MAP19: Nova Scotia Robots by Esselfortium Well, finally a breather level. It was unexpectedly easy. 40 monsters in total and mostly weaker ones. There's THREE Arch-Viles but they aren't that bad. There is one early and two at the end that are all easily killed. This map is shown in the third demo and the player dies (probably on purpose) at the first Archie encountered. The red key trap contains a chaingunner, so it's not that bad. While the blue key trap can be a bit tricky but running away seemed to be the easy way to deal with the trap if you don't want to fight two Revenants in close quarters. Though keep in mind you will also have to fight two teleporting Mancubi outside. Then at the very end, watch out for TWO Archviles. Design wise, the level is nice and gameplay wise is also pretty nice and relaxing if you take your time. Just keep in mind this map has no difficulty settings implemented (skills 2, 3 and 4 are identical) and there is a Blue Armor secret that is always nice to have, even though I only got hit once by two surprise shotgunners but other than that, I didn't have to worry about the problematic enemies in this level, since it's one of those levels that can be beaten without much trouble if you play carefully. Oh and 0% items again at the end (only in Boom-Compatible ports, ZDoom ports give you 100%) because there are no actual items to be found in the map. I always found it odd that Boom only fixed the Secrets count but not the Items count when none are present in the map and I believe the Kills count still show up 0% on empty maps to not cause desyncs with IOS spawners, I'm sure that's the main reason why Kills remained untouched but I don't know why they couldn't also fix the Items if bothered to fix the Secrets. I know that ZDoom ports are the only ones that award 100% for each category in an empty map. In the end, this map was a nice short break from the previous more difficult maps. I find it funny how I thought MAP18 was going to be easy and MAP19 was going to be hard but it ended up the other way around. :P MAP20: Refinery by Dutch Devil Well, this was a good surprise. The design is quite nice and gameplay is mostly easy except the beginning part where after a somewhat "hot start" (mostly involving teleporting enemies), I did find myself with around 40% health left until I got a couple health pickups and afterwards, the map's difficulty dropped down significantly. I must admit that the Blue Armor from the previous map(s) has saved me, so my thanks to the level designers for providing a Blue Armor in each level as of lately. Though the pistol starters also get a green armor right away, so that is also appreciated, as opposed to some of the maps that don't give you any armor at all. The majority of the monsters encountered here are zombies and imps. There are THREE Hell Knights and ONE Mancubus that appear at a few points in the map but they don't pose much threat and other than that, there aren't any of the mid/high tier enemies. The main difficulty comes from the great number of imps and zombies and they can chip away at the health slowly. Though luckily there are plenty of health pickups in this level and there are even two armor pickups that are found right at beginning (green at start, blue in a secret on top of the crate but accessed from the red key room). The progression was also pretty clear for me, so there really isn't anything to complain about this map. Secrets are a bit tricky to find and I only found the SSG one by myself but the other two required assistance from Doomwiki. Overall, I enjoyed my time with this one and serves as a nice finale to the second "episode". I only wonder why weren't both MAP19 and MAP20 placed a bit earlier in the megawad? Deaths so far: 3 (MAP07, MAP15, MAP17) Screenshots -

The DWmegawad Club plays: Claustrophobia 1024
FistMarine replied to dobu gabu maru's topic in WAD Discussion
MAP13: Assault by Joshy This map starts you under attack from a Chaingunner with a few weak monsters around, so you need to be quick. There's some tricky fights in this map but nothing particularly difficult on a continuous run and a cautious player should avoid most of the damage. I appreciate the fact that there's lots of bonuses in this map, especially armor bonuses that helped refill the armor to 200%. Oh yeah and the pop-up hell knight at one point did scare me a little bit. Great stuff. Don't have much else to say. I think the map was fine overall. MAP14: Deception by Dreadopp A somewhat interesting map that to me is not very well balanced on UV, at least if you are pistol starting because there's apparently TWENTY goddamn revenants in this map and all only showing up on UV and NM! Playing continuously wasn't too bad, except for having bad luck with a damn revenant that somehow managed to sneak by and quickly fire two homing missiles around the door at the start that perfectly followed me and hit me for loads of damage. I mean seriously, just got from 134 to 69 hp in a single second. After taking the bastard out with the SSG and grabbing much needed stimpacks/medkits, I rushed a bit and took a bit more damage from hitscanners in the next room and realized my armor had just dropped below 100%. Uh oh, that's not a good sign. Perhaps I should go back to the careful approach? Except for the times it doesn't work, so I'm convinced certain encounters are luck based how much damage you will take. Anyway, after clearing those chaingunners at windows and pressing the switch, I decided to prepare in advance and take my Plasma Rifle out that I've been saving for situations like these. I decided it was finally the time I should be using it and started killing all those teleporting revs without taking any damage. What followed was a series of shooting switches and have more revs teleporting, about THREE of them each time. Then a couple more chaingunners and revenants showed up at the end, killing them and the map was pretty much over. Well, a few more skeletons showed up upon lowering the Armor and Soulsphere platforms at the level start and that was pretty much it. The thing that really annoyed me at this level was ending up with 93% armor at the end, despite starting out with a full blue armor and that meant it was the time to replace the damaged armor with a brand new green armor. Normally I stick with the current armor until it gets low (or gets used entirely) and needs replacement, especially if I have the blue armor type but when I am at the end of the level and there are armor pickups around, I replace the existing armor if it's below 100% (or below 200% if there are blue armors/megaspheres still around). I guess I just prefer having "full" armor rather than used one, though if I had 100% or more armor left, I would have stuck with the blue one. But hey, on the bright side, I got my health back to 200%, so I'm sure it will pay off in the next map. Overall, I didn't mind this map too much on a continuous run but according to the comments posted so far in the topic, I agree the Revenant usage should have been toned down quite a bit and use more of monster variety. Maybe only have 5 skeletons appear on HMP and 10 on UV instead of 20 only on UV. Just my two cents about that and I'm sure the map would be a lot better balanced and more fun to play on a pistol start. MAP15: The Inmost Con'dens'ed by Jimmy91 Disappointed it's not in the MAP14 slot...OK fine, I will stop now. The map is shown in the intro demo (kinda spoils most of the map) and the player dies at a certain infamous part later on. This map is obviously inspired by The Inmost Dens and as it has been pointed out earlier, this feels like a shrunken down version of the map. But is it fun to play or not? Find out soon! It's important to note that there are parts you can't backtrack and a vital hidden switch that needs to be shot before arriving in a certain place. The switch in question is found just near the starting point. Look through the nearby opening and you should see a small green switch, which is located on top of where you can see the Blue Skull Key standing. However, the beginning part is possible to backtrack at the end, if you want to return and grab the BLUE ARMOR after you are done with the map! Yep, that's right. UV and NM players get the Blue Armor, whereas the rest players get the Green Armor, according to the statistics shown on the Doomwiki. Though the continuous players need to be careful to not accidentally pick it up (assuming they already have armor at this point) when getting the YSK and pressing the switch (happened to me once, then I loaded save). Yes, I try my best to conserve the health/armor/pickups and get the most use of them, which usually pays off. Oh and there's an invisibility secret that may or may not help with some parts in the map. Would have been more useful against Chaingunners rather than the time I picked it up before teleporting to a certain cramped place... Unfortunately, I died once at the most infamous part of the level, where you teleport and need to punch out teleporting imps, demons and even a knight. I tried to be smart and switched to the SSG, which proved to be a bit too slow and take damage from some monsters. But if there's one big complaint, I will say that Hell Knight teleporting at end was complete bullshit because you are literally supposed to rely on LUCK to survive. If the RNG isn't on your side, you will die in like 2-3 hits at 100 health, like it happened to me. Basically I tried to use SSG but after two shots, I died before the knight was dead. On second attempt, I decided to punch the monsters as intended and only switch to SSG when the Knight was about to teleport. I made it out alive with around 50% health. Ironically, the player who recorded the demo also died at the same part. So you know, this part should have been rebalanced but if there is one positive thing I can say, is that at least it's not a baron! On a serious note, I suppose I could have used the Plasma instead of SSG to deal with that knight but I wanted to play fair and only use the weapons present in the level. Oh and there's now an Archvile somewhere that blasted me once and was almost dying without any armor remaining. Wonderful. Good thing there are a couple medkits around and then I made it to the end at least, fighting against the remaining monsters that showed up. Then backtrack for blue armor and go back to collect that Soulsphere...hold on, what's with those bars? Why I can't go back to grab that Soulsphere I saved for later? I was at 73% health left and didn't want to pick it up until I found some medkits first. Oh, you have got to be kidding me! There is no way back and the bars cannot be lowered. Bullshit. Yeah, I refused to use IDCLIP to get that Soulsphere I couldn't reach anymore and didn't want to leave without it either, so I ended up loading a slightly earlier save just after I had done the annoying part with the teleporting monsters. Then redo the rest of the map carefully to not take too much damage, so I pick up the health before the soulsphere and end up with the nice 200/200 and ready for the secret levels. Also watch out for the Chaingunners trap and the Baron at end. The secret exit switch is located just near the normal exit switch, provided you shot that switch earlier at the beginning. If not, then you unfortunately have to restart the level. I absolutely recommend using saves if you are playing continuously, especially in situations like these. You never know things can go wrong. It's a shame that this otherwise great map was ruined by one time only switch (though I appreciate the heads up from the comments earlier I just happened to read), a bullshit trap and the various points randomly blocked. I just think these bars blocking were completely unnecessary and soured the experience with the map. Overall, I really liked the design of this map, it's one of the highlights of the pack (in general I enjoyed the original DOOM 2 maps and I have seen MAP14 remade many times, I even remember a few months ago playing through a MAP14 remake in Memento Mori) and I really appreciate what James Paddock has done in his early years, before becoming a legendary Doomer that has made tons of gold over time. But unfortunately, gameplay wise, this map wasn't as great as I was hoping and the various annoyances really dragged down the quality of the map. Though it appears this map was then edited by Mechadon, so it makes me wonder if most of these additions were made by Mechadon? Hopefully I don't sound rude by asking this question but I'm just curious and wish the map turned out better than it was. Maybe it needed more playtesting or something, which is ironic, considering Mechadon was also the project leader. Just my two cents about that. MAP31: Skyscrape IV by Jodwin This is a very interesting secret map. It's a bit cramped for my liking and I am not a fan of some teleport traps, such as having chaingunners show up near you, especially if you have the wrong weapon selected, because you will lose plenty of health while SSG is reloading for example. And also I am not a fan of having points randomly blocked that prevent backtracking, though this is due to design, because you need to make a choice at the room with the four switches and once you complete a room, you can't visit it again. The concept itself is great but the lack of backtracking mostly hurts the completionists if you forget to pick up something or you don't do it in the right order. For the continuous players, assuming they start with maximum health and armor, they can save the Megasphere room for the end, which is accessed by two of the switches, I think. It's quite tricky to do it perfectly but I managed to do it that way with some reloading I've done at some points. The order I did the rooms was first the Blue Key (two Chaingunners guarding the Rocket Launcher), then Yellow Key (Blue Armor and the warehouse fights), then the basement (a few monsters and ammo) and then the Red Key (Megasphere and lots of tricky traps). I think the highlights are the Warehouse fights with the hitscanners, revenants and other stuff, then the Red Key fights with Spider Mastermind (there are tiny pillars you can use as cover at least), teleporting hitscanners, spectres in the dark, wall of nobles and Mancubi. They are all pretty tough but shouldn't be too difficult to complete if you are a bit lucky with the RNG. A couple Archies also show up at some points but mostly in the cramped central rooms and you can just SSG them to death, they aren't that bad if you take your time. Anyway, I will say I almost got myself killed a few times. In the warehouse I was getting to the 30-40% health range and once I cleared the hitscanners, I got the medkits and a fresh new blue armor because if I wasn't going back, I might as well get it now. Then the Red Key fights. The spider is easy, she won't hit you if you are hugging the pillar. But then you have teleporting hitscanners and two surprise chaingunners almost got me killed. I had to quickly run to the medkits around the arena because I panicked, thinking I would die. But wait, it gets worse. You need to shoot where the arrow is pointing behind the FIREBLU forcefield and then lights turn off and the spectres show up! Problem is I should have switched to the Plasma (I had 590 cells and either I was too stubborn to use it or maybe I forgot and reminded later?) and used SSG for a short while until I switched to the chaingun to stun them because I was getting surrounded. I made it out alive with around 35 HP left, luckily a few times the bites did very little damage, so I suppose it evens out. The supplies are now available but as soon as I saw the hell nobles, I immediately switched to the RL and fired for a while. Luckily, I was able to dodge every projectile. But then the Mancubi show up. I made sure to quickly save in that desperate moment and then I was wondering if I should grab the megasphere now or risk dying while trying my best to dodge? I eventually grabbed the Mega but then I got a few fireballs to face and ended up with 148/148. I decided to reload and try again for a while but I can't seem to avoid the damage entirely, so then I load game again and try to play with fire by not picking up the Megasphere and wow I barely made it alive with like 10 hp left. The megasphere was much needed now and a great prize for beating this room. After getting the Red Key and returning to the room, I think all left was just 2-3 Archviles and reaching the normal exit. I wondered where the secret exit could be until I read on Doomwiki and found out there is a red tiny exit teleporter in the central hub/room you can reach, as you can see in my screenshot, to give you an idea where it is located. Oh yeah and there aren't any official secrets but the Boom/ZDoom source ports will say 100% secrets anyway. Overall, this was quite an impressive map. Visuals were great and gameplay was mostly fine and engaging. But suffers a bit from cramping, some annoying traps and lack of backtracking after solving each area. MAP32: Oil Rig by Mik57 Another interesting secret map. It's mostly brown and dark but the atmosphere is great and there are even THREE Cyberdemons! Yep, you've got THREE of them, on HMP and higher according to the Doomwiki. Oh and also one Spider Mastermind at the end, though it's not that bad to take her out. The first Cyberdemon can be a bit of an issue, especially on a pistol start but after he finishes infighting, he can be hurt while behind the crates. I found this safe strategy and just snipe him in head with single shotgun and chaingun, thanks to Autoaim. Eventually, he dies and then you can move to the next room. The second Cyberdemon is after taking the elevator and he will be waiting on the left side. But first, be careful with the Chaingunner squad from far away. Afterwards, be careful with the second Cyberdemon that is on the left side and waiting for you. Trying to hide from his rockets in the elevator doesn't work well, since you will be taking splash damage from his rockets if they hit the nearby walls. That hurt me a lot but then I loaded save and just decided to stand in the open, Plasma-ing him to death while dodging rockets, ignoring one or two imps that were around, though I think the splash damage took them out. He eventually died and then it was smooth sailing from now on. Grab the Blue Key and Soulsphere, go back to the elevator and kill the spawned monsters. I did a cheap trick I learned a while ago where I shoot with the SSG while the door is opening/closing and that way the projectile monsters didn't hit me at all. Be careful with the chaingunner, though. Since he can still hit you while doing this trick, so it's only useful when fighting against projectile monsters. Hope you find this useful! The third Cyberdemon shows up shortly after. He will be up high at the window but he can be safely Plasma'd from ground level thanks to autoaim and his rockets will not hit you if you take cover right at the spot you started the level. Afterwards, go upstairs and surprise, a Spider Mastermind has showed up alongside a couple more monsters! After taking out the Spidey and her companions, then various other monsters waiting for you, open the Yellow exit door and prepare for the Archvile waiting for you. You should already know by this point there is usually an Archvile in the exit room, as you can tell when you check the level stats and have only one remaining enemy left. Afterwards, backtrack if needed for whatever supplies you left behind and check the rewards in the exit room. Completing this level gives you two excellent rewards: BFG and Megasphere! Yeah, that's the first BFG of the megawad and I'm sure it will be very useful later on. Oh and there is also a Soulsphere secret right next to the exit door. Which reminds me that this level was very generous with the resources, as I ended up with a spare Blue Armor, Soulsphere and Megasphere at the end, though I grabbed the latter two anyway just for getting 100% completion. Overall, I think this map was fine, it wasn't as hard as I thought it will be (I think it was somewhat easier than MAP31, despite the stronger opposition present in MAP32) and I didn't mind it. I'm happy to have finished it as part of the normal level progression, as it was very rewarding in the end. I mean who knows when you will get the next BFG? It's an offer you can't refuse. And yes, I am aware there's also the super secret bonus maps MAP33 and MAP34 but I will cover them at the very end, as they can't be reached from regular gameplay, so they will be pistol started after finishing the megawad. Also forgot to point out earlier that I'm only writing the map author as how they show up on the intermission screen. Sorry if I missed anyone when crediting the map authors, though the complete list is available on Doomwiki. Deaths so far: 2 (MAP07, MAP15) Screenshots I guess I'm doing 5 maps reviewed per post now, maybe only 4 maps reviewed from MAP21 onwards. Speaking of which, I just reached MAP21 earlier today and I think the weekend is the perfect opportunity for taking a short break from Doom, before coming back refreshed next week and tackling the last 12 maps. I should also catch up with writing for the rest maps relatively soon. Have a nice weekend everyone! -

The DWmegawad Club plays: Claustrophobia 1024
FistMarine replied to dobu gabu maru's topic in WAD Discussion
MAP07: Dead In, Dead Out by Mechadon A Dead Simple inspired map. It's pretty tough and the hardest of the maps so far. Staying alive at the beginning is quite a challenge, especially since you don't get armor right away. That armor you got in previous two maps will eventually get consumed from how much damage you will take and then it's quite painful to take damage when you have no armor at all. Camping at the starting spot seemed to be my working strategy for the most part. Rarely you will get attacked at the starting platform, unless it's lost souls that teleport in the middle of the area and then ram into you but otherwise, there will rarely be projectiles flying around your head. The mancubus projectiles from far away will hit the ground and not reach you but the two nearby mancubi may get a lucky shot if you mostly just stand in a place. I died once to the Mancubi at beginning, mostly thanks to my PC lagging. All it took was two heavy projectiles and then I was dead, from 80 hp or so down to 0. The armor I started the level with was eventually gone from taking so much damage, mostly from the lost souls ramming into me and blowing my cover, though I appreciate the generosity with the medkits at least. And honestly I don't mind only one death here, especially considering that MAP07 usually manages to be the first map in a megawad that kills me. Either way I had to be extra careful when using the Rocket Launcher in this map, to not end up firing in front of a lost soul or something. Once the things calmed down, killing the Barons and then the remaining Mancubi will cause the Arachnotrons to spawn! After killing them, grab the goodies (especially the Armor and Soulsphere) and press the two switches. I recommend saving and equipping the Plasma Rifle here and watch for the TWO Archviles that will teleport alongside various other monsters. Getting near the Archies and spraying Plasma was the winning move because they shouldn't retaliate if you are lucky with the RNG and if you don't mind tanking a bit of damage from other monsters around you, then you will be able to survive and kill the vile quickly before things get out of the control. Do the same for second Archie, then finish off the remaining monsters with SSG/Chaingun if you are playing continuously and want to save the cells for the next levels, otherwise use the Plasma. Funny how I ended up with 400 cells and every other ammo type at full. Even better was finding the Megasphere secret at the end (thanks Doomwiki), which helped greatly for the next maps (MAP09 to be exact). Overall, I think the map was fine overall, despite the cramped combat. It was quite challenging and the visuals were great. MAP08: Hex of Depression by Pcorf A much easier map and a much needed breather after the previous one. It was so easy that I only got hit once in the entire map, so I got to keep all the nice extra health and armor further in the adventure. The monsters shouldn't pose much threat and you should just run upon pressing a switch or grabbing a key instead of standing still. There are no items in this map, so it will say 0% items at the end of the level in non-ZDoom ports. There is one secret that I found at the end with help of Doomwiki and the only benefit I got from it was the box of bullets to get back to 400 bullets, as otherwise I already had a full supply of shells and the armor didn't need a replacement. Fine map overall. MAP09: Bitter Sanctuary by Kyka Interesting map that appears to be very cramped at first but then you will quickly realize that stepping in one sector will activate a nearby trap and reveal more of the map. Sometimes it will also teleport an enemy directly behind you when you are in those cramped corridors, so you want to watch out for that. There is plenty of unavoidable damage but you don't have to worry too much about the health/armor, especially if you played continuously and started the level with nearly 200/200 and the secrets that contain extra health in them will also greatly help, though continuous players want to save the Soulsphere secret for the end. It also contains the last zombieman in case you wanted to find the last enemy. The ambush at the end was the trickiest part of the map. You arrive in a small room with stimpacks/medkits and there will teleport zombies/imps into the action. I lost more health/armor than I expected but I was never running in danger of dying, since there were nearby medkits/stimpacks to refill the health when needed. Interestingly, I didn't take any damage from the two knights that teleported shortly after and the revenant that showed up from the teleporter. I suppose I got really lucky here, considering that it could have easily go wrong. Unfortunately, I had 54% armor remaining at the end, so that meant I needed a new replacement. Luckily I found a replacement quickly, as there were two green armors actually in the map. Though the Soulsphere secret was much appreciated to get back to 200 HP. Although it was cramped at times, I still think it was an interesting map overall and an idea I have rarely seen in custom Doom maps, where new areas are revealed by just stepping on sectors. So this map should get bonus points for creativity. MAP10: Mudbath by Stewboy A very brown map that is a bit challenging at times because there's no armor and plenty of monsters present but then you quickly realize it's mostly just zombies and imps, with a few demons/spectres, knights and revenants showing up at some points later on. There isn't much to worry. If you are playing continuously, you can kill about 70-75 monsters just from the starting room! Aside from an occasional lucky hitscan shot or imp fireball, you shouldn't lose much health. Then you have two paths to choose from. Doesn't matter which order you do them. I recommend clearing both sides carefully, as there may be a knight lurking around or the chaingunners hiding behind cages. There's also two revenants that are inside a cage at one point, though they don't pose much of a threat and you have the cover available, so you know what to do. The main highlight of the map is the final battle with the teleporting imps and TWO knights (they don't teleport at the same time though). I was lucky I took minimal damage from the fight and when I was done with getting rid of all monsters, I grabbed whatever ammo/health I left behind. Oh yeah and the Soulsphere right at the end, which is accessible by shooting a switch at the beginning of the level. It's an okay map in the end, I didn't mind playing it. MAP11: Technicfear by Pcorf Interesting short boss map. Starts out by just shooting imps and shotgunners. Unexpectedly, I took plenty of damage from the shotgunners, I was down to 136 HP just after clearing the initial room and the green armor was almost consumed, since the previous level didn't give me the opportunity to replace my half used armor. Press the switches and eventually a couple demons will spawn. Kill them quickly with the SSG and then collect the keys. When you open the door, you will see a Cyberdemon waiting inside while two Mancubi and a Baron will teleport in the arena. You are also automatically given a much needed MEGASPHERE to deal with all that, thanks to Voodoo doll trickery I assume (I noticed I got all 6 keys too, despite only the three keycards being present in the main room). I couldn't make the monsters infight but at least I haven't taken any damage from their attacks, so I got to conserve the 200/200 until the next level. Killing the Cyber with the SSG was kinda boring but at least it was a safe way shooting by peeking around the corner. Good thing my PC didn't lag at this time. Once done dealing with the Cybie, I saved and prepared for the surprise ArchVile at the end when the exit door was unlocked. I just SSG'ed the Archie and hiding behind pillars from its attacks. Worked nicely and without any enemies resurrected. Also the map doesn't have any secrets present but it seems Boom Compatible ports don't mind this, since you automatically get 100%, unlike vanilla Doom which would have scored you 0% if a map had no secrets at all. I think the map was okay and served as a finale to the first "episode". MAP12: Spitshine by Fiend The second "episode" starts in a nice techbase. There are mostly weaker enemies to fight but also a few of the tougher ones. I will mention a couple highlights of the map: -The two revenants guarding the Blue Key appearing upon pressing an early switch were a nice surprise. Luckily, they didn't cause any trouble. -There is a secret green armor that's easy to find just after opening the blue door and dealing with the monsters inside. -Taking the elevator and looking out for the two Mancubi in the corners. I did the easy way and dropped down, while picking them off with the shotgun/chaingun. -In the same room, I pressed the switch and ran away quickly, then picked off the monsters from below the elevator. If you wonder, the traps can be often detected by looking at the automap and noticing those white lines in certain places, at least when using Boom compatible source ports. It's almost certainly that this will be a trap at some point and this has greatly helped me in many situations. -After taking one of the teleporters (the other one leads to a secret place), you will get the red key and fight two barons. I decided to plasma them to death quickly and only took a fireball to the face. I didn't risk to SSG them to not get cornered. -Afterwards, kill the two Arachnotrons waiting in the first room and the ArchVile behind the exit door. I knew there was an Archie at the end, so I had the Rocket Launcher selected, opened the door while backing off, fired four shots and the Archie died quickly. He managed to resurrect a zombieman but of course that was underwhelming and he immediately got taken out alongside the Archie. Overall, I think this was a pretty enjoyable map. Though again it depends a lot how you approach the fights, as I generally find ways to deal with the traps safely, even if the mapper did not take that into account. But yeah, the level design was pretty solid and looking forward to the next couple of maps. Deaths so far: 1 (MAP07) Screenshots I reached MAP16 currently, having done the two main secret levels as well. I will cover them tomorrow and hopefully catch up with the write-ups and reading people's posts I haven't read yet.


